Little Nightmares 2 Glitching Remains, like the Hats we discussed previously, also count as collectibles, but they are a bit harder to find if you don’t know where to look for them.
Each chapter in the video game developed by Tarsier Studios features a specific number of Hats and Glitching Remains, so if you want to know where to look for all Little Nightmares 2 Chapter 1 Glitching Remains, this guide will help you. Little Nightmares 2 Chapter 1, also known as The Wilderness, features 4 Glitching Remains you’ll need to get.
To make your job easier, I will cover these in the same order as they appear in the game. So, let’s see where are these Little Nightmares 2 collectibles. As said, these collectibles are a bit trickier to find, and a good example is the very first Glitching Remain.
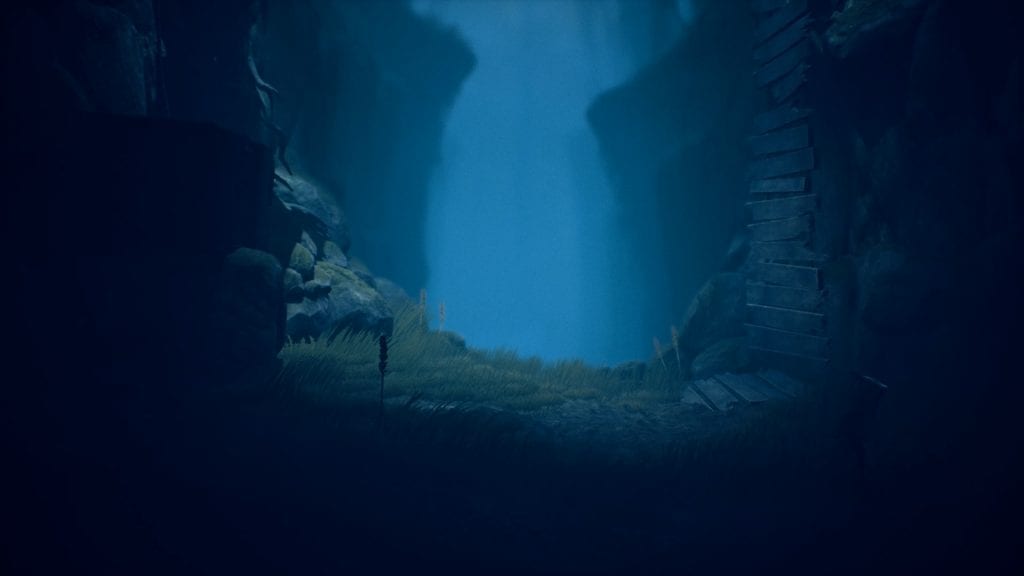
Glitching Remain #1
This can be found the moment you reach the broken bridge. To cross the gap, you’ll need to jump down and then start climbing the wooden platform on the other side. Before doing this, though, you’ll want to walk toward the screen, then slightly to the right (as pictured below).
Keep moving right, and you’ll find a tunnel. At the end of the tunnel, there is a small cave and a collectible that looks like a body. Remember to walk through the shadowed body to get it.
Glitching Remain #2
The second Little Nightmares II Glitching Remain is also inside a tunnel. After you get the previous one, keep advancing, and you’ll find a stick you can use to disarm a bear trap in front of a log. Once you do that, go through the log, and when you exit on the other side, turn left, as you can see in my screenshot.
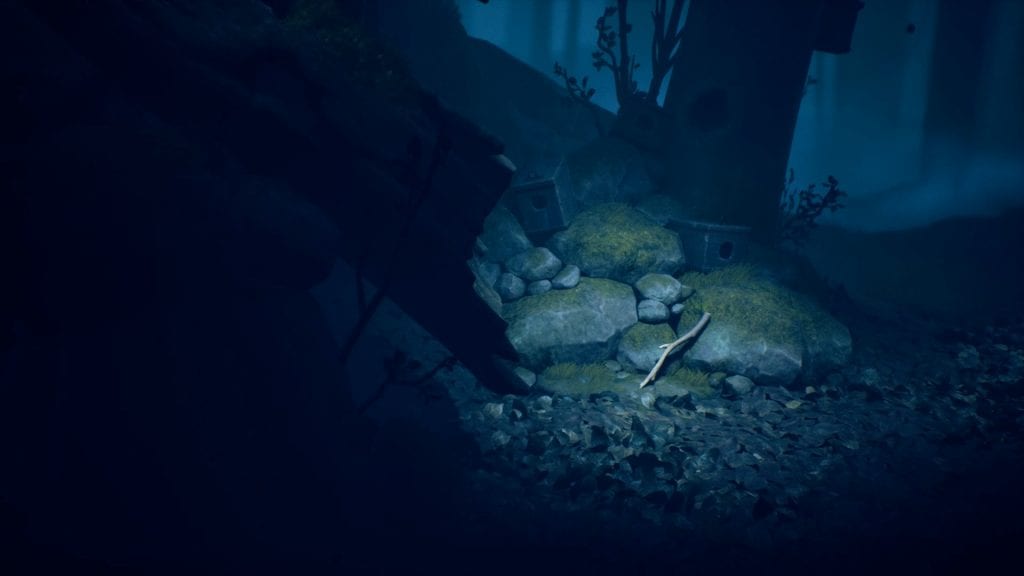
Enter the tunnel, and the Glitching Remain will wait for you next to the carcass of a wild animal.
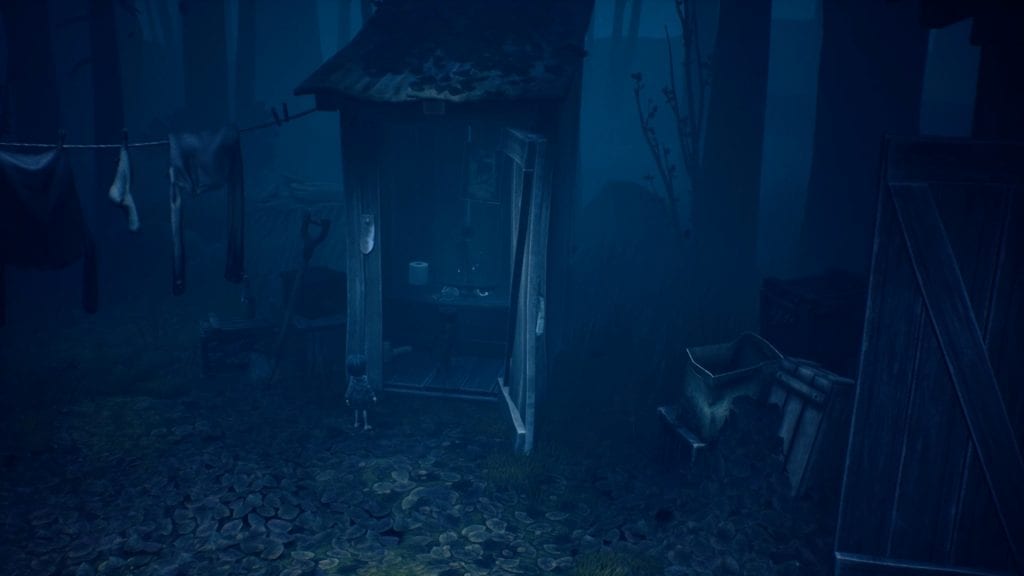
Glitching Remain #3
After you escape the cabin, you will be able to get the third Glitching Remain in Chapter 1. Just like the previous ones, this one is very well hidden. You’ll find it in the outhouse pictured below. Approach it; then, your little friend will help you reach the locker and open the outhouse.
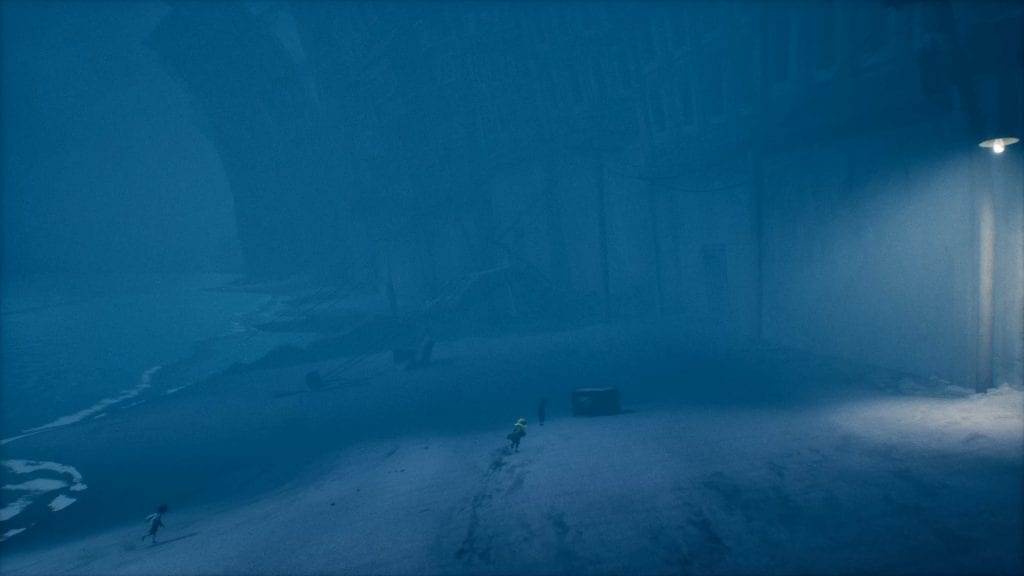
Glitching Remain #4
The final Glitching Remain collectible in Chapter 1 of Little Nightmares II can be found in the final section. To get it, first, you’ll have to deal with the Hunter, then sail away with your friend. When you reach the shore, just before entering the next building, look around, and in the distance, you’ll see a TV. Walk away from the screen, and next to the said TV is the Glitching Remain, as pictured below.