Trek To Yomi is a side-scrolling action game that follows Hiroki’s captivating journey as he fights against all threats. The video game developed by Flying Wild Hog is organized into Chapters, each of which has a collection of objects known as artifacts.
Once you’ve completed the first and second chapters (make sure you collect all Chapter 1 Artifacts and all Chapter 2 Artifacts covered in-depth), Hiroki’s journey continues back in his village, now set in flames, in the third chapter of the game.
However, you will have to look for ten additional collectible artifacts this time. Also, don’t forget that you can’t return to certain areas or chapters if you miss any of the artifacts, and you will have to start from Chapter 1 if you want to achieve a 100% completion rate.
Artifact #1 – Swordsmith’s Hammer
The first of the ten Trek To Yomi Chapter 3 Collectible can be found at the beginning of the level, close to a ragged cottage on the village’s main street.
Artifact #2 – Dove
The Dove can be located on the top level of the large building, next to the shrine. Climb the wooden planks after the bridge collapses to reach the first room of the upper floor and collect the second Artifact.

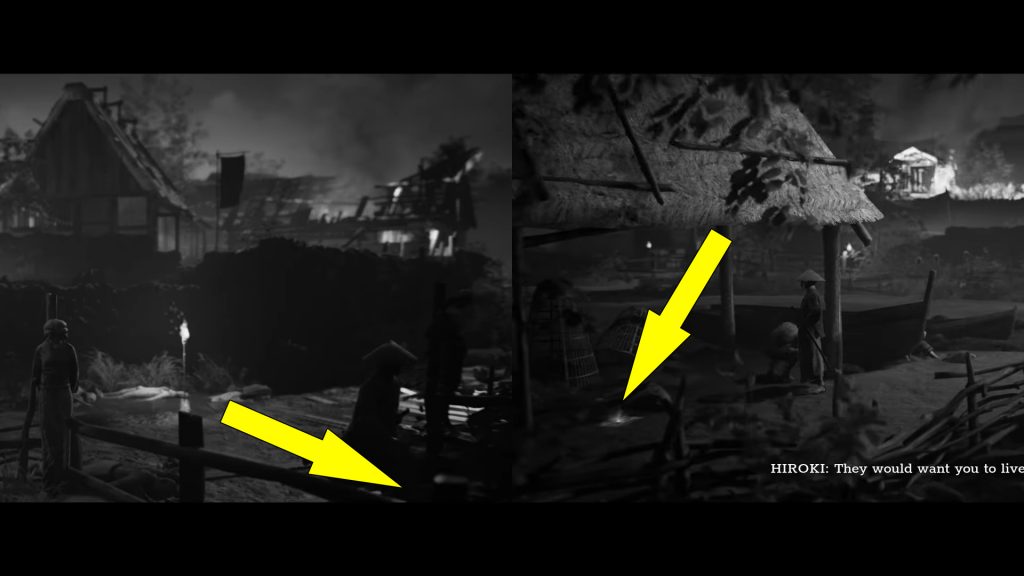
Artifact #3 – Magatama Bead
As you make your way through the large building and reach the field on the outskirts of the village, go up the route next to the shrine toward the burning house. Once you kill the bandits, the Magatama Bead can be found behind the crying villager near the burning house.

Artifact #4 – Fujin Print
From the crying man, return to the shrine and follow the path on the right until you reach a fork in the path. Turn right by walking toward the camera, and you will find the Fujin Print Artifact on the ground, behind the troubled villager.
Artifact #5 – Fishing Rod
Head back and follow the path until you reach the shrine next to a gate on your left. Go through the gate to discover the fifth Trek To Yomi C Artifact on the fence, on the right side of the screen.
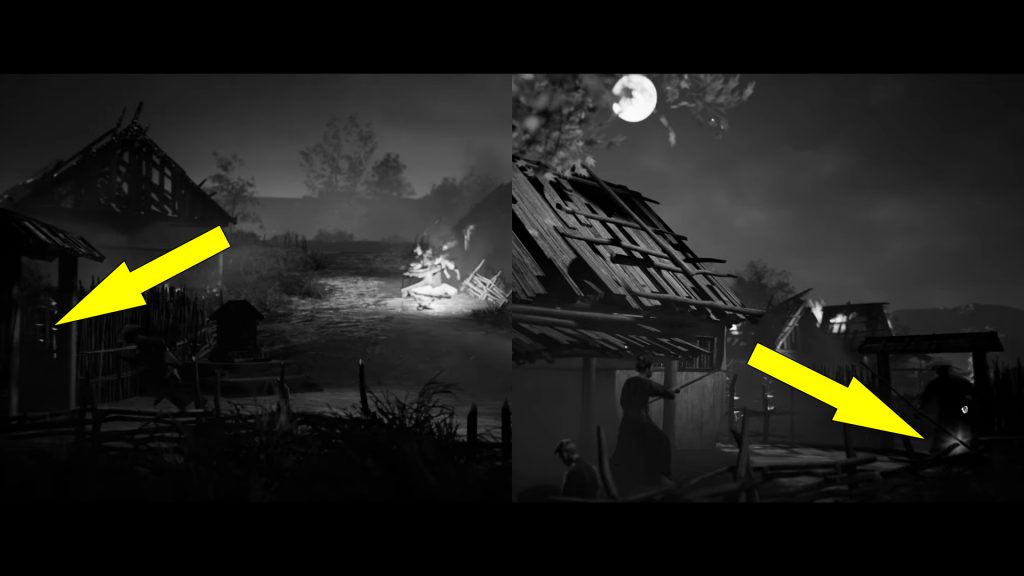
Artifact #6 – Ugajin
Once you pass the mounted bandits, you will reach another gate to get inside the village. Before going through the gate, walk along the village’s walls to the right to find the Ugajin collectible artifact at the end of the wall.
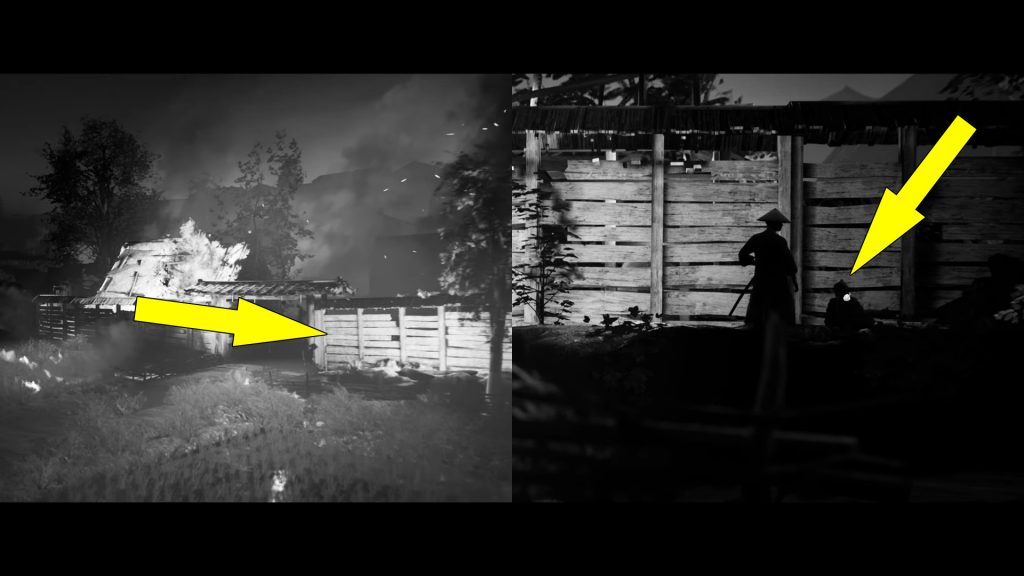
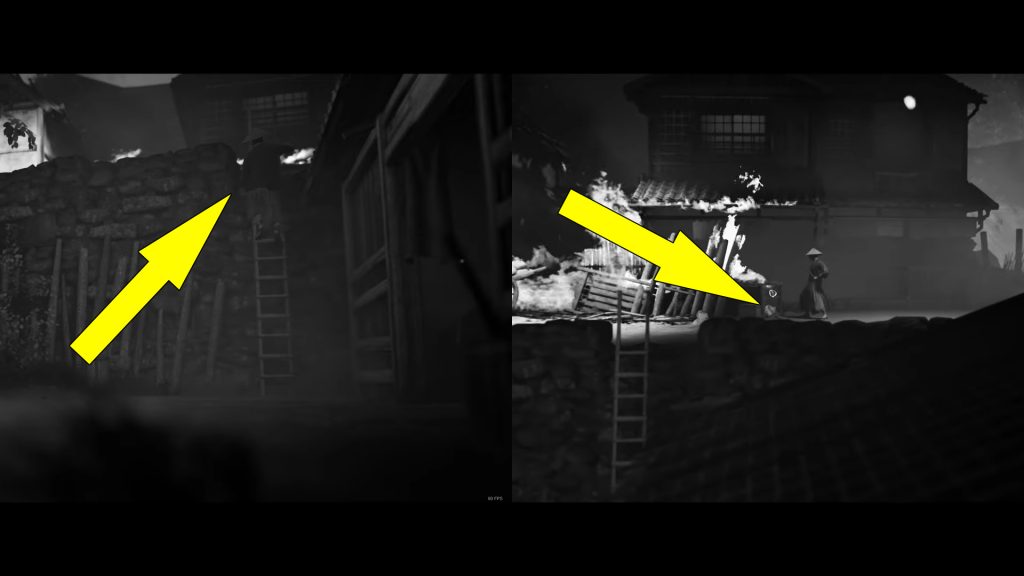
Artifact #7 – Bronze Mirror
Bronze Mirror Artifact can be found further after climbing up a wall and passing through the burning house. To find and collect the seventh Artifact, check the location marked in the image below.

Artifact #8 – Inarizushi
After killing the bandit wielding the long pole and unlocking the Heavy Thurst Skill, the Inarizushi Artifact can be found inside the house on the lower floor. Inside this room, you can also pick up a Stamina Upgrade.
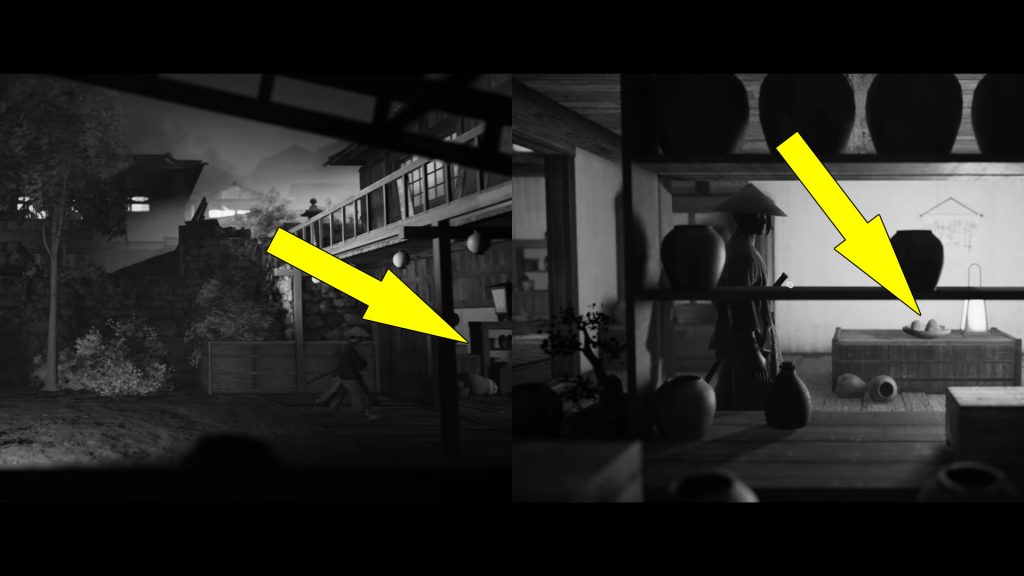
Artifact #9 – Moon Flask
The Moon Flask Artifact can be found much later in the chapter once you find a ladder in a small nook. Climb the ladder to find the collectible artifact sitting by a crate. You can also reach this location by following the path up from the shrine.
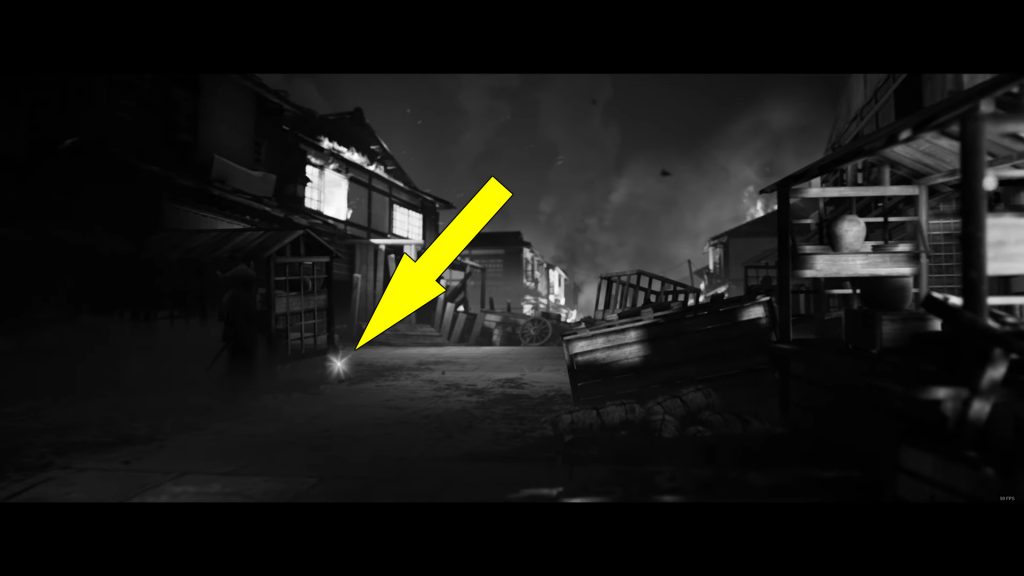
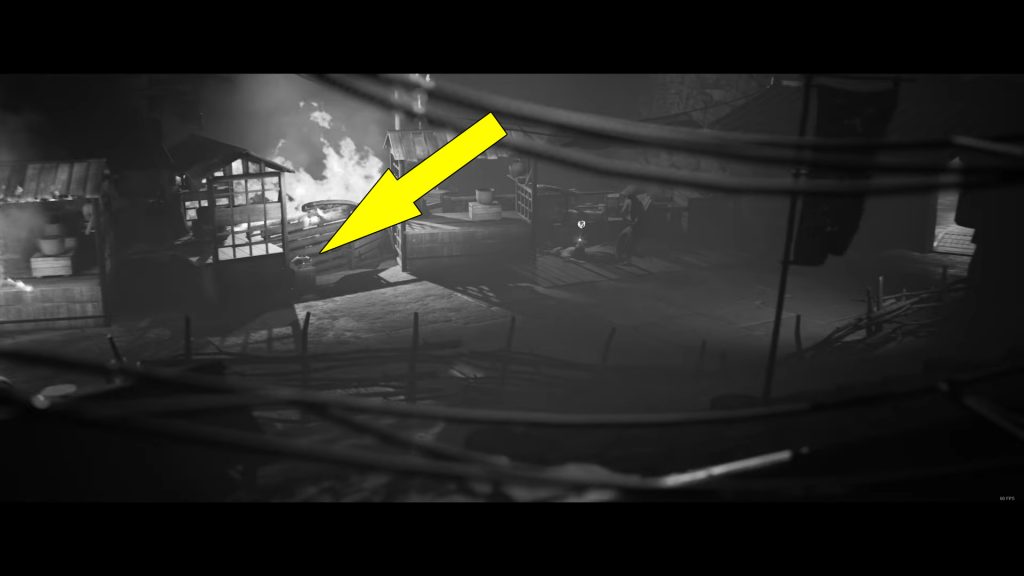
Artifact #10 – Rice Bowl
The last of the ten Artifacts can be found near the end of the chapter. After passing through a burning building, you will find the Rice Bowl Artifact between two burning market stalls next to an overturned cart.
Great job! Now, let’s find all Trek To Yomi Chapter 4 Artifacts.
