Tapping the Grid is a Starfield mission you can complete in The Well area, which is basically in the underground of the New Atlantis city.
Since New Atlantis is the first large city you get to explore in Starfield, the Tapping Grid mission can be completed at the start of your adventure in the video game developed by Bethesda Game Studios.
However, The Well area is pretty hard to find, and when you finally do, you must look for Louisa Reyez, who is investigating a power drain down there.
As such, if you decide you want to help Louisa, don’t hesitate to check the Starfield Tapping the Grid walkthrough below.
How To Start Tapping the Grid Mission in Starfield
Before you can start Tapping the Grid mission, you must finish the One Small Step main mission and then make your way to The Well area, in the underground of New Atlantis.
One of the access points to The Well is in the Spaceport area, which you can reach by fast traveling to the New Atlantis location on your map.
Then, head forward until you go up a ramp and get to a large fountain.
Behind the fountain, you have the Terrabrew coffee place and, to its left, a small alley with an elevator on the left side.
Now, enter the elevator and use it to reach The Well underground area, where you must start looking for Louisa Reyez.
The NPC can be found near the Medbay, which you can get to by going forward once you get off the elevator and going through the corridor with the EXIT sign above it.

To start the quest, talk to Louisa, and she will tell you that she is waiting for Carl, who should have already been here to help her investigate a power drain in the area.
Of course, you should take on Carl’s role and offer to assist Louisa.
To continue, you need to find four Junction Boxes, and Louisa will talk you through all of it remotely.
Tapping the Grid Junction Boxes Locations
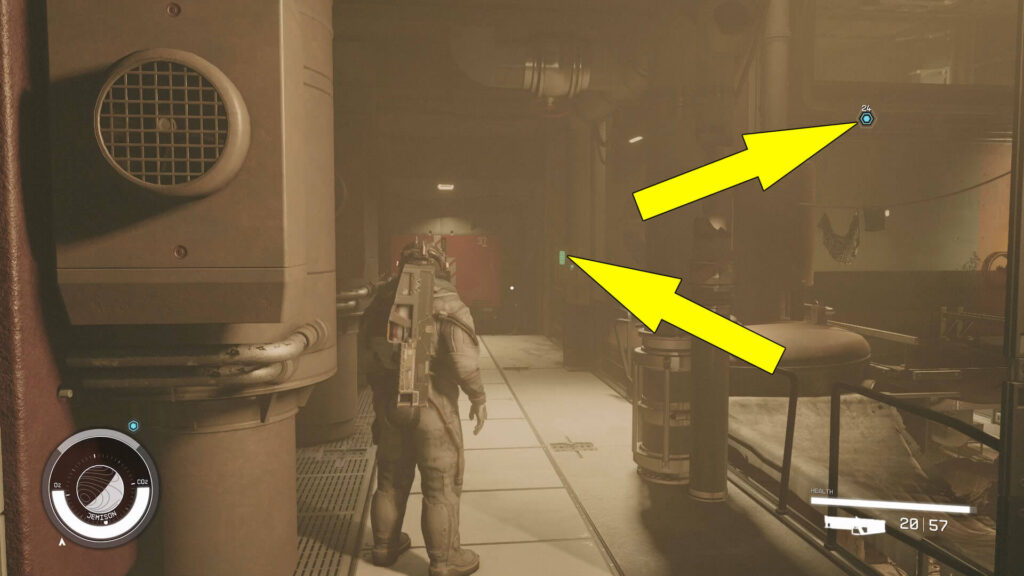
The first Junction Box is easy to find; all you have to do is head toward the elevator you used to get into The Well area.
But instead of climbing the stairs right before the elevator, turn left to spot the Junction Box between the two tanks and the door, as shown in the next image.

First, approach the Box and open the panel door by pressing A on your Xbox controller, then interact with the electrical panel by pressing the same button, A.
When you’re done, it’s time to look for the second Junction Box, for which you’ll have to turn around, head forward, and when you reach the stairs, go to the right.
Then, head to the left toward the Trade Authority.
However, don’t go up the stairs leading to the Trade Authority; instead, go right and then left when possible.
Now climb the two sets of stairs and go left to get to a red door with some green switches in front of it.

Interact with the switches to open the red door and head through.
You’ll soon get to a light orange door, which you need to open to find the second Junction Box.
Power it down and get back to the red door you used to get here.
Once you go back through the red door, head forward and go down the stairs to the left.
Then go forward until you reach the wall, and in the corner to the left, next to a drawing, you can see the third Junction Box.

Power down this Box as well, and make your way back to the entrance into the Trade Authority. You’ve passed by it earlier, remember?
Facing the stairs leading to the Trade Authority, head to the left.
Shortly, you’ll get to more stairs you must climb, then go left.
Of course, you must go up even more stairs near some tanks and reach a door on the right side.
Now, head through the door to get into the room with the fourth Junction Box.
The problem is that the Box is behind a locked light orange door.
To open the door, you must solve a little puzzle by interacting with the breakers on the left side of the room.
The trick is to press the buttons in a pattern to turn on the four green lights behind the breakers, just like in the screenshot below.

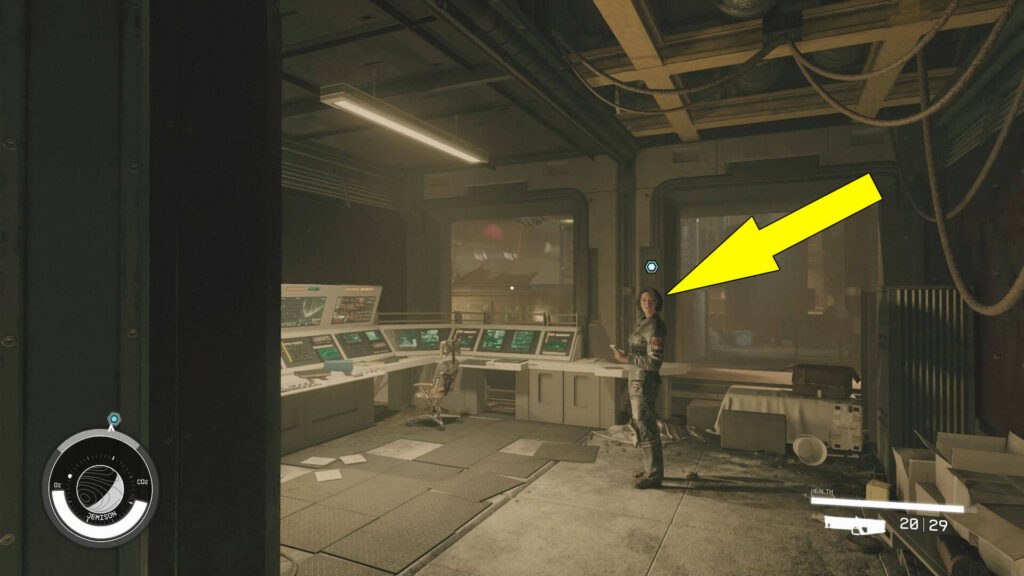
Next is finally the time to power down the last Junction Box, and then you can go speak with Louisa at the monitoring station near where you’ve met her, you know, next to the Medbay.
You can follow the mission’s blue marker to reach the spot, and you’ll find Louisa looking at the monitors.

Talk to Louisa to get her thanks and learn that the source of the power drain is coming from the Trade Authority.
Well done, friend! You’ve completed Starfield Tapping the Grid, but you can now help Louisa deal with the Trade Authority by starting the Alternating Currents mission.
