God of War Ragnarok Burning Cliffs is a region covered in lava in the Muspelheim Realm, which you will first visit with Atreus during the Into the Fire Main Quest.
But during your first visit, there won’t be any collectibles for you to collect. After you finish the story, you’ll be able to revisit the GoW Ragnarok Burning Cliffs and obtain the following collectibles:
- 1 Nornir Chest
- 1 Legendary Chest
- 1 Lore
- 1 Odin’s Raven
- 1 Remnants of Asgard
It is recommended to come back after you finish the story because two collectibles will spawn only after. To reach the Burning Cliffs, simply go to a Mystic Gateway, select the Muspelheim Realm, and fast travel to the Mystic Gateway in the region.
So, follow this guide to learn where to find all Burning Cliffs collectibles in God of War Ragnarok.
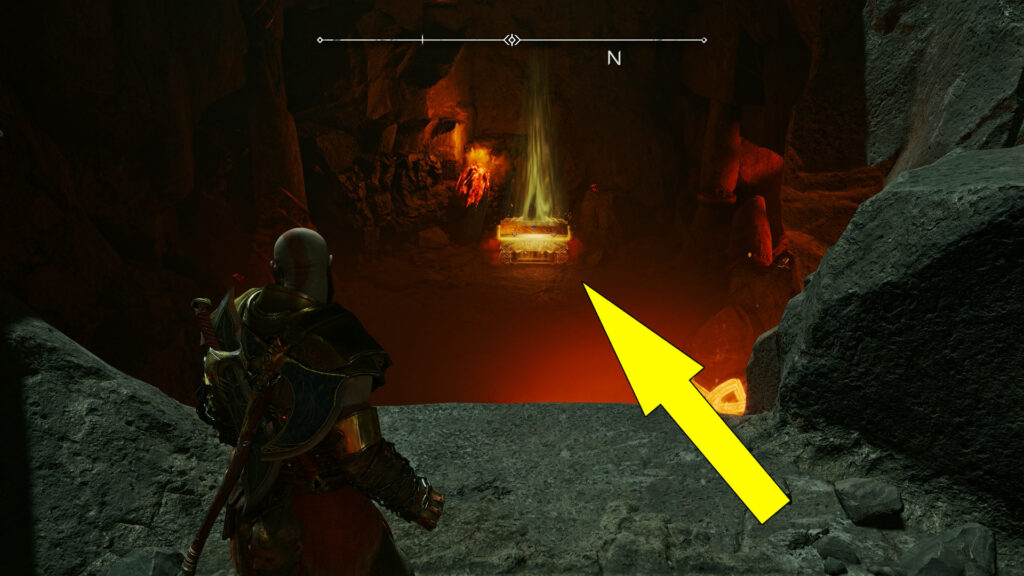
Legendary Chest (Muspelheim Seed / Divine Ashes): In A Cave
After exiting the Mystic Gateway, follow the linear path downhill and enter the small cave to find the GoW Ragnarok Burning Cliffs Legendary Chest.
Open the Legendary Chest to receive a Muspelheim Seed or 1000 Divine Ashes if you already have obtained two Muspelheim Seeds from Svartalfheim or Vanaheim.
But most of the Legendary Chests contain pieces of gear or runic attacks, so check our Legendary Chests Locations Guide here to learn where to find them.
Odin’s Raven: Near The Legendary Chest
Check to the right of the previous Legendary Chest to find the God of War Ragnarok Burning Cliffs Odin’s Raven sitting on a rock.
Kill Odin’s Raven using your Leviathan Axe or Draupnir Spear to progress The Eyes of Odin Favour we’ve covered here and unlock the Legendary Chests at The Raven Tree region in Niflheim.

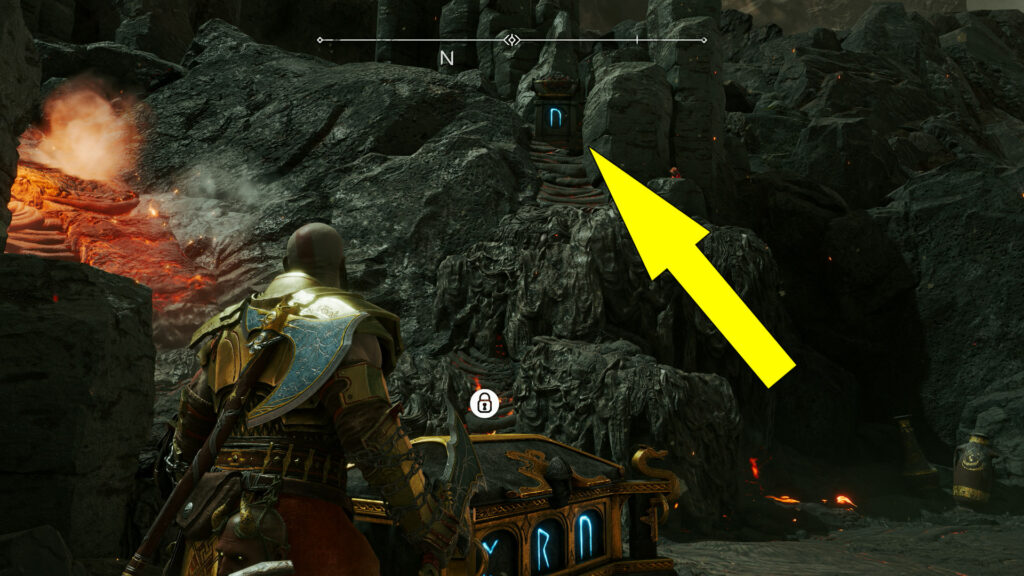
Nornir Chest: Behind A Glowing Rock
From the Legendary Chest, squeeze through the gap in the wall and turn left to climb along the wall under a cascade of lava.
Go down the path to find a yellow glowing rock on the right side of the road before the Remnants of Asgard encounter.
Blow up the rock by throwing a Draupnir Spear and pressing (Triangle) to reveal the GoW Ragnarok Burning Cliffs Nornir Chest.
To open this Nornir Chest, you’ll have to ignite three braziers using your Blades of Chaos and the sigil arrows from the companion.
The first brazier can be spotted to the right and above the Nornir Chest. To ignite this brazier, you can just get close to it and press (R2) + (L2).
The second and third braziers can be found across from the Nornir Chest (to the southeast), but they are too far away to be ignited with your Blades of Chaos.
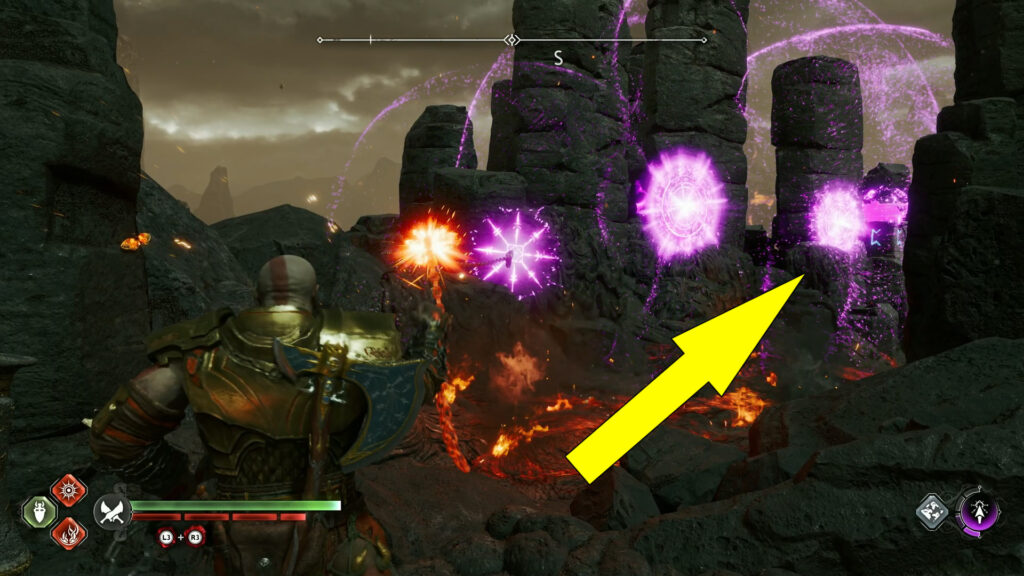
Instead, go back to where you destroyed the yellow-glowing rock and turn your camera south to see one of the braziers.
Place a large sigil on the stone pillar next to the brazier and another large sigil on the stone pillar in the middle. To create a large sigil, shoot three sigil arrows in the same spot, increasing the sigil’s radius effect.
Then, place a large sigil on the next pillar and detonate it with your Blades of Chaos to create a chain reaction, which will ignite the brazier. Check the image below to figure it out.
Return to the Nornir Chest and turn your camera southeast for the third brazier.
Place a large sigil arrow on the third brazier (the one on the right) and another large sigil on the stone pillar in the middle, the one between the two braziers.
Then, shoot a sigil arrow at the flames of the previous brazier, which will cause an explosion igniting the sigils and the third brazier.

If you wish to obtain more Idunn Apples or Horns of Blood Mead, check our Nornir Chests Locations Guide here to open more of them.
Remnants Of Asgard: After The Nornir Chest
From the Nornir Chest, jump over the ledge and defeat all the enemies in the following area to unlock the GoW Ragnarok Burning Cliffs Remnants of Asgard collectible in the region overview.
Then, open the Remnants’ reward chest to receive a high amount of Hacksilver and endgame materials.
Remember that Remnants of Asgard only spawn after you have finished the main story.

Also, completing the Remnants of Asgard encounter will progress The Last Remnants Of Asgard Favour we’ve covered here.
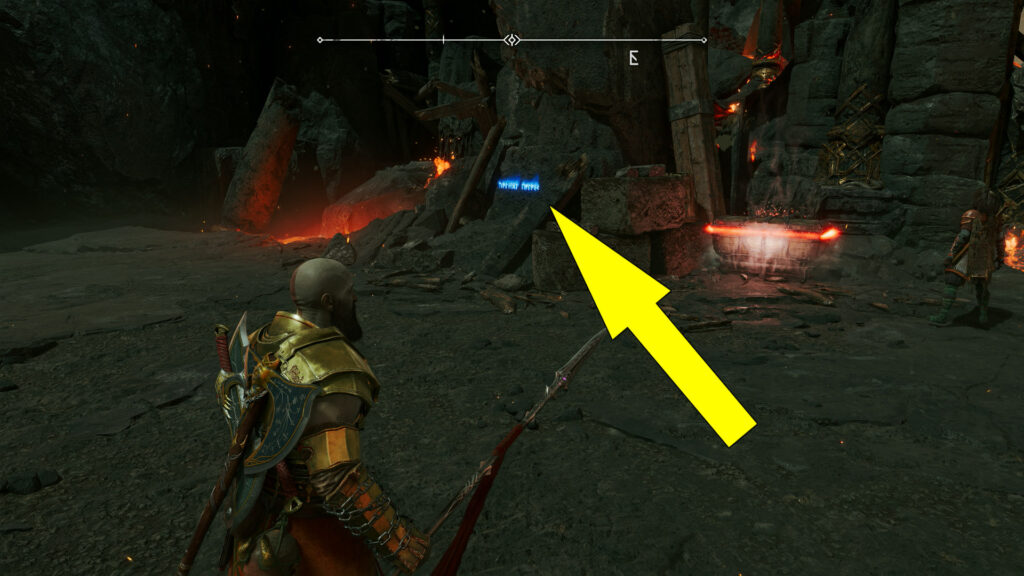
Lore Rune Read (Valhalla Rises): Near The Remnants Reward Chest
To the left of the Remnants’ reward chest, you’ll find the God of War Ragnarok Burning Cliffs Lore collectible written with glowing blue runes on the wall.
This Burning Cliffs Lore collectible is also part of the 80 Lore Collectibles Locations we’ve listed here to keep track of them easily.
And with that, we went over all Burning Cliffs collectibles in God of War Ragnarok. To the right of the Remnants’ reward Chest, you can crouch through a gap to enter the Surtr’s Forge region we’ve covered here.
Also, you can check our God of War Wiki Hub if you wish to expand your collectibles collection or to complete more favours.
