Are you ready to conquer the challenging puzzles of the Sacred Archives in Prince of Persia: The Lost Crown? These mind-bending trials will test your wits and timing, but fear not!
With this comprehensive guide, you’ll learn how to navigate through the four Secret Rooms of the Sacred Archives and claim the Time Power hidden within.
Where To Find the Sacred Archives Secret Rooms in The Lost Crown
In order to access the Secret Rooms located within the Sacred Archives, it is necessary to advance through the main storyline until you have unlocked the “Shadow of the Simurgh” ability and completed The Path to the Sand Prison main quest. Then, travel from the Sacred Archives fast-travel point to the quest marker by following the path highlighted in the image below.
Within this mystical region, you’ll encounter four Secret Rooms, each guarded by intricate puzzles that will push you to the limit. These rooms are located behind four orange portal doors, one in each quadrant of the central chamber.


The Bottom Left Secret Room Puzzle Solution
The first portal door you’ll encounter is located in the bottom left corner of the room. This puzzle serves as an introduction to the mechanics of the Sacred Archives Secret Rooms. Follow these steps to quickly complete the challenge:
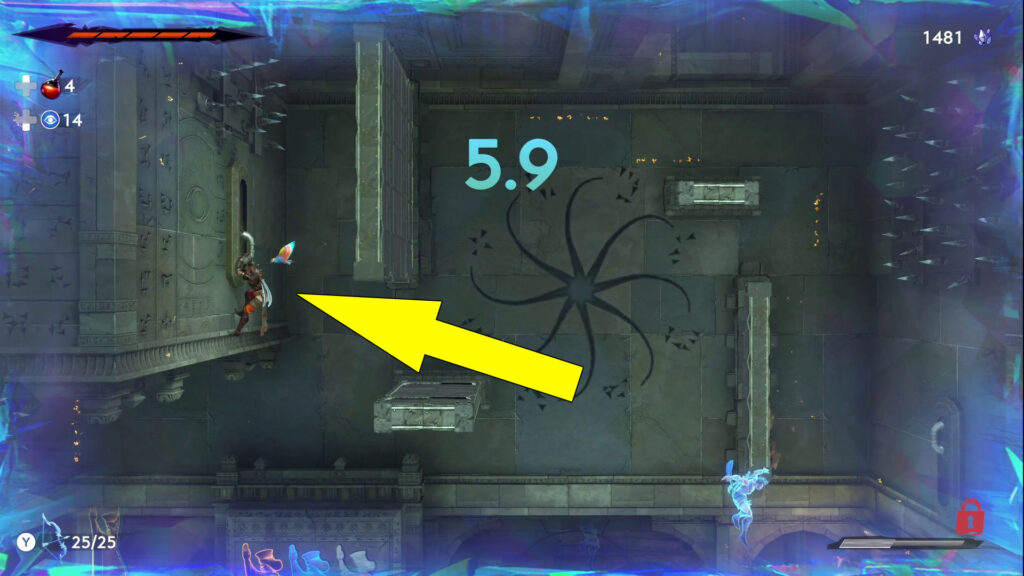
- Trigger the puzzle, jump onto one of the walls, and perform the “Rush of the Simurgh” ability to dash to the opposite wall, grabbing the pull switch and holding it down. Wait for the timer to run out without moving.
- Repeat your actions with the second shadow clone, triggering the other switch on the opposite wall. Hold the handle switch until the timer runs out again.
- On the final shadow clone run, wait for the previous two clones to trigger the switches on the walls, then go through the open gate to the left and grab the glowing yellow tablet.


The Top Left Secret Room Puzzle Solution
The second Sacred Archives Secret Room puzzle is a tad trickier. You’ll need to use the “Shadow of the Simurgh” ability with your first shadow clone. Doing so will allow you to create a warp point. Then, your second shadow clone can use this warp point to reach the pressure plate at the top of the room and activate it before time runs out. Follow these steps to complete the time trial:
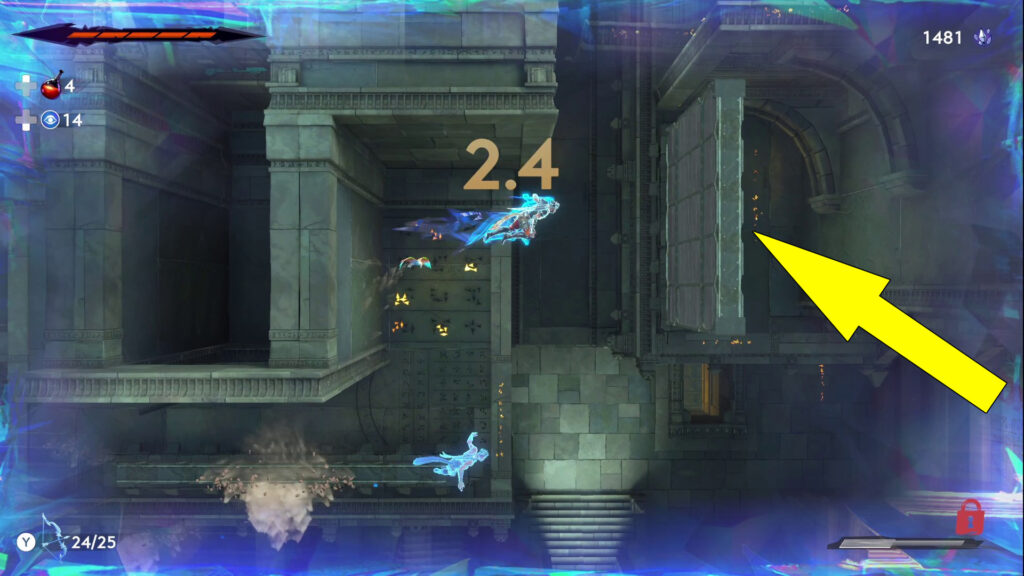
- Initiate the puzzle, climb to the right, then change direction to continue up and to the left. Drop into the U-shaped area and activate the “Shadow of the Simurgh” ability (L1/LB) right before the climbing section. You should have enough time to reach this section.
- At the start of the second shadow clone run, immediately activate the “Shadow of the Simurgh” ability. This will instantly teleport you to the end of the first run. From there, climb the wall section and head to the top right side of the room. Step on the pressure plate and wait for the time to run out.
- For the last run, go up to the main area and wait on the wooden platform. When the second shadow clone steps on the pressure plate, jump up and dash through the open gate to grab the yellow glowing tablet on the right.


The Bottom Right Secret Room Puzzle Solution
Get ready for a complex puzzle in the third Secret Room of the Sacred Archives. This room requires you to coordinate and multitask with your shadow clones to unlock the path to the tablet at the top. Here are the steps to solve this puzzle room:
- Activate the puzzle, head to the right, jump onto the handle switch on the right wall, and hold it down for three to four seconds. After that, hop on the pressure plate with approximately four or five seconds remaining. Stay on the plate until the timer runs out.
- For the second run, wait for the first shadow clone to pull down the handle switch on the right wall. Jump off the newly revealed vertical wall onto the left platform, then quickly onto the handle switch on the left wall, holding it down to reveal another vertical wall. Wait on the handle switch until the time runs out.
- On the third shadow clone run, time your jumps to synchronize with the walls controlled by the previous two clones. Wait for the first clone to pull the right switch, hop off the right wall, and then onto the horizontal platform. Wait for the second shadow clone to pull down the left switch and jump off the wall above the platform. If timed correctly, your first shadow clone should be standing on the pressure plate at that point, providing a new horizontal platform near the top. Use this platform to reach the glowing yellow tablet.


The Top Right Secret Room Puzzle Solution
Prepare yourself for a mind-bending challenge in the fourth Sacred Archives Secret Room in PoP: The Lost Crown. This room brings together elements from the previous secret rooms, requiring swift execution and the use of “Shadow of the Simurgh”.
Before you begin tackling this puzzle, I suggest dropping to the floor below. This will give you a clear view of the puzzle’s layout, allowing you to plan your approach. Once down there, look for a pressure plate in the middle of the ground floor.
Stepping on this pressure plate will cause a wide horizontal platform to appear and the gate above it to open. In order to reach the yellow tablet, you’ll need to position a “Shadow of the Simurgh” to the right of the gate and above the horizontal platform. Follow these steps to finish the final trial:
- Start the puzzle, drop through the wooden floor, and step on the pressure plate. When the timer shows around 3 seconds left, step off the plate for half a second and then back on until the time runs out.
- With the second shadow clone, drop and dash onto the platform triggered by the first clone. Then, wall jump up through the gate and activate the switch at the top. After that, drop back onto the platform just before the first clone steps off (around the three-second mark). This will give you a short moment to dash past the closing gate. Finally, use the “Shadow of the Simurgh” ability on the other side to create a warp point for the third shadow clone.
- For the final run, wait for the first shadow clone to trigger the platform. Then, activate the “Shadow of the Simurgh” ability to teleport to the last position of the second clone. Wait for the second clone to climb through the gate and pull the switch, triggering a vertical wall. Jump off the left wall onto the newly revealed wall, then jump to the top of the room and retrieve the final yellow tablet.


Completing all four Secret Rooms in the Sacred Archives is no easy feat. However, your perseverance will be rewarded. Once you finish the final puzzle, a path to the blue portal door in the center of the room will open.
Go inside and follow the path to the right, where you’ll discover another Simurgh feather. This special feather grants you the “Clairvoyance” ability, allowing you to change between dimensions, making certain elements appear and disappear locally.
Looking to get a jump on some side quests? Well, look no further. We’ve got guides for The Deserter, Motherly Love, or Ancient Power Unearthed quests. And if you’re on the hunt for hidden chests in The Architect side quest, why not try our Lower City Archer Statues, Hyrcanian Forest Red Grass, or The Depths Masks puzzle guides?
