Immortals Fenyx Rising Kalliope’s Distress is one of the 60 Vaults of Tartaros you’ll have to complete in the video game developed by Ubisoft, and also one of the three Valley of Eternal Spring Vaults required for A Crying Shame quest.
As such, Kalliope’s Distress Vault Of Tartaros is required to progress through the story; however, out of three vaults related to the said quest (the other two being Adonis’s Fall and Aphrodite’s Bewilderment), Kalliope’s Distress is the hardest.

As you can see on my map above, this Vault of Tartaros is located on the northeastern side of the Valley of Eternal Spring. You’ll find it just east of the Goddess of Love statue.
Kalliope’s Distress Walkthrough
To complete this Vault, your first goal is to enter the rift, which, as you’ll soon discover, is behind a barrier. This specific barrier is found in a building at the bottom of the chasm marked on my map above. To remove the barrier, you’ll need to light three blue crystals. Let’s see how you can do that.
How To Enter Kalliope’s Distress Rift
The first switch you’ll need to activate is behind the barrier pictured below. Hit the breakable wall with your axe, go through the hole, and pull the box on the plate with your Herakles’s Strength. The idea here is to free the plate.

Now, head outside and activate the switch. The next switch requires some archery skills. Jump on the roof above the first switch and step on the round plate. Aim an Apollo Arrow at the brazier on the right side (pictured) and direct your arrow through the crack in the wall on the other side.
Light the pillar, and then you’ll see an airstream on the ground. Use it to glide up through a hole in the ceiling. In the next room is the second switch. Activate it and get back down. The third and final switch is the easiest.
While facing the same room (with the first switch), on the right side is a hole in the ground. Drop all the way down, and you’ll see the last switch.

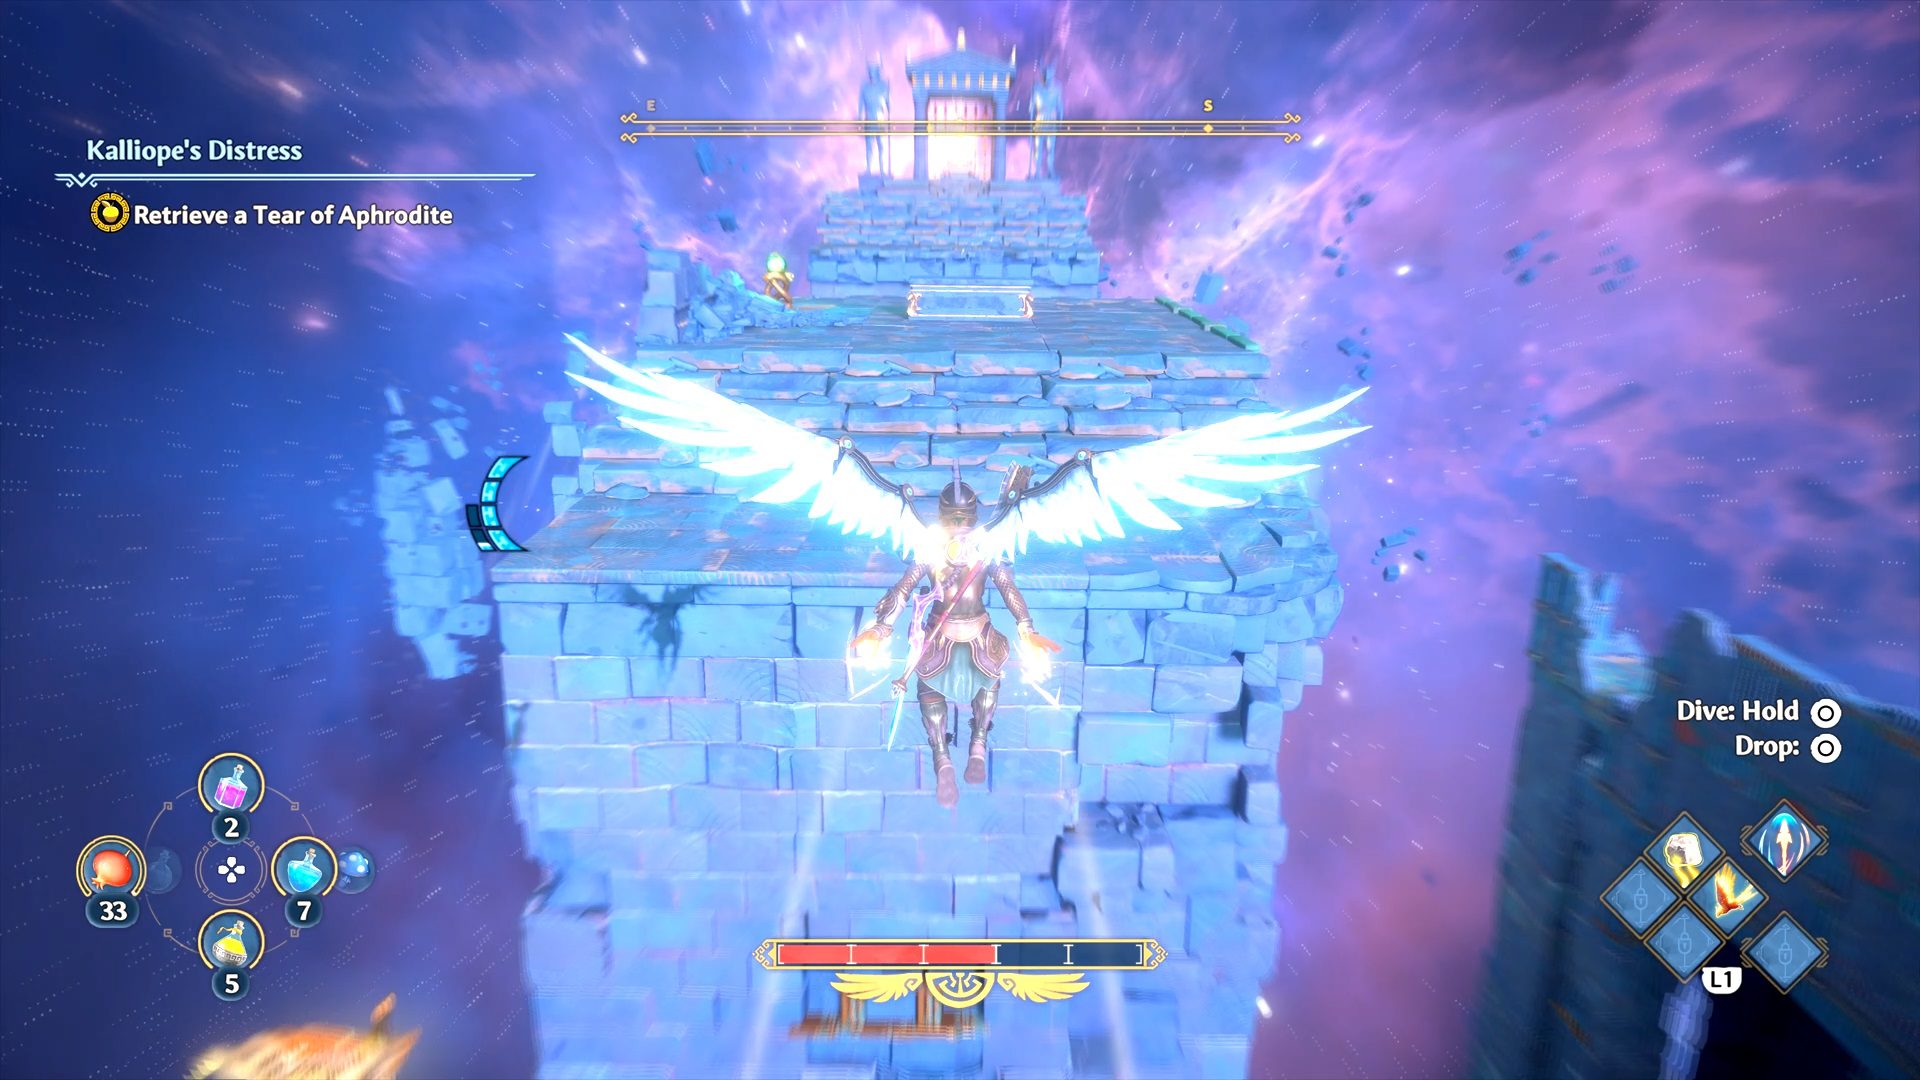
Now, climb back, and the barrier is removed. Thus, you’ll be able to enter Kalliope’s Distress.
How To Solve the First Puzzle in Kalliope’s Distress Vault
From a platforming point of view, Kalliope’s Distress is the easiest, but it features four puzzles you’ll need to solve. As such, the first puzzle is at the beginning of the Vault, and all of them follow the same pattern. Your goal is to step on specific plates in order to advance and light up a purple crystal.
The game shows you what plates to step on, but you also need to know the order. If you want to know which plaques you need to activate, notice the wall above the puzzle. It shows some boxes, and those depict the plates you have to step on. But what is the correct order? Well, you can see it below.

Step on the plaques I have marked above in the exact same order, then follow the path to the right. Glide up and keep moving forward to reach a new area and a new puzzle.
How To Solve the Second Kalliope’s Distress Vault Puzzle
The second Kalliope’s Distress puzzle in Immortals Fenyx Rising is similar to the first one, except that there are more plates now. You can see the plaques you need to activate on the wall above the board, but you’ll need to figure out the order, which happens to be this one.
Awesome job! Now, let’s move forward. Keep going up, and when you reach the second save point, look to your right to see another wall. This wall shows the plates you’ll have to activate for the next puzzle. But, obviously, not the order.
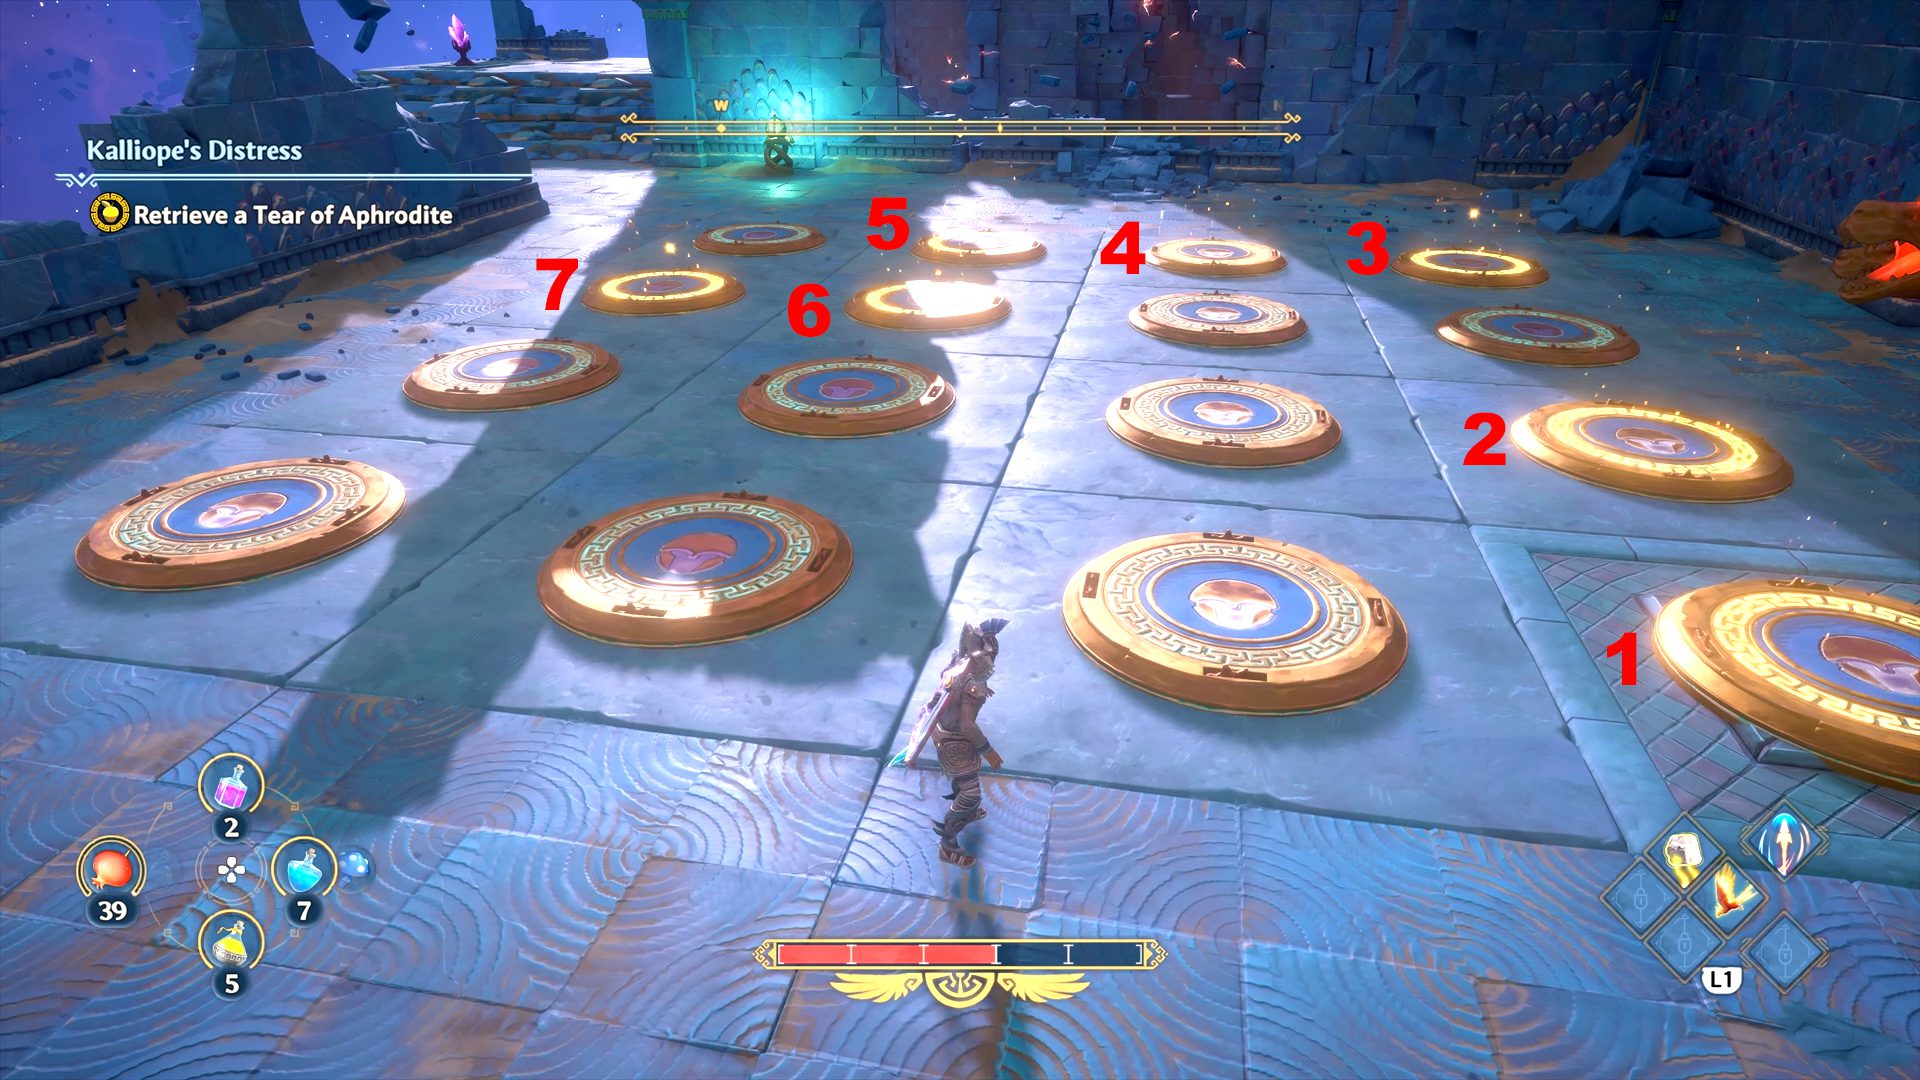
How To Solve the Third Kalliope’s Distress Puzzle
As you can see in my image below, there are nine plates you need to step on. Preferably as fast as possible and without being hit by the flames. The image below should help you solve the third riddle and also save you some time in the process.

Did you get it? Awesome, because you are close to ending this Vault. But there is one last puzzle you have to finish. After you beat this one, head right, and when you reach the stairs with the crystal, turn left to spot the chest.
Where To Find the Kalliope’s Distress Vault Chest
Now, if you want to figure out this puzzle yourself, activate the lever next to the board. You’ll see the plates you need to activate on the wall in front of you, but they will soon disappear. The order, however, is the one in my image.

Good, so now open the chest to get the Nocturnal Helm Of The Vulture Skin, which is part of the Harpy Armor Set. Once you do that, return to the main path and glide over the airstreams.
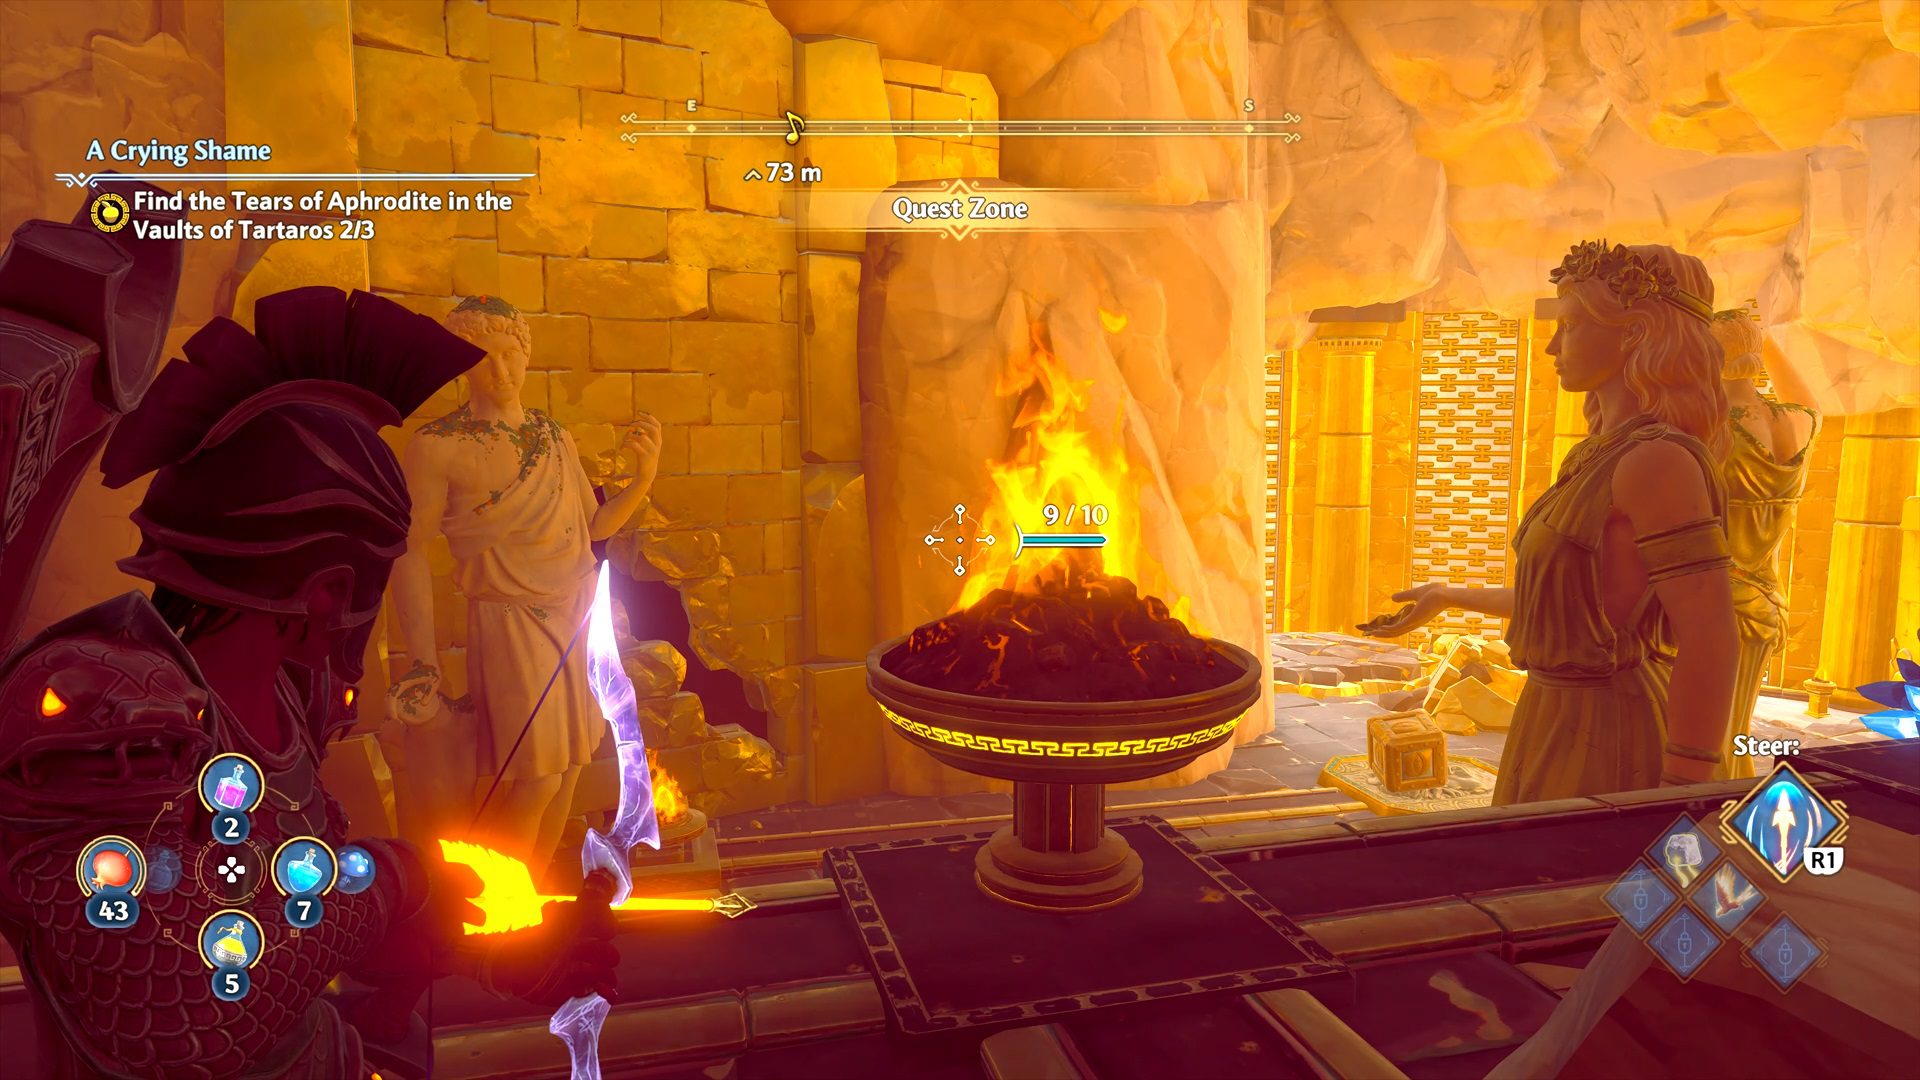
Where To Find the Zeus’s Lightning & Tear of Aphrodite
When you reach the upper section, you’ll see the Tear of Aphrodite and the chest containing Zeus’s Lightning right in front of you. Get both of them on your way out.