Tunic Cathedral Golden Chests are not that tricky to loot, unlike the ones in the Swamp. You don’t even need a specific item for the Cathedral Golden Chests in the video game published by Finji. However, you do need to know their locations.
Of course, you’ll be rewarded for each Chest you open. Here is the list of what you are going to get:
- Game Currency
- Hot Pepper
- Potion Shard
- Blue Fruit
- Pink Fruit
- Explosive Bomb
- Effigy
Where To Find All Cathedral Gold Chests in Tunic
The entrance to the Cathedral is on the north side of the Swamp area, as you can see on the next map.

To get to the Swamp, you have to cross the bridge in the southeastern corner of the Overworld area, preferably in the nighttime because it’s a little more complicated in the daytime. You can change between day and night by taking a nap in the Old House located in the middle of the Overworld.
Golden Chest #1: Next to a Turret
Go through the doorway to the right once in the Cathedral. Then proceed forward and go through another doorway; attention, not the one on your left but the one ahead. Now, deal with the enemies in the room and loot the Golden Chest in the corner next to a turret.

Golden Chest #2: Near a Spike Trap
After you’re done with Chest #1, go through the doorway with stairs in front of it (not the one from where you came). Then, head right and go up the stairs beside the wall. Follow the linear path to the room with the next Gold Chest. Be careful with the spike trap near the Chest when you open it to get a Hot Pepper.
Golden Chest #3: Behind Some Cages
Go through the doorway near the previous Chest and then go all the way up the stairs. Once up, go through the entry to reach a room with many bird enemies and bird cages. Fight your way to the opposite side of the room, and when you’re done with the birds, look for the Chest behind the last bird cages, as you can see in the following screenshot.
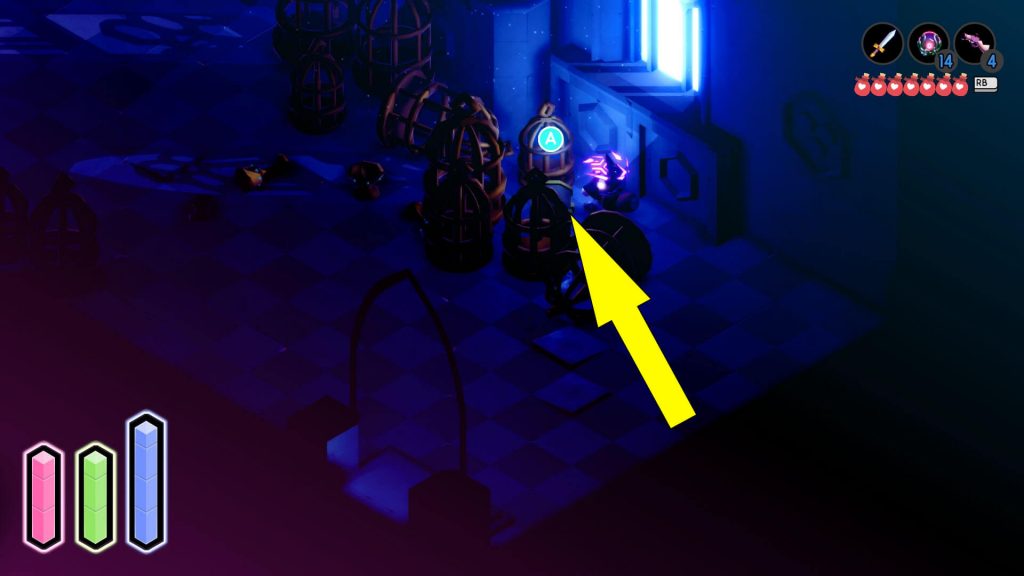
The Chest contains a Potion Shard. You get an extra potion slot in exchange for three shards like this.
Golden Chest #4: On a Balcony
You should now go through the doorway in front of Chest #3 upon looting it. Then, immediately head right to find the fourth Cathedral Golden Chest near the balcony’s edge.
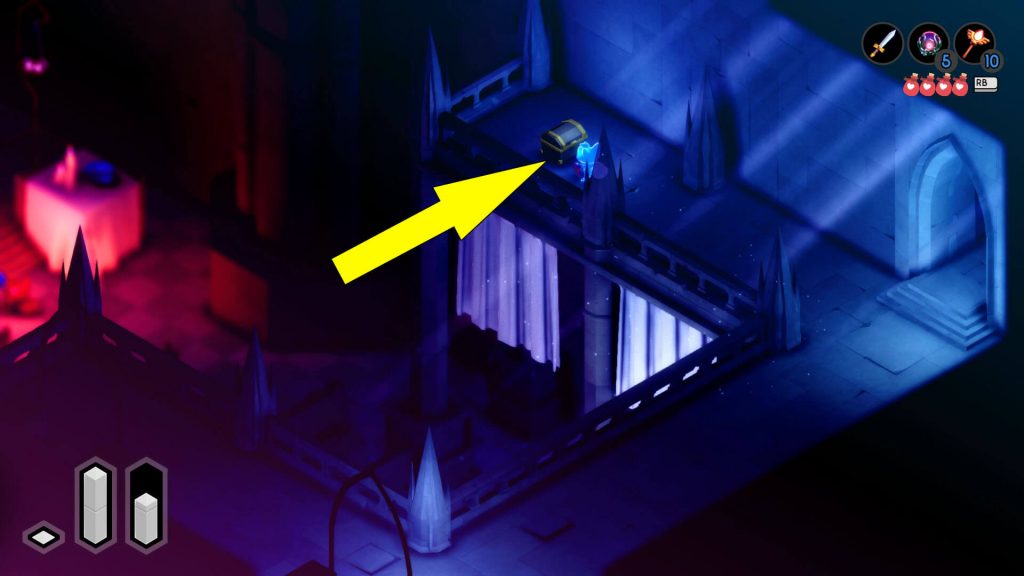
Inside the Chest, you have a Blue Fruit, which restores energy (blue bar) when need it.
Golden Chest #5: In a Corridor
Starting from Chest #4, make your way to the other end of the balcony and go through the entry. Be careful not to go through the doorway in the corner but through the one at the end of the balcony. Deal with the enemies in the room and then go through the doorway with the stairs. Be careful with the turrets and go to the end of the corridor for the next Golden Chest.

The Chest contains a Pink Fruit if you need to heal yourself.
Golden Chest #6: Near a Ladder
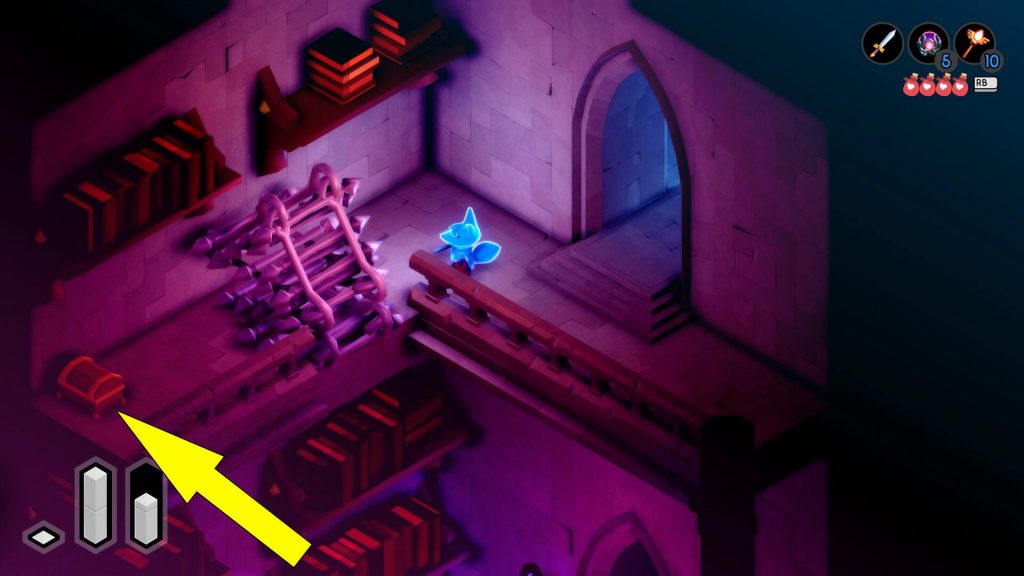
For the sixth Tunic Chest, first, return to the balcony where you got Chest #4. Upon entering the balcony coming from Chest #5, go through the doorway to the right (in the corner). Now interact with the ladder under the bookshelves to unlock a shortcut but also to clear your way to the sixth Chest, containing an Explosive Bomb.
Golden Chests #7 & 8: Near Some Books & Behind a Secret Passage
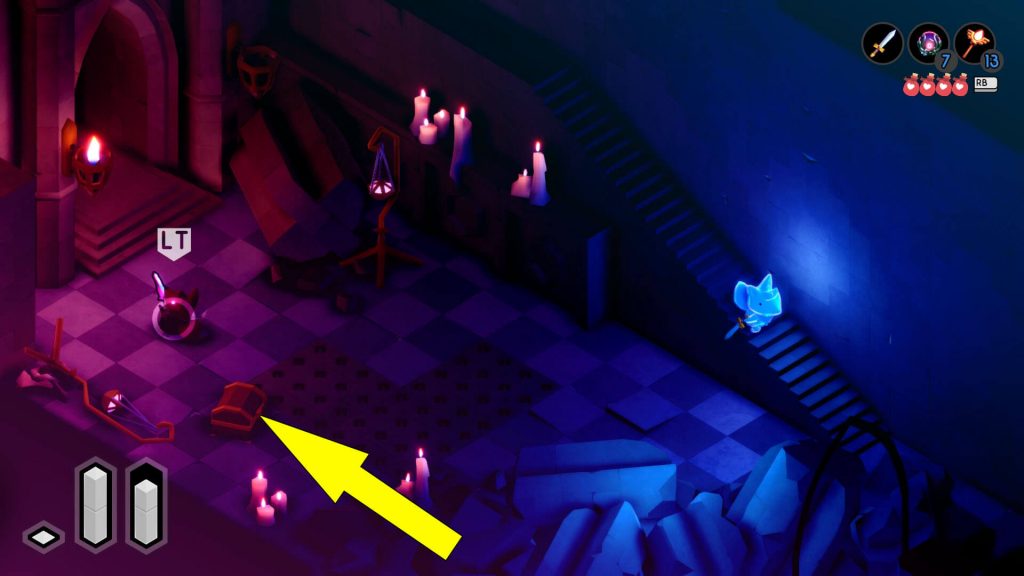
For the next two Chests, you first have to go down the ladder near Chest #6. Chest #7 is near the books on the ground, and Chest #8 is behind a secret passage in the wall with the bookshelves.

To open the secret passage, you have to just push the wall marked in the screenshot above. One Chest contains Game Currency, and the other an Effigy, so more money for you.
Golden Chest #9: In the Darkness
The last Tunic Chest is the hardest to find because it’s hidden behind another two secret passages. The first secret passage is right behind Chest #8; hug the wall to unlock it.
Proceed through the linear path until you see a bridge with a Secret Treasure chest under it, which you have to ignore because you can’t get it now. Cross the bridge and stand in front of the wall with the drawing because you have to solve a little puzzle to continue.

Follow the drawing pattern on the wall with your D-PAD, starting from the left side. You must push the correspondent button twice for the line splitted in two by a dot (on the drawing). If you are struggling, let me help you out; in front of the wall, press the following buttons on your D-PAD:
LEFT, UP, LEFT, UP, RIGHT, UP, LEFT, UP, RIGHT, DOWN, RIGHT, RIGHT, UP, RIGHT, DOWN, LEFT, DOWN, RIGHT, DOWN, LEFT, DOWN, LEFT.
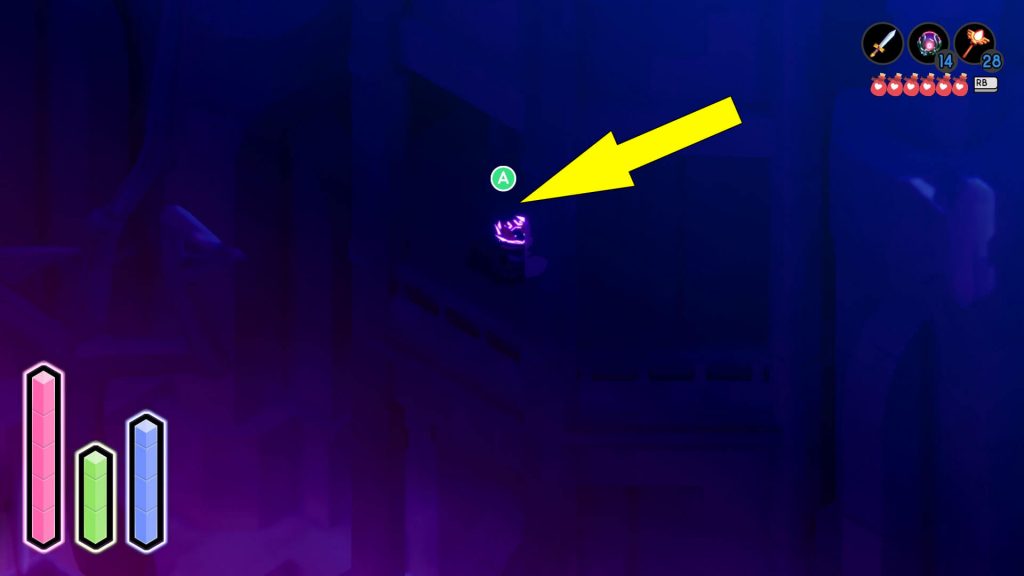
Then go through the secret passage, and you’ll reach Chest #9, hiding in the darkness on the balcony. Be careful not to miss it.