Horizon Forbidden West Daunt Relic Ruins is an activity you can complete in the first area Aloy gets to explore when she reaches the West. HZFW Daunt Relic Ruins is one of the 9 Relic Ruins locations featured in the latest video game released by Guerrilla Games and most likely the first one you’ll encounter.
Because these activities are the trickiest in the game, throughout the guide below, I’ll tell you how to complete the Horizon 2 Forbidden West Daunt Relic Ruins and how to explore this landmark. Before moving forward, it’s worth knowing that you don’t need any special gear for The Daunt Relic Ruins quest, but there are specific steps you’ll have to follow.
Where To Find the Daunt Relic Ruins
As you can see on my map below, The Daunt: Relic Ruins are south of Chainscrape. This landmark is pretty easy to find, especially if you completed The Daunt Vista Point because the ruins are only several steps away from the said Vista Point.

On my map above, you can also notice that it’s best to approach the ruins from the north, so make sure you are at the exact location as the one on my screenshot.
Daunt Relic Ruins Puzzle Solution
Once you reach the large building where this puzzle takes place, your main objective is to figure out how to get the Ornament behind the locked door. To do this, you’ll need:
- The Door Code
- The Key Module
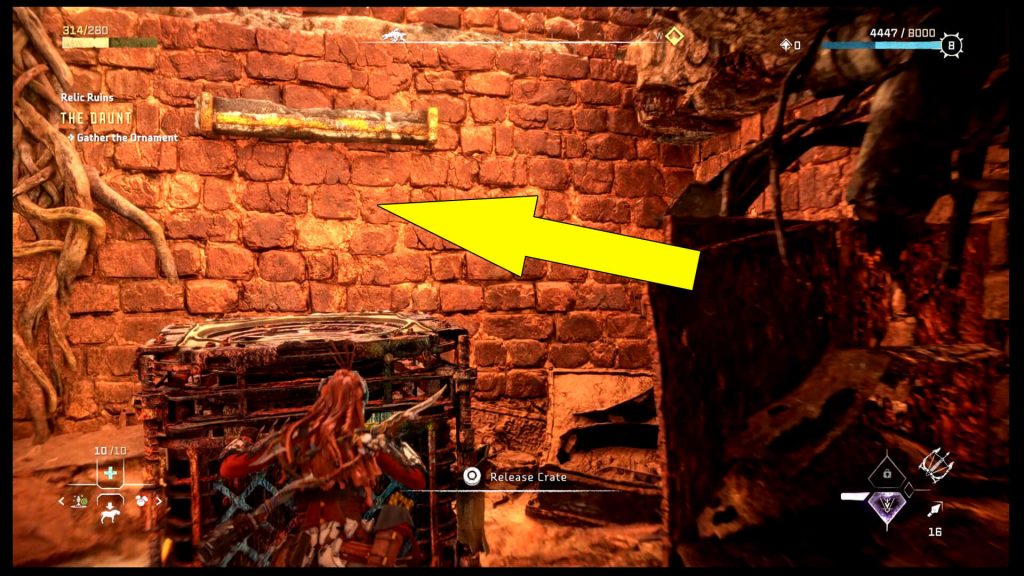
Now, start by looking around to spot a rather large crate. Grab it, then pull it inside the damaged building near the wall with a yellow grappling point. You can use the Pullcaster, or you can use your hands. The exact location is this.

While on the crate, jump and grab the ledge, then pull yourself up. Now you should be in front of The Daunt Locked Door. From here, exit to the balcony and head left. Jump over the gap on the next balcony.
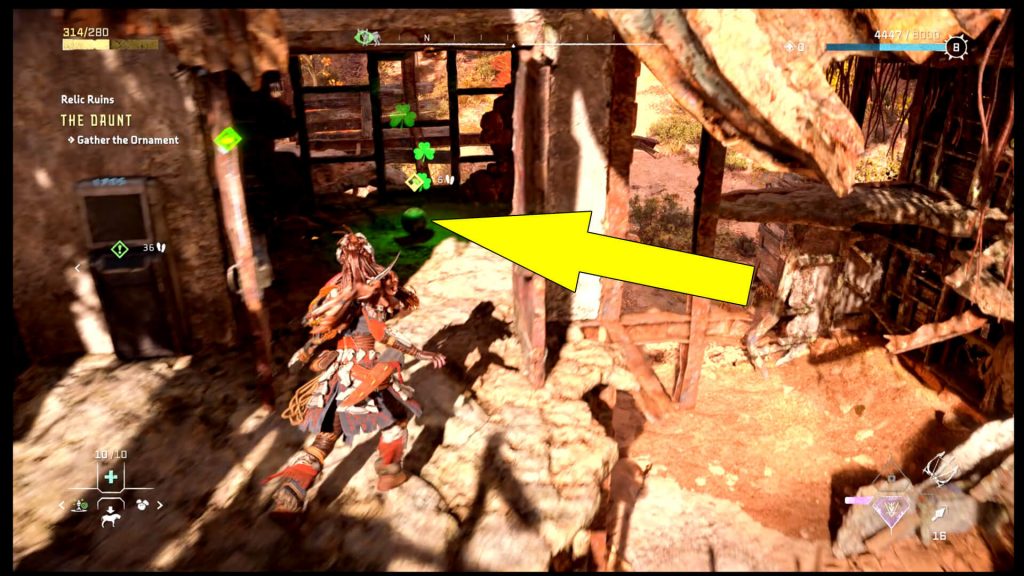
Now, head left and drop inside the next building. While on the ground, look on the left side and on the upper floor to spot another crate (pictured). Use the Pullcaster to pull it down.
Where To Find the Door Code
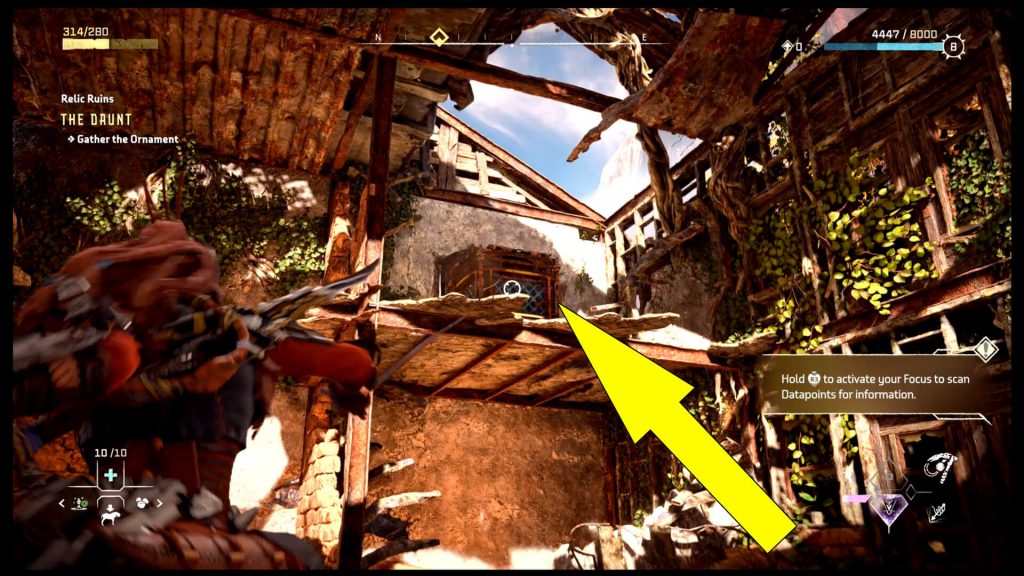
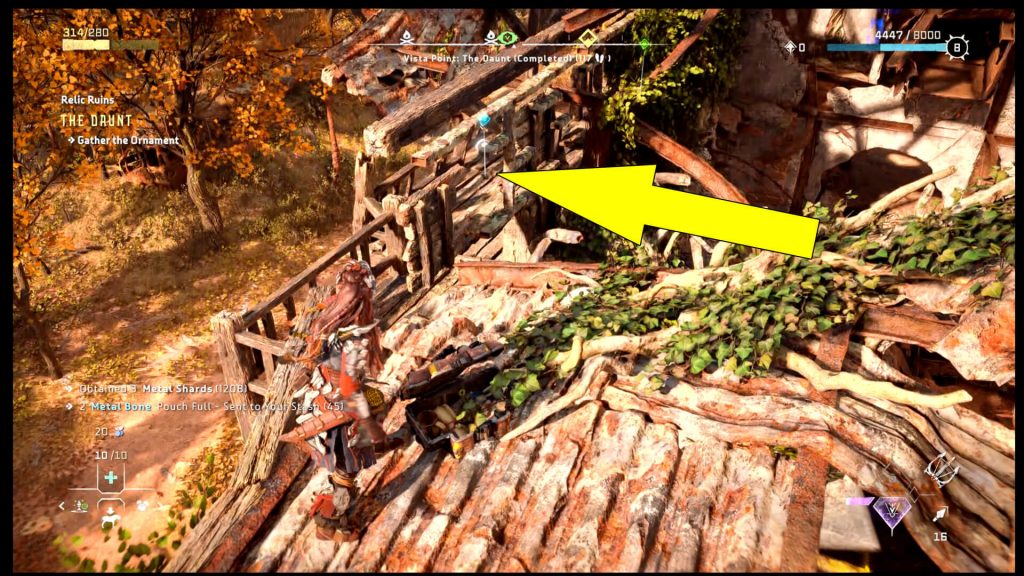
Before moving forward, after you pull the crate, look around for a Datapoint you can scan. It sits on some wooden planks nearby.

Make sure you scan the Datapoint and also read it in your Notebook because it provides the HZFW Daunt Relic Ruins Door Code, which happens to be 1705. Great, so now, let’s get the Key Module or continue our exploration.
How To Get the Key Module
Once you get the code and the crate is on the ground, look up, and you’ll see an air vent you can open and a ledge you can move. Both are pictured below, and you’ll need to use the Pullcaster to move them.
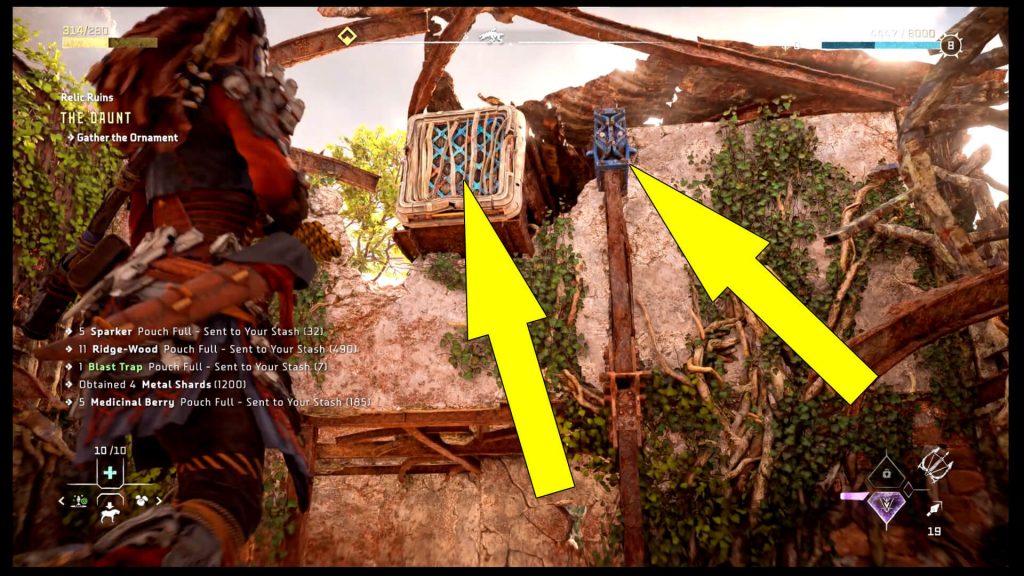
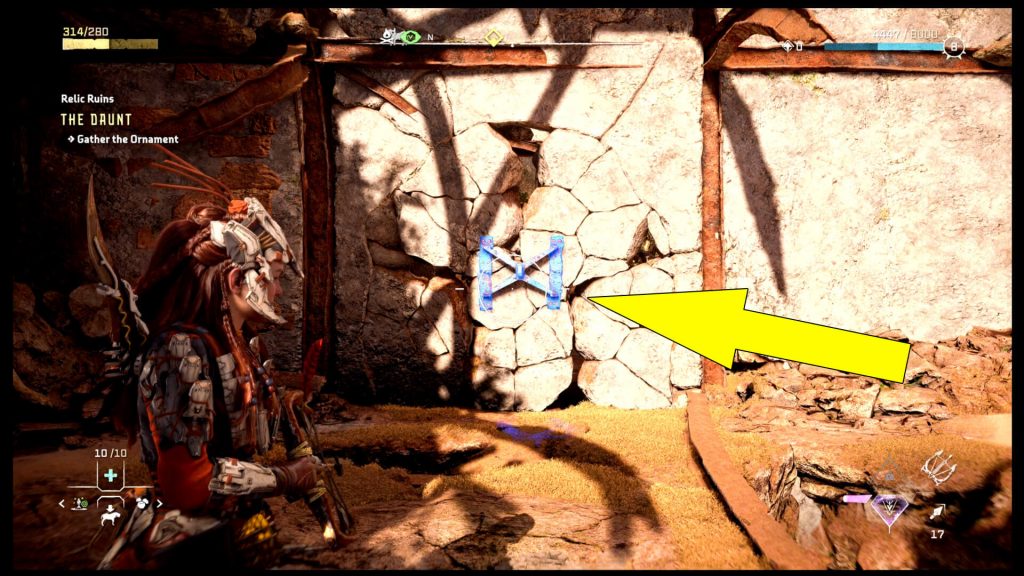
Keep in mind that you can push or pull the crate and then climb it so you can reach these two objects. From the same crate, jump on the ledge, then get inside the ventilation system. Drop in the following area and turn around to spot a concrete wall you can destroy by pulling it with Aloy’s Pullcaster.
Now, hop into the hole in the ground without moving the crate, then follow the tunnel. Take a right turn, and when you reach the other side, on the ceiling, you’ll see another point on which you can use the Pullcaster.
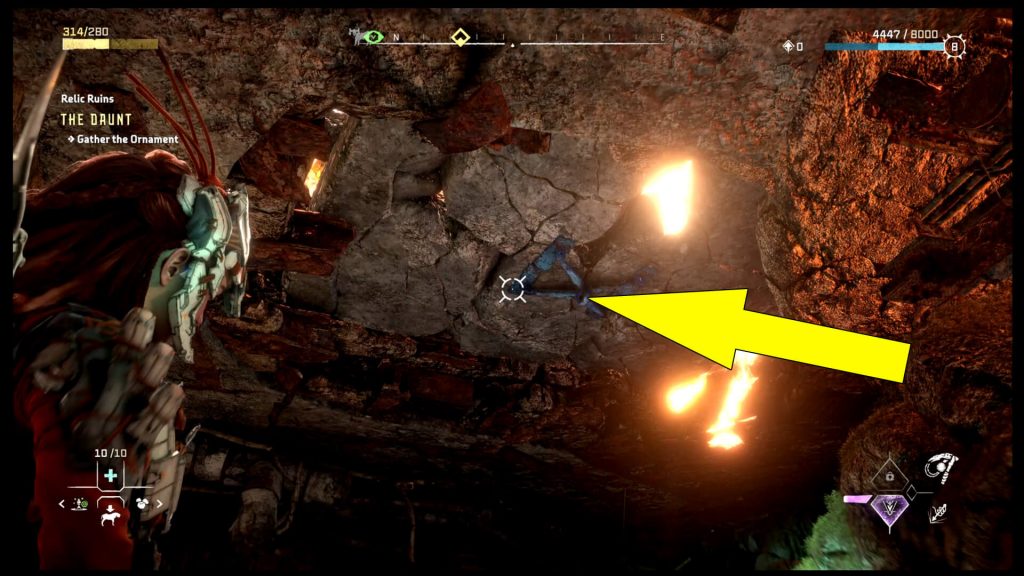
Destroy the ceiling, then head back up to the surface. Once outside, use the Pullcaster and fire through the hole in the wall, aiming at the crate. Your goal is to pull it towards you so it can fall through the hole in the ground, just as you see in the screenshot below.

Awesome! Now, you’ll want to go back to the tunnel and move the create near the concrete wall with the yellow ledges. Again, as you can see in my image.
Obviously, now you’ll want to climb on the crate and then jump on the ledges to reach the upper area. Keep following the yellow ledges, then pull yourself up, and you’ll find yourself on the roof. On the left side, you should be able to spot the Daunt Ruins Key Module or the Hotel Room Key in my image.
How To Open the Locked Door
Upon picking up the Key Module, head back to the first room, where the first crate is. It should be in the same location (pictured at the beginning), so hop on it, then climb to the upper floor where the Locked Door awaits. All you have to do now is to use the Hotel Room Key at the terminal on the left side; then, you’ll be asked to enter the code, which, as revealed above, is 1705.
Once the door opens, head inside and get the Ornament on the ground to complete the Horizon Forbidden West Daunt Relic Ruins side-quest.
How To Use the Ornament
If you wonder how to use The Daunt Ornament you just found, then the answer is simple. You’ll have to progress the story and reach Hidden Ember, where you’ll meet Stemmur. This NPC is willing to trade all 9 Relics for nine animations that allow you to change the night sky in the desert.
On top of this, you’ll be able to unlock Stemmur’s stash and get the Ancestor’s Return Legendary Shredder Gauntlet; however, you’ll need to finish all 9 Relic Ruins in the game for this. This means that you’ll want to visit No Man’s Land Relic Ruins next.
