Horizon Forbidden West No Man’s Land is the second Relic Ruins activity you can complete after Daunt Relic Ruins the moment you get to the second area in the video game developed by Guerrilla Games. HZFW No Man’s Land Relic Ruins allow you to unlock one of the Ornaments, but it is a lot different from the previous one and more challenging.
On top of this, to complete the Horizon 2 Forbidden West No Man’s Land Relic Ruins, you’ll need a specific tool we’ll explain below. But first, let’s see where to find these Ruins in the second area.
Where To Find the No Man’s Land Ruins
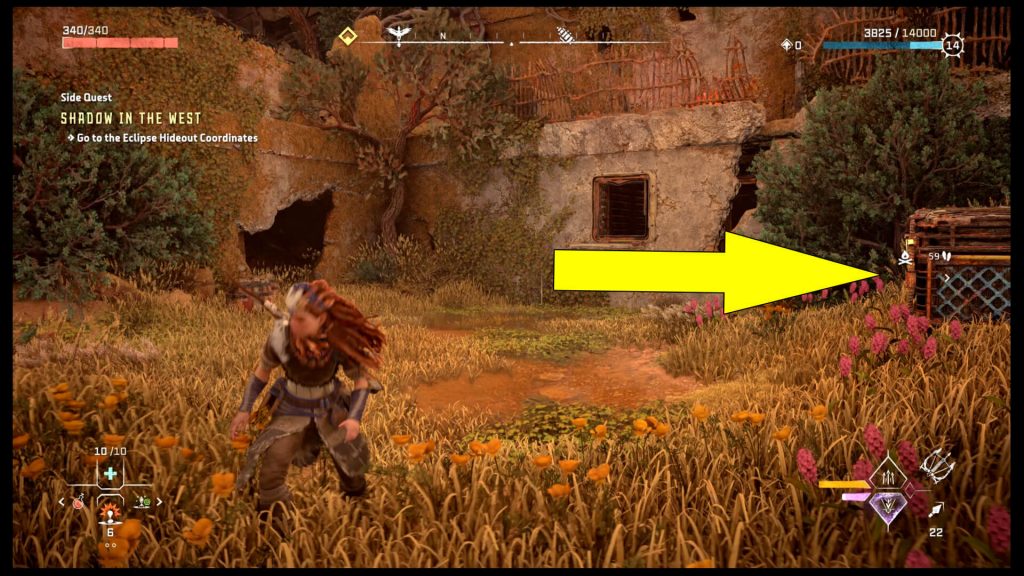
My map below shows that the No Man’s Land Ruins are southwest of Barren Light and the Barren Light Salvage Contractor.

Additionally, you can see two icons on my map that you may not know what they mean, especially if you approach this activity early in the game.
No Man’s Land Relic Ruins Puzzle Solution
The two icons in question represent Firegleams or the Red Crystal Flowers, which you most likely know from the first area. As such, to complete the Horizon Forbidden West No Man’s Land Ruins puzzle, you’ll need:
- The Igniter
- A Charged Power Cell
- The Door Code
While the Power Cell is inside the Ruins, the Igniter, which allows you to remove the Anomalous Growth Blocked Paths, unlocks via story progression. After you get the Igniter, return to the location on my map and approach it from the west.
Look around in the backyard, and you’ll notice a broken wall and a crate inside. The first step in finishing the HZFW No Man’s Land Relic Ruins puzzle is to grab the crate inside the hole and move it close to the wall that’s on the opposite side just like you see in my screenshot.
Now jump on the crate you moved using the Pullcaster or your bare hands, then grab the yellow ledge to pull yourself up. From here, you’ll want to go left, around the balcony where the Firegleam is found.
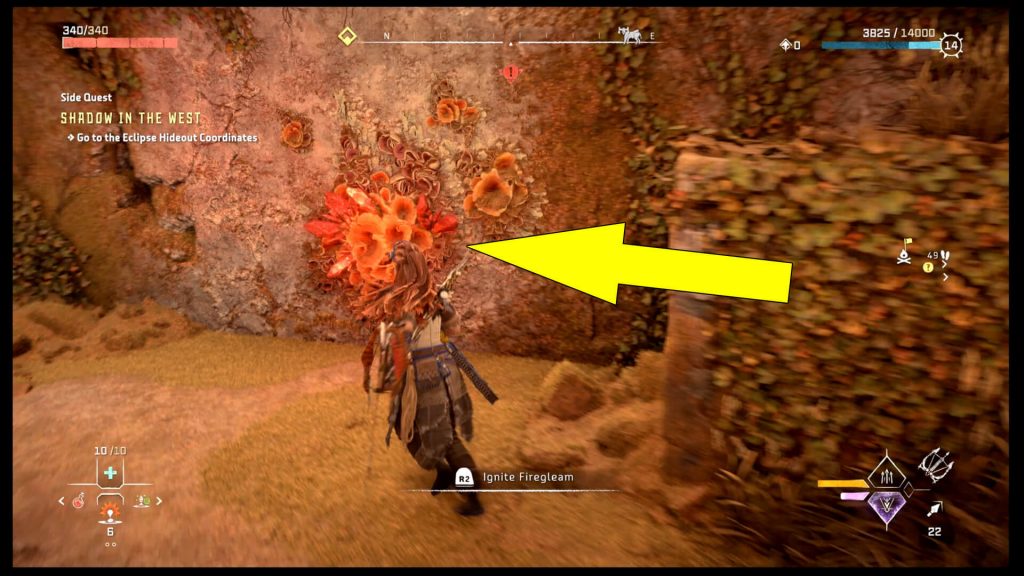
To remove the Red Crystal Flower, you need to blow it up using the Igniter. Once you do this, head inside the next building and jump to the ground floor. Immediately turn left to spot a wall you can break using the Pullcaster.
Where To Find the Door Code
Head north toward the Battery Terminal after removing the broken wall in my image above (while remaining in the same room). On the right side (pictured below) is a Datapoint you can scan.

This Datapoint contains the No Man’s Land Relic Ruins Door Code, so make sure you first scan it using Aloy’s Focus, then access it from your Notebook. The code, in this case, is 2204. Great, so now that you know the code, it’s time to deal with the Energy Cell because you’ll need power to unlock the door and use the code.
How To Get the Energy Cell
Before going after the Power Cell, there is one additional step you have to complete, and it is the trickiest one. What you have to do, is to head to the upper floor where you found the first Firegleam, and while facing the hole, head right. Around the corner, you’ll see a second crate behind a crate (pictured).
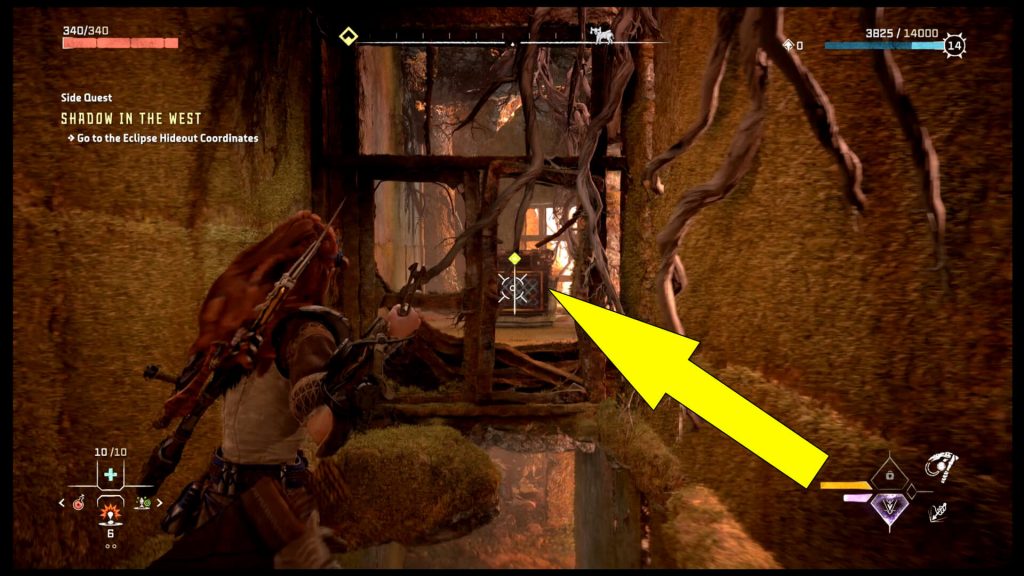
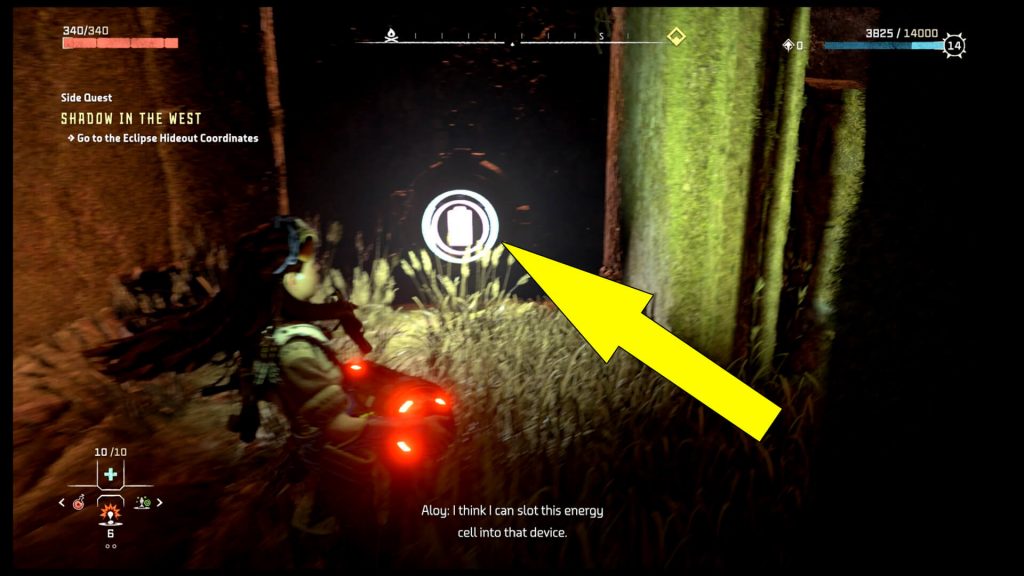
Using Aloy’s Pullcaster, pull the crate towards you. Now, head back to the main room and follow the tunnel behind the breakable wall. Keep following it, and it will lead you outside, where another Firegleam is found. Blow it up, and in the room behind, you’ll find an Energy Cell.
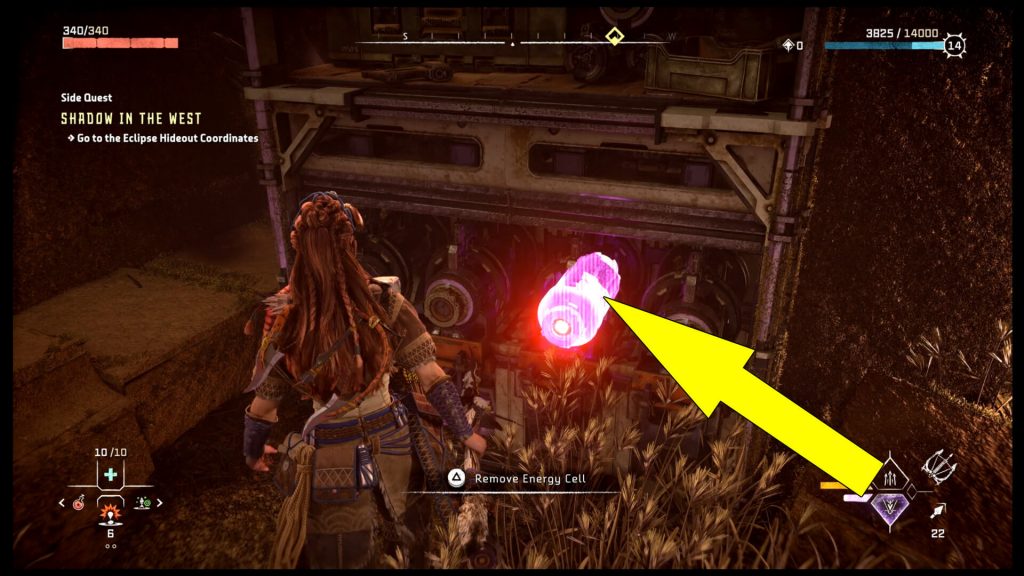
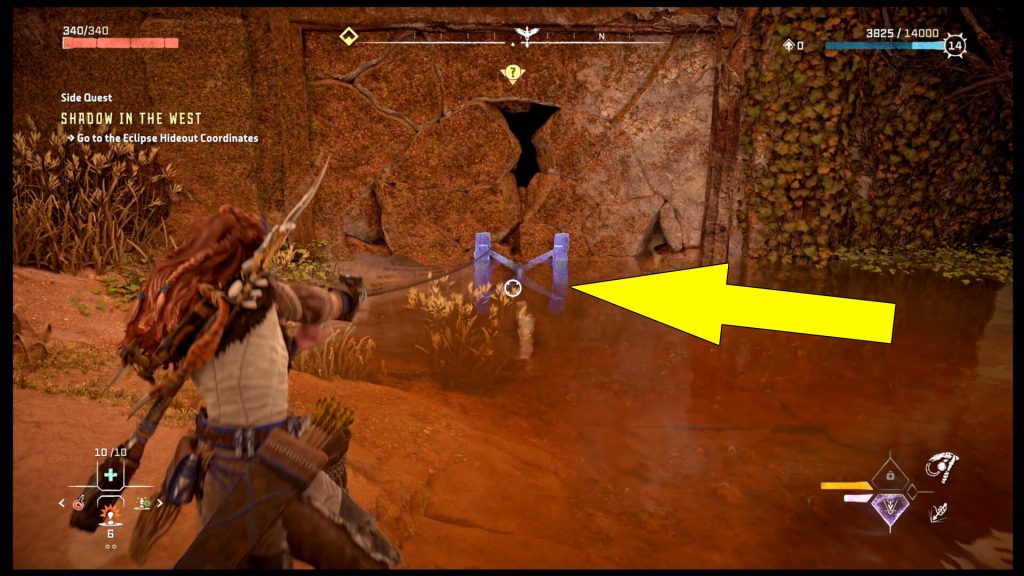
Get the Energy Cell, then retrace your steps through the tunnel back to the main room. When you enter, head right and place it in the charging terminal.
The idea here is to recharge the Energy Cell and then place it in the other terminal; however, the problem is that you can’t cross the water area with the Energy Cell because it discharges.
How To Carry the Discharging Energy Cell Across the Water
To get on the other side of the water with the charged Energy Cell, you’ll need to deal with the second crate. Therefore, head back to the upper floor, and while standing near the small tree, aim at the crate you moved earlier and use the Pullcaster to pull it towards you and to the ground floor.

Now comes the final trick for this puzzle, and your last goal is to grab the Energy Cell from the charging station and place it on the crate you just moved. This can prove a bit annoying, so make sure you move the crate close to the ground area, then grab the Energy Cell. Step on the crate and press the aim button to release the Energy Cell on top of the box, as you can see below.
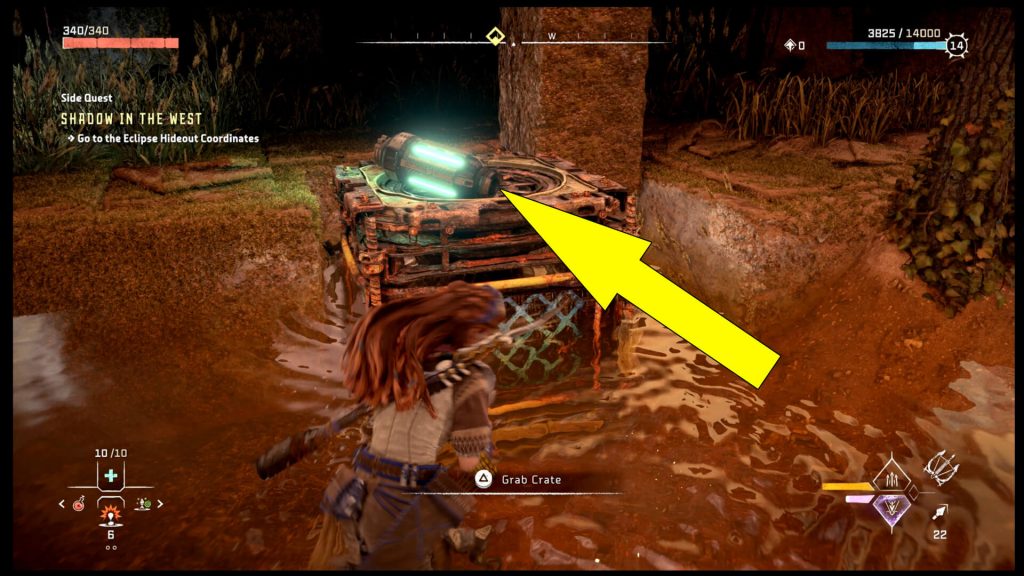
One thing to remember here is that if the Energy Cell gets into the water, you’ll have to recharge it again. The next step is to grab the crate and pull it to the other side of the room. As you can guess, you need to place the Energy Cell into the terminal on the other side. Once you do that, move the same crate close to the wall where the yellow ledges await.
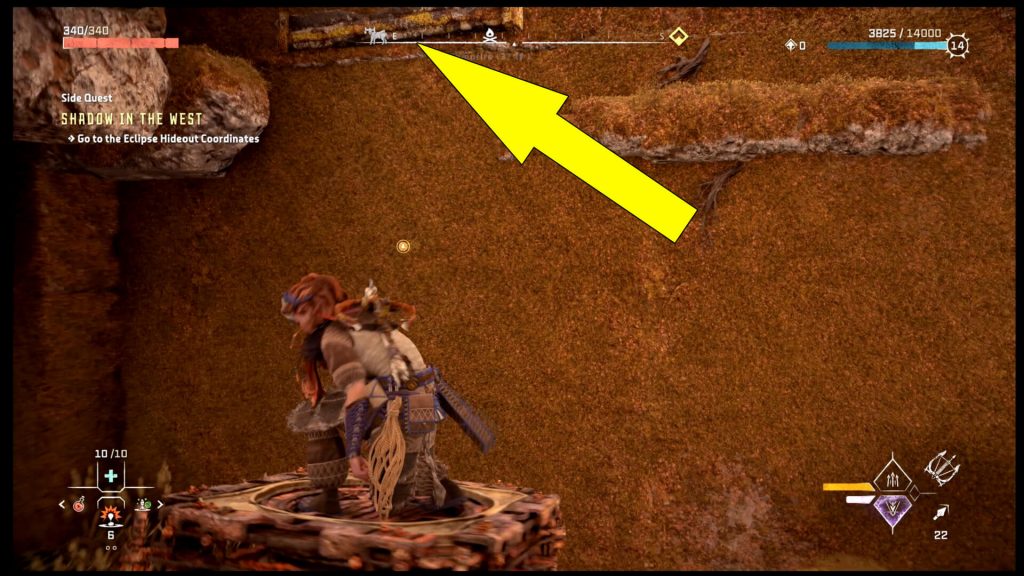
Hop on the crate, then go all the way up, and on the left side, you’ll see the locked door. Interact with the terminal, and use the code 2204 to open the door. Now, grab the Ornament on the right side of the room.
How To Use the Ornament
If you want to know how to use the No Man’s Land Ornament you just found, then you’ll have to progress the story and reach Hidden Ember, where you’ll meet Stemmur. Stemmur is willing to trade all 9 Relics for nine animations that allow you to change the night sky in the desert.
Additionally, you’ll be able to unlock Stemmur’s stash and get the Ancestor’s Return Legendary Shredder Gauntlet, but only after you finish all 9 Relic Ruins in the game. Therefore, why not head to the Restless Weald Relic Ruins next?
