Outriders Hounds Warehouse Chests should not be missed when you play the video game developed by People Can Fly, as they contain valuable resources and some decent gear you’ll most likely need. One of the Outriders Loot Chests in Hounds Warehouse; however, can be pretty tricky to get and easy to miss, so below, we’ll go over all of them. Before we begin this spoiler-free on-topic guide, you should know that Hounds Warehouse is the first arena in the Outriders demo and also in the final game.
Since you’ll access it quite early, it is mandatory to get all chests so you can improve the gear of your newly created character. Finally, this arena is part of the Reunion quest, which leads to Jakub, and even though this location may look like a good spot to farm legendaries, don’t waste your time here because there is a faster way.
As you enter the Hounds Warehouse, you’ll notice that you are inside a small area, and you are not alone. In fact, you’ll soon find out that there is some heavy resistance in the area and a lot of Mongrels will open fire the moment you step inside the arena.
We won’t go into details on how to deal with the first wave of enemies, but you may want to learn how to change your active skills in Outriders because the way you use them determines how long you’ll survive.
Loot Chest #1
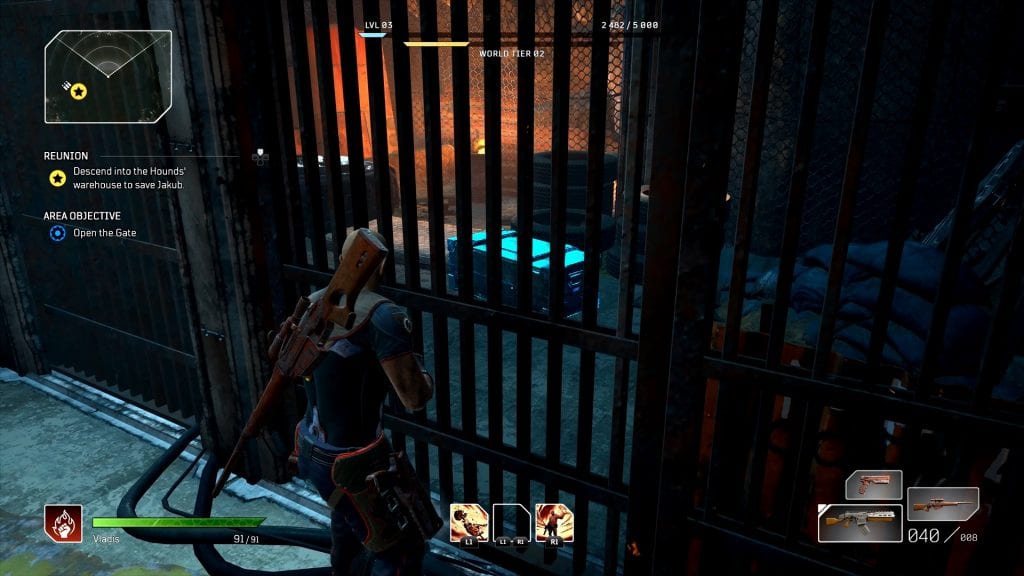
Once you deal with the first wave of enemies, if you look around, you’ll notice a chest behind a locked gate. You can see it below.

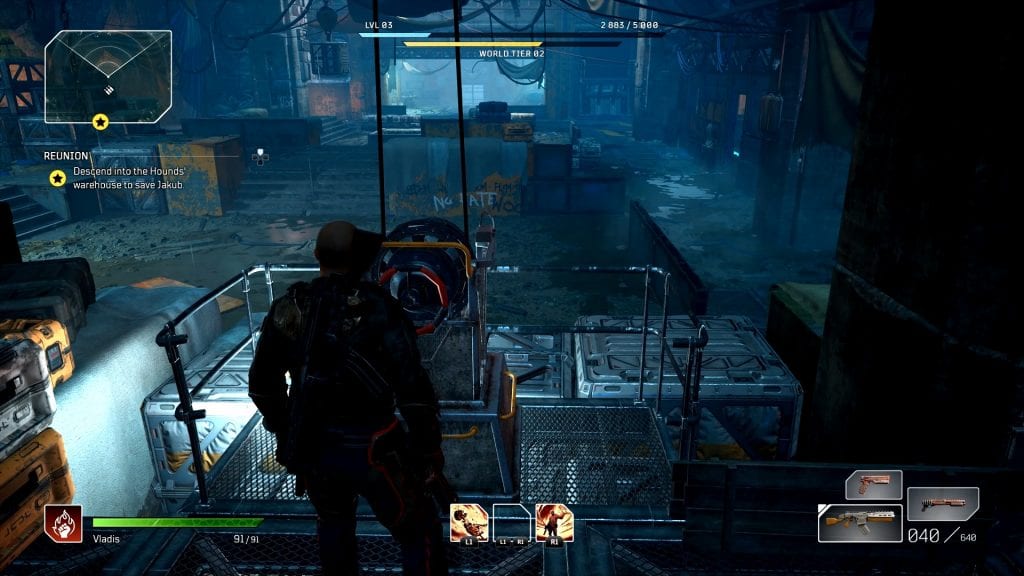
This Outriders Hounds Warehouse chest is quite easy to spot, but the problem is that you’ll most likely start looking for a way to open the gate in front of it. Instead of doing this, focus on your objective and use the lever by the gate on the other side of the arena. This will trigger a new wave of enemies that are far more dangerous than the first ones. Once you deal with them, pull the lever again (see below).

This action grants you access to the area where you’ll find Jakub and also unlocks the gate with the first chest. Or simply put, all doors are unlocked by the same lever.
Loot Chest #2
The second chest is similar to the previous one, meaning that you’ll need to pull the lever. Once you loot the first chest, cross the hall, and you’ll see it near a wall in a small side room.

Loot Chest #3
The third one (as you can see in the next screenshot) is behind the gate near the lever.

