Karnok’s Wall Rune Switch is one of the six Campaign Challenges you’ll need to finish in Tiny Tina’s Wonderlands area known as Goblin-Cobbles Wall. Assuming you wish to get 100% Karnok’s Wall progress, alongside the 20 Lucky Dice, Lost Marbles, and all other collectibles and activities listed here, you’ll also have to finish the Rune Switch Challenge.
As you probably know by now, the Karnok’s Wall Rune Switch Challenge involves a small race you’ll have to finish before the time runs out.
Where To Find the Karnok’s Wall Switch
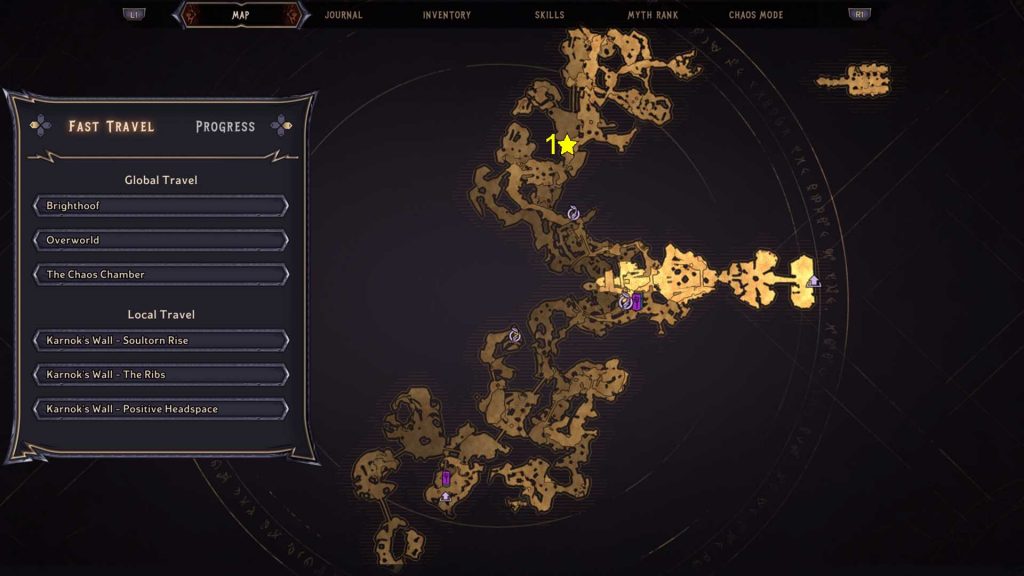
The Rune Switch in Karnok’s Wall region of the video game developed by Gearbox Software is in the area named The Dreadspine. You can see its exact location on the following map.
To get to the Karnok’s Wall Rune Switch Puzzle and start the Challenge, consider finishing all side-quests first because one of them takes you to the region where the device awaits. Furthermore, you may also want to collect the Karnok’s Wall Poetry Page nearby before starting the race. After you get the page, look for the device you have to activate on the middle floor in Dreadspine.

How To Complete the Rune Switch Karnok’s Wall Challenge
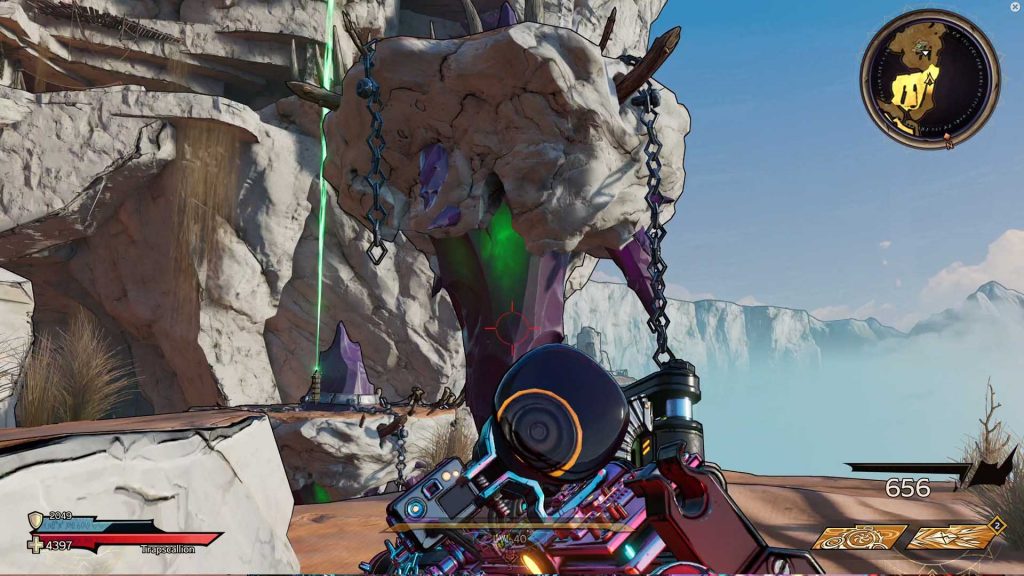
Upon activating the Rune Switch pictured above, the Challenge starts, and so is the timer. Therefore, you’ll want to sprint toward the first beam of light. From the location of the switch, head right and wait for the air stream to stop, then jump across the gap to get to the first device (pictured).

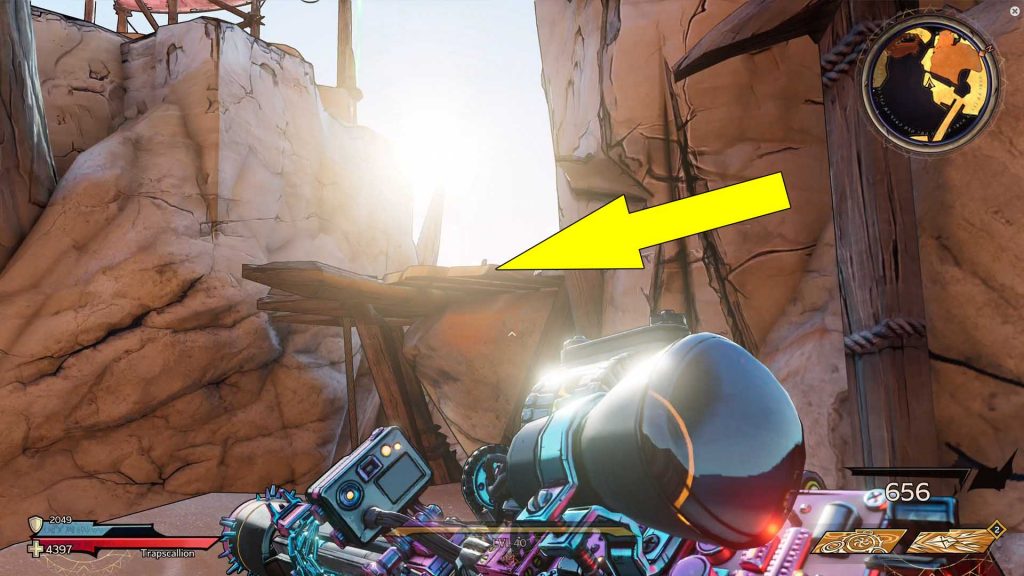
After activating the first switch, cross the bridge nearby, turn left, and jump on the wooden platform between the two mountain walls. Go around the corner to spot the second beam of light.
Finally, after the second switch, follow the stairs on the left side and quickly shoot the crystal on the platform above (pictured). Wait for the platform to get down, jump on it, then on the next one where the final Karnok’s Wall Rune Switch device awaits.