Tiny Tina’s Wonderlands Mount Craw Scrolls collectibles, also known as Lore Scrolls, are required to fill the progress bar in this area. They are similar to all other Scrolls we have found, the only difference being that in Mount Craw, you’ll need to find 5 Lore Scrolls. As you probably figured out, these collectibles do not appear on your map, making them pretty hard to track unless you know their locations.
Where To Find the Mount Craw Lore Scrolls
In the video game developed by Gearbox Software, Mount Craw is one of the largest areas, also known as Goblin Hovel. To make your search for hidden Mount Craw Scrolls as accessible as possible, let’s start with the locations map below because it pinpoints all 5 Lore Scrolls you have to find.
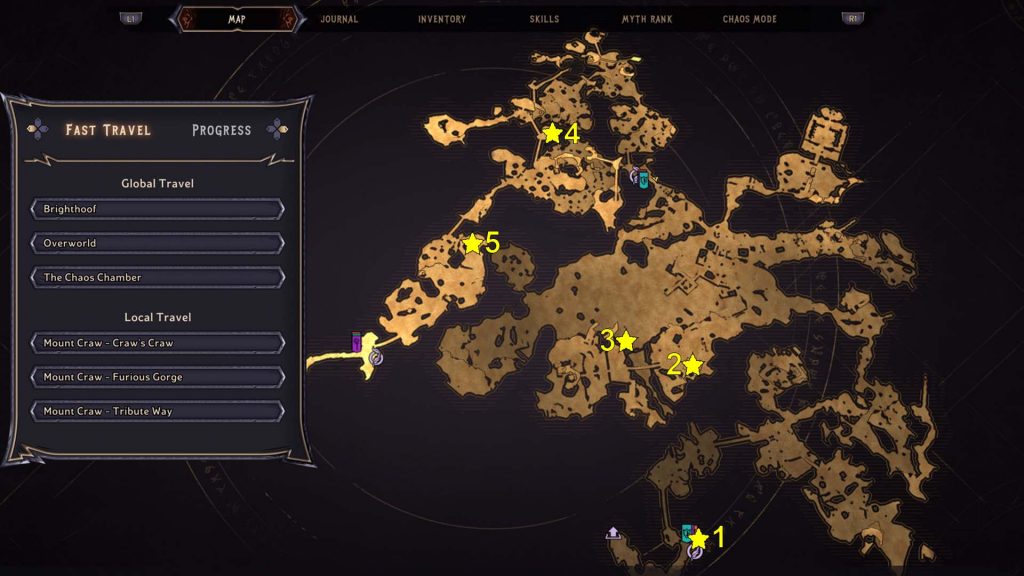
Lore Scroll #1: Near the Vending Machines
The first Scroll is very accessible since it’s near the vending machines. Nearby, you’ll also see the Mount Craw – Craw’s Craw fast travel point that you’ll most likely use more than once.
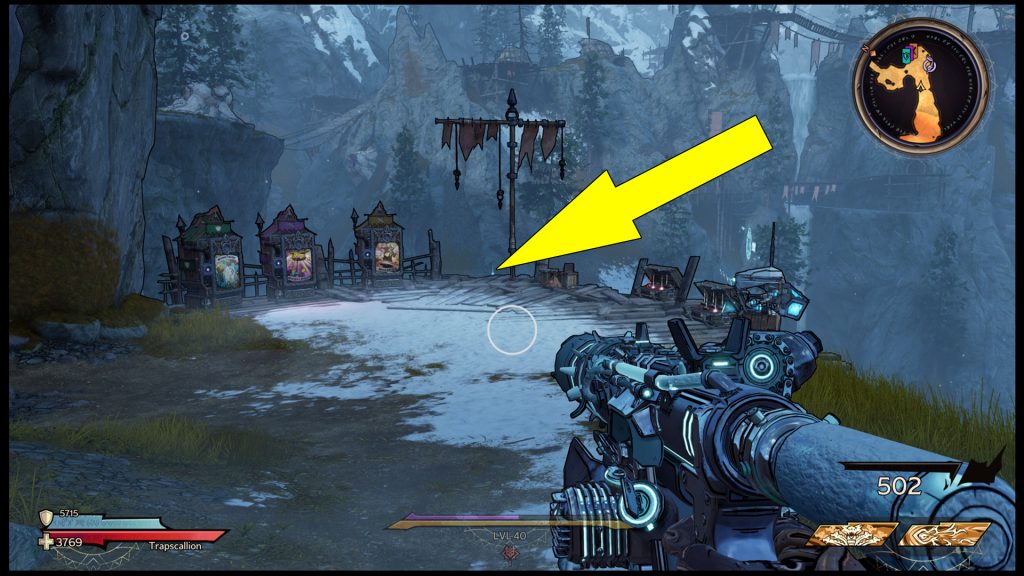
The page is on the ground on the right side of the vending machines as you descend the hill. This one is named A Jar, and it belongs to Jar, who is planning a revolution.
Lore Scroll #2: Inside a House
The second of the five Mount Craw Scrolls you can see marked on the map above is in a house in the area known as The Shimmering Loch. After you exit the frozen mines, hug the left side of the mountain and follow the path around the large frozen lake. Eventually, you’ll see a house similar to the one pictured below.
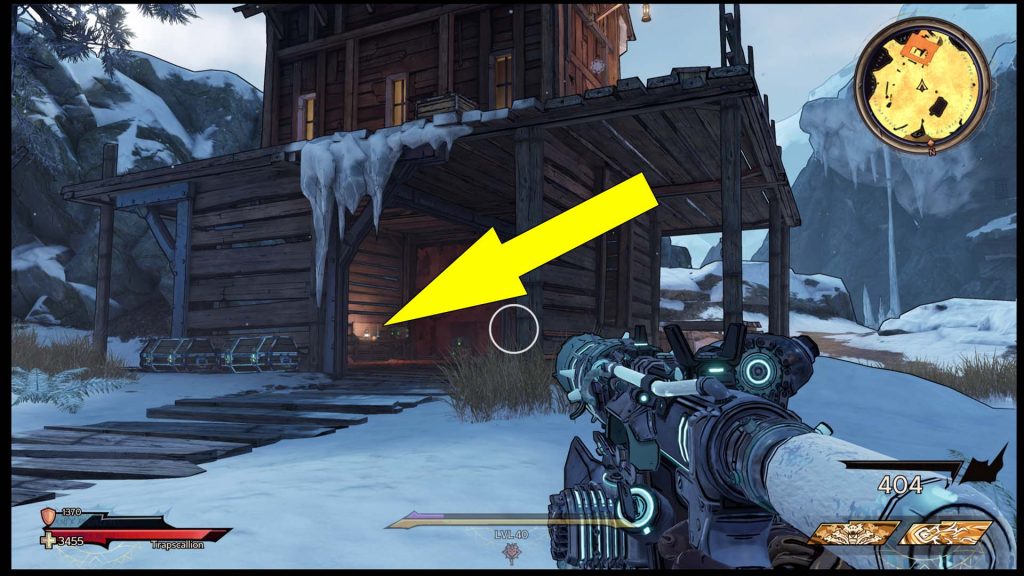
On the left side is a cabinet, and on it is the Fleedom Scroll which continues Jar’s saga. After you pick it up, you may also want to check the basement for a Lucky Die chest.
Lore Scroll #3: On a Wooden Ledge
From the previous Lore Scroll, cross the bridge nearby, moving towards the large mill in the distance. When you reach the other side of the bridge, turn right to spot a wooden platform at the cliff’s edge.
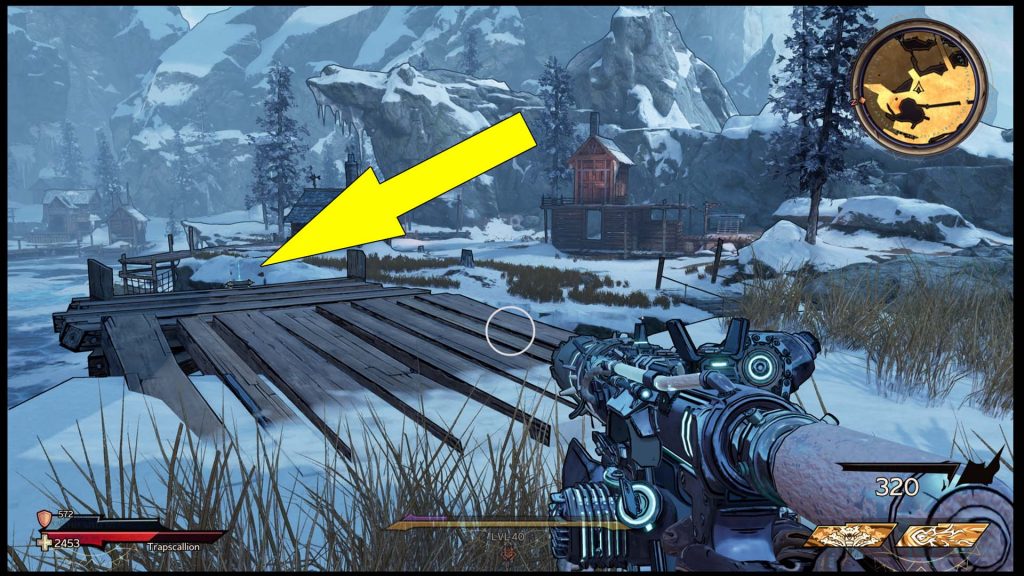
The third Scroll, named Get The Freak Out, is on it, and it reveals that Jar’s revolution was a success.
Lore Scroll #4: Behind a Furnace
For the fourth Lore Scroll collectible in Mount Craw, you’ll have to cross the large gorge towards The Great Oven. The Scroll is in the upper section, just before the bridge leading to The Great Oven. As you can see in my screenshot below, this Mount Craw scroll’s location is a bit trickier since it’s behind a small furnace.
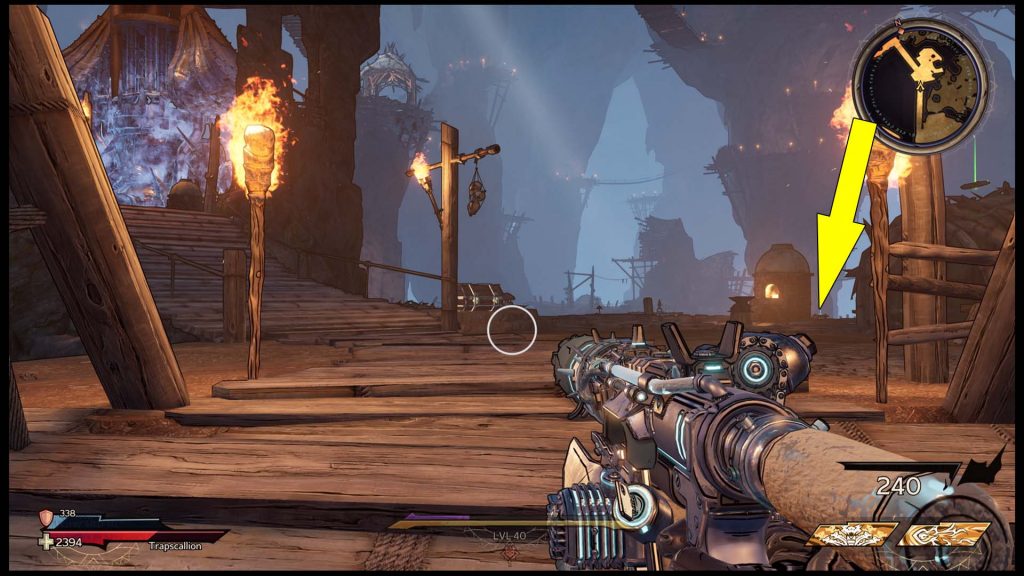
In my image, you can also see The Great Oven that you’ll have to reach while playing the main quest here. The diary is named It’s A Nose Ring Thing.
Lore Scroll #5: Behind a Goblin Hut
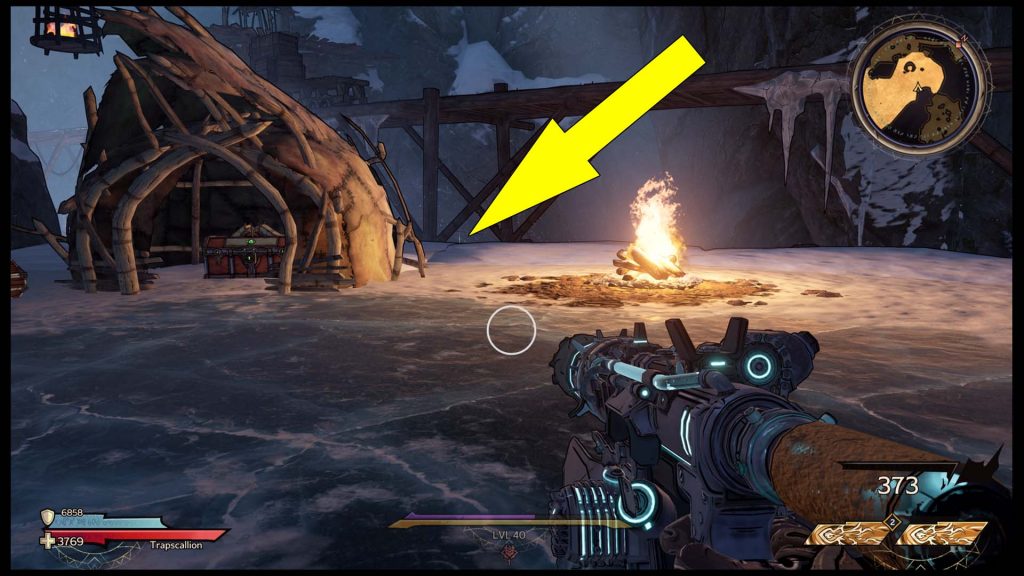
The last Mount Craw Scroll, named Expeditious Entreat, is found in the area known as Tribute Way. Use the marker on the map above, and when you enter the Tribute Way, cross the first bridge, then follow the stone stairs on the left. When you get to the top of the hill, head left, and around the corner, you’ll see a goblin hut with a large chest inside. Behind the hut, at the edge of the hill, is the final Scroll belonging to Jar.
