Resident Evil 8 Village area is the largest in the video game developed by Capcom and also the richest when it comes to collectibles, so it’s important to learn where to find every file, weapon, recipe, Goat of Warding, key item, and Outhouse; thus the following guide reveals all Village collectibles locations.
The Village in RE8 is first reached after the Prologue, and assuming you found every collectible in Ethan’s house, now you’ll have to do some exploration for even more collectibles.
Before you start, though, it’s quite important to remember that the Transylvanian Village you get to explore is pretty big, and you will return here several times as you progress through the story; however, not all Village collectibles can be retrieved the moment you enter the settlement.
Or, simply put, to get all of them, you’ll need to reach certain points in the game. For example, some of them can be obtained after you return from Castle Dimitrescu. To keep this Resident Evil 8 Village collectibles’ locations guide easy to follow, I will outline these points, obviously keeping the guide spoiler-free. On top of this, you’ll also learn more about my country’s culture or folklore.
First Visit Collectibles
As mentioned above, you’ll reach the Romanian Village in Resident Evil 8 the moment you finish the Prologue in Ethan’s house. You’ll find yourself in the forest, and the moment you enter, you’ll have to focus on collectibles.
Mission Briefing
The very first RE8 Village collectible is a File quite easy to find. When you enter the snowy area of the forest, look to your right, and you’ll see a truck and a dead body. Check the dossier next to the body, and you’ll get the Mission Briefing below.

First Aid Med & Handgun Ammo Recipes
The next two collectibles are two recipes that don’t require any effort on your part. All you have to do is follow the linear path through the forest up to the point when you enter the actual village. To do so, you’ll have to explore a lonely house, and eventually, as you progress, you’ll see Ethan sliding down a small hill.
When this happens, the First Aid Med Recipe and the Handgun Ammo Recipe will be automatically added to your crafting menu, and you can access them by pressing triangle, then R1 on PlayStation. You can even craft these items if you have the required materials.

Outhouse #1
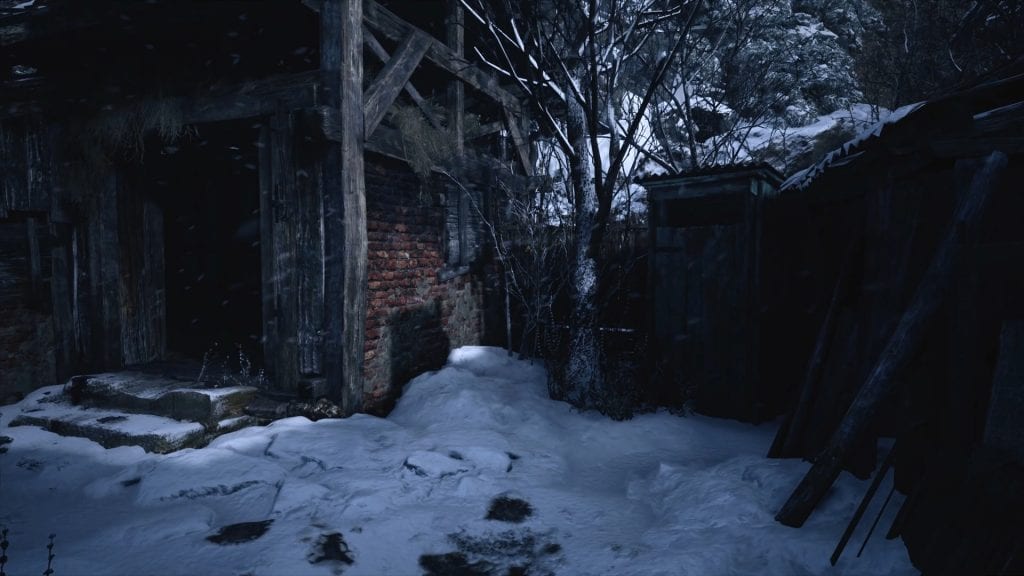
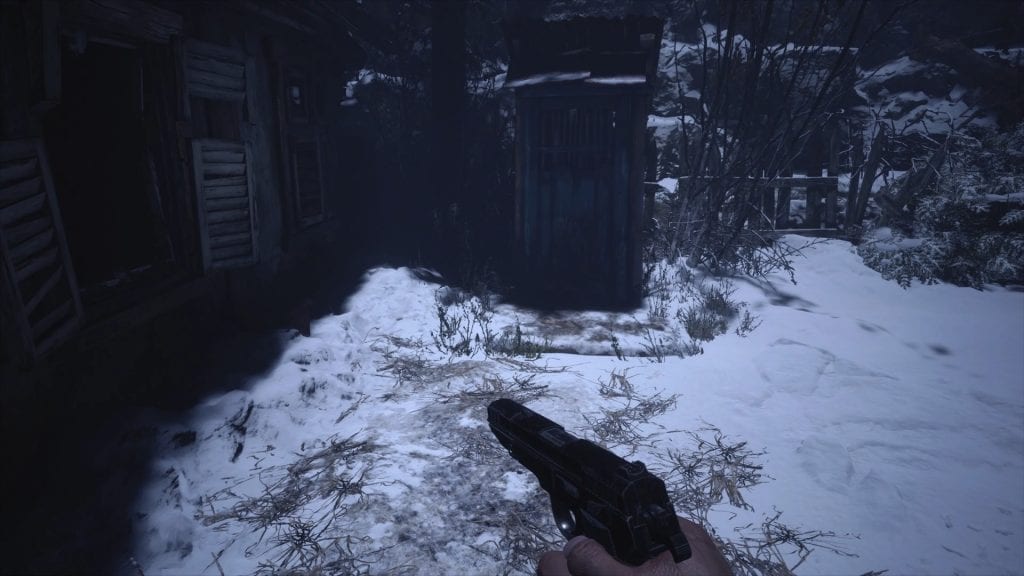
Once you enter the Village, feel free to do some exploration and gather all materials you can find in the first area; however, focus on the West Old Town Well.
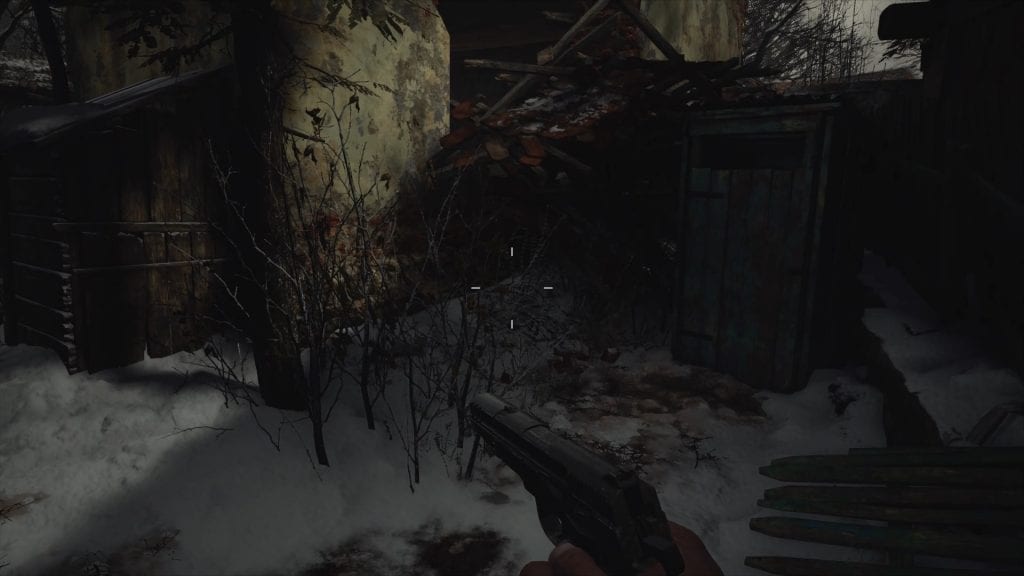
You won’t be able to interact with it just yet, but the next collectible is found nearby, and it’s an Outhouse you can open. Make sure you do so the moment you reach the Village. You can see it in my image below in the right corner, and even though it’s empty, you’ll need to open it.
Knife & LEMI Handgun
After you deal with the previous collectible, you’ll get your hands on your first two Resident Evil Village weapons. To get them, head west of Old West Town (the story takes you there), and you’ll find the knife on a desk inside a house.

As said, all you have to do is to explore the area. After you get the Knife, destroy the breakable box nearby, and then you’ll meet a scared villager. Unfortunately, you’ll also be attacked by a Lycan, but the good thing is that you’ll get the LEMI pistol from the old man.
Bolt Cutters – Key Item
As you fight the Lycan, you’ll eventually end up in the small courtyard behind the Old Man’s house. Deal with the beast first, then return to the same house through the hole in the wall, and in the side room, you’ll find the Bolt Cutters below.
These are used to cut the chain on the gate behind the house. Thus, you’ll need them to progress through the story.

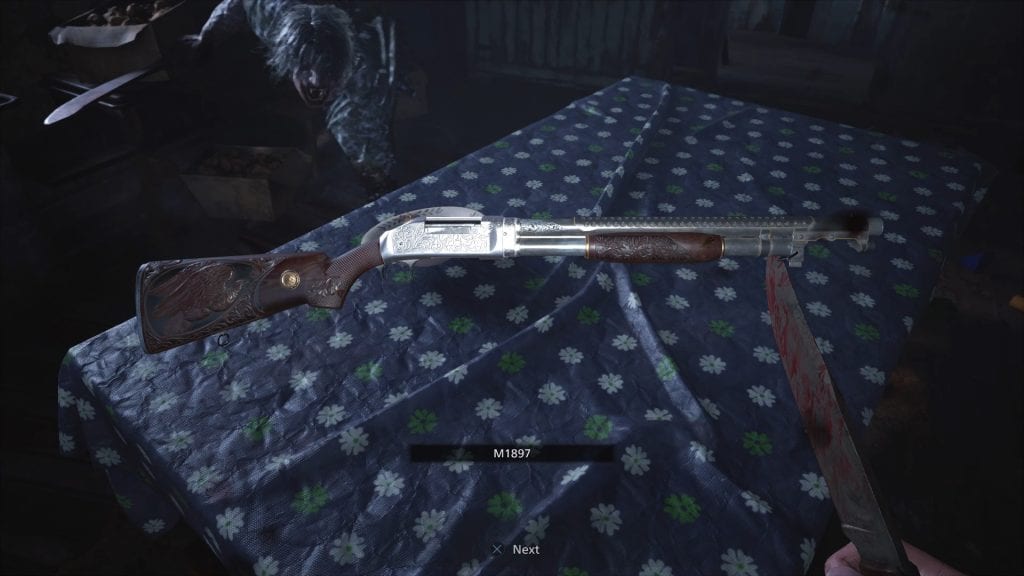
M1897 Shotgun
The next important item you need to get is the M1897 Shotgun, but it is also impossible to miss since it’s sitting on a table in the house where the Lycans attack you constantly. You’ll know you are in the correct spot because the beasts can be observed waiting for you on the roof. And you’ll need this weapon to survive the ambush.
Scribbled Note
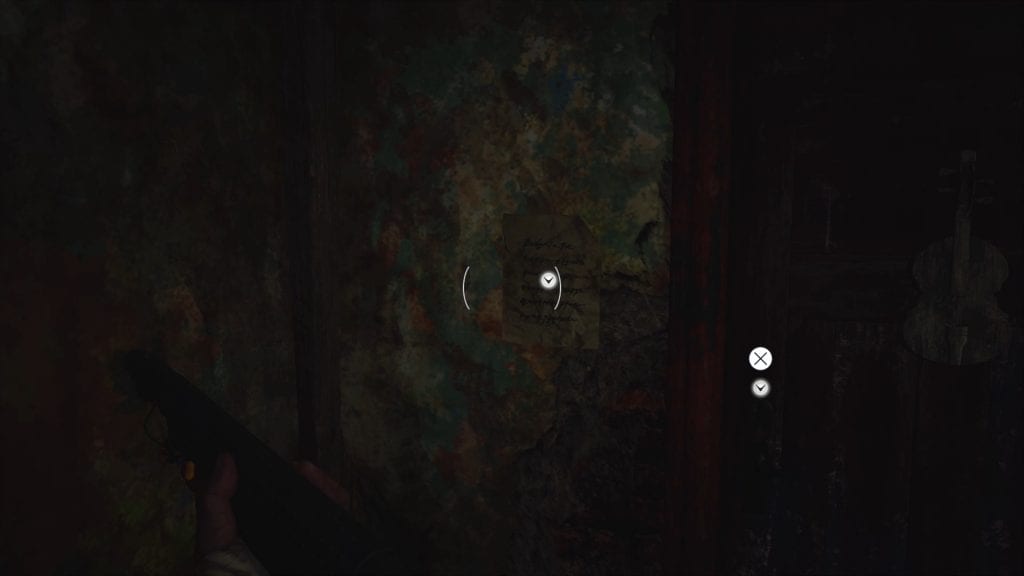
Assuming you survived the ambush, head up the hill towards the church. After you meet the Old Lady, she’ll close the gates behind you and leave. Now, while facing the next large area, check the first house on the left side to find the Scribbled Note in my image. You can see it in the corner of the room near some candles; however, don’t miss the hidden items here.
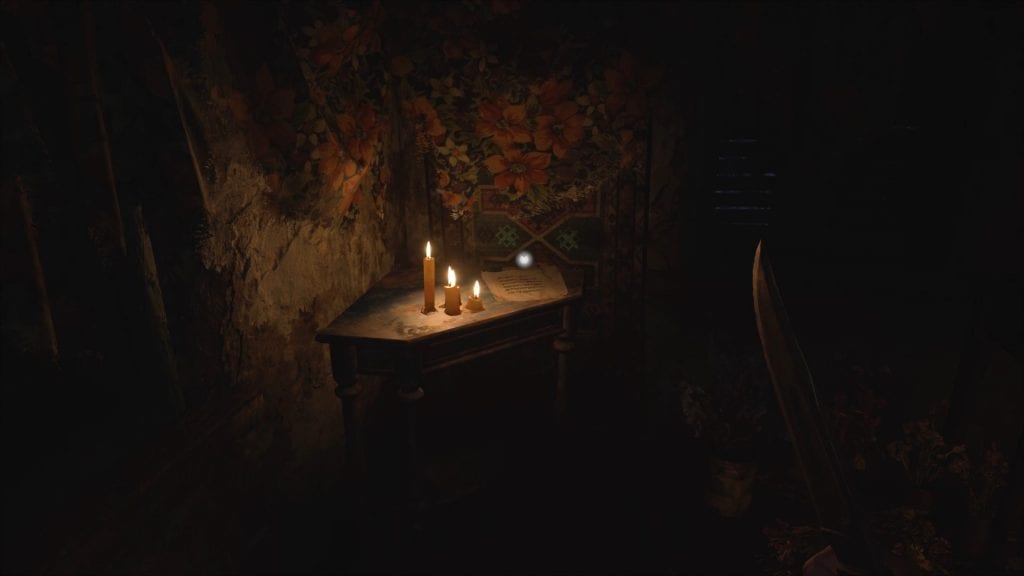
There are multiple paintings near the door of this house. In Romania, these are called “icoane”.
“Goat of Warding” Placard & Goat of Warding #1
Moving on, exit the house mentioned above, then head towards the Church. As you move up the small hill, on the right side, you’ll see an altar, and there are two collectibles here. The first one is the sign under the altar that you’ll have to read. The second one is the goat on the altar that you’ll have to destroy with your knife. Make sure you do this before entering the next section.

Goat of Warding #2
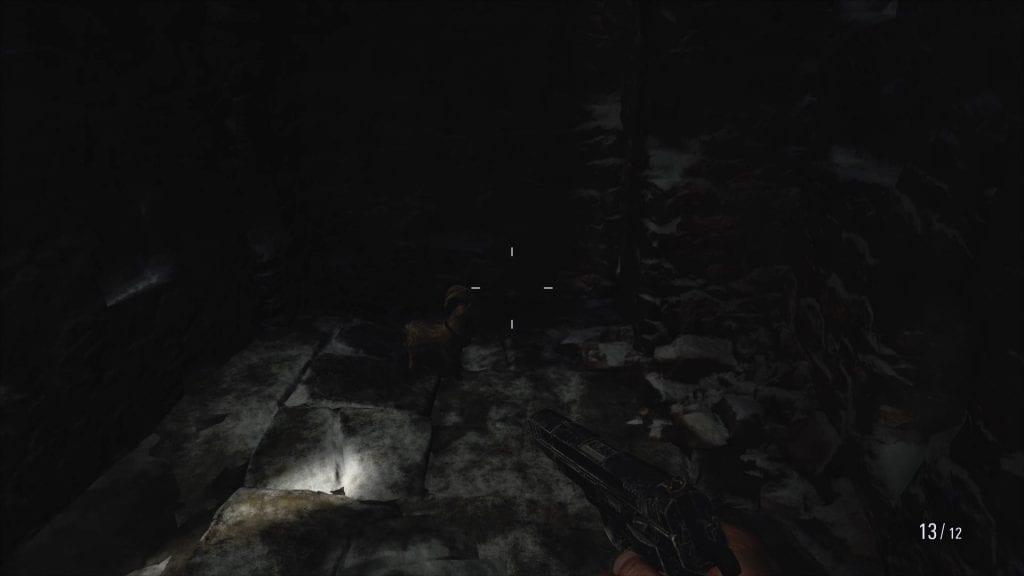
The next collectible you’ll want to find is another RE8 Village Goat. Feel free to do some exploration if you want, but the moment you approach the church, look at the roof.
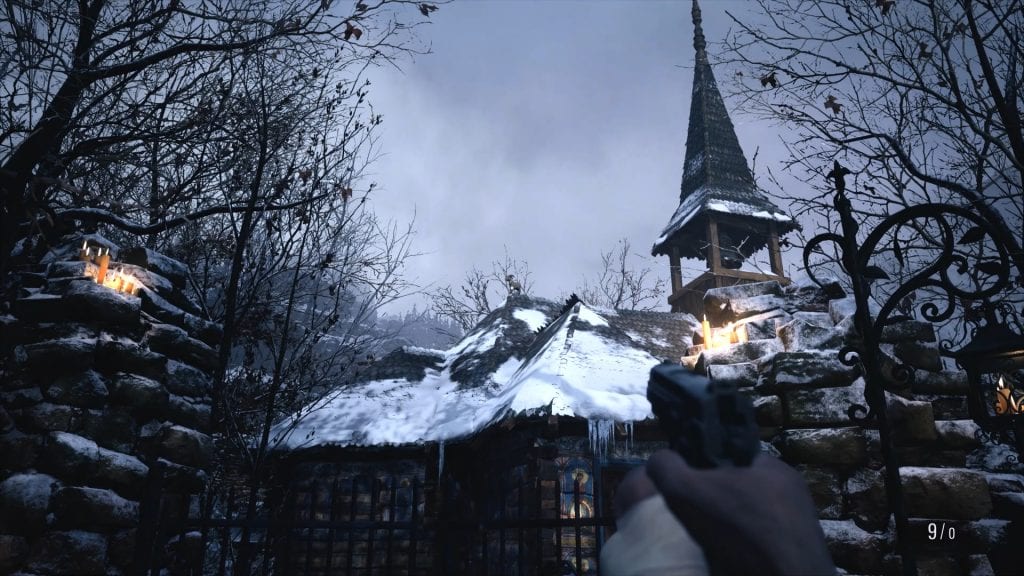
To get this one, you’ll need one bullet because of its location. Simply shoot it down.
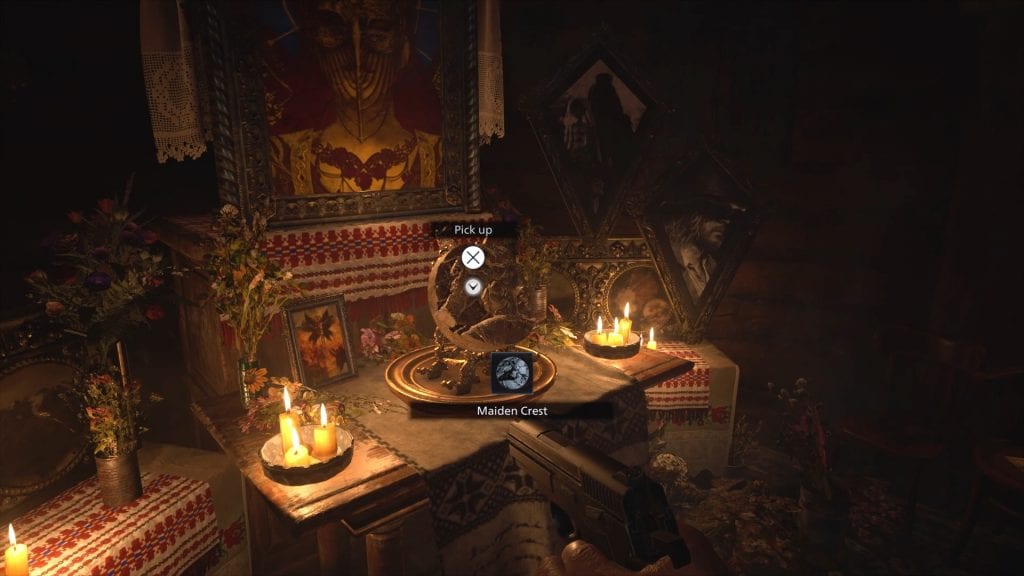
Maiden Crest – Key Item
Now that you have the collectible, enter the Church, and on the left side, there is another Altar with the Maiden Crest. This is a key item you’ll use to exit the village a bit later, but there is a total of 11 hidden items in the Church and the Graveyard behind it.
Once you get it, you may also want to save your game using the typewriter in the small Church.
Goat of Warding #3
With the Crest in your inventory, head outside and move down the hill, then go left to see a large field. Your goal is to cross it, but as you can guess, you are not alone.
Deal with the Lycans or just run, but the moment you reach the hill, instead of going right inside the small house, go left and jump over the wooden fence. If you look up on the wall, you’ll see another Goat you can shoot down.

Good, so now that you got the third goat, retrace your steps back to the hill, and inside the small house, you’ll see a woman and an old man.
Outhouse #2
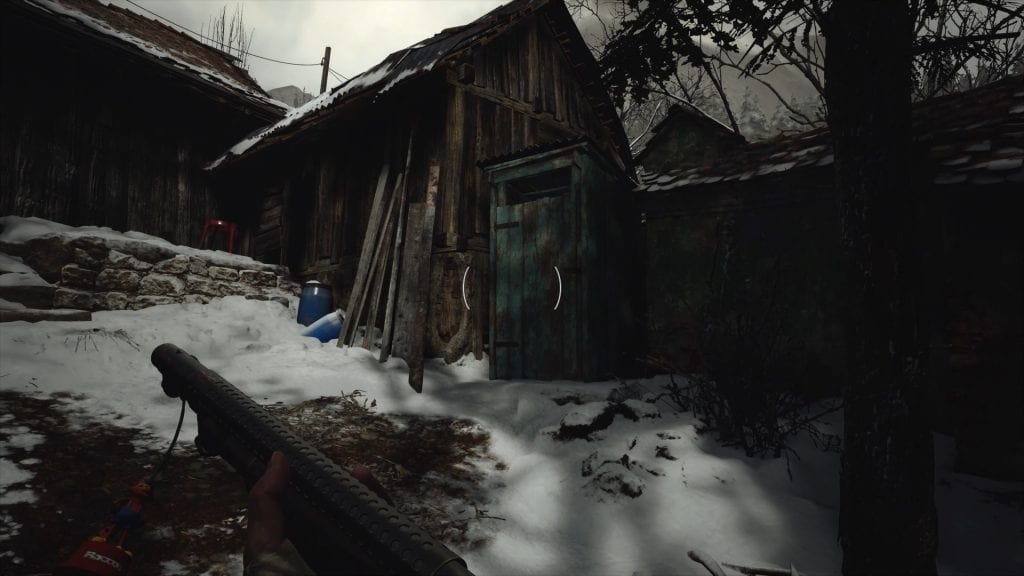
After you talk to them, jump through the window, then turn left and hop on the crates. Now jump over the broken wall, and you’ll find yourself in front of Luiza’s House. Before doing anything else, turn right again and open the second Resident Evil Village Outhouse. It’s in the corner of the courtyard, near a white chair.

Next, you’ll want to open the iron gate for the old man and the woman outside. Once you do this, head inside Luiza’s house.
Dangerous Creatures
The moment you meet Luiza, she’ll tell you to wait in the lobby. While waiting, grab the file, standing on the brown chair by the window.

Now, it’s time to meet more villagers, so head down the hallway and enjoy the next cutscene and some unusual events.
Truck Key & Screwdriver – Key Item
After you escape with Elena, you’ll find yourself in a garage, and your objective is to escape the house. This, however, requires a key item.
So, while Elena is waiting for you, take your time to explore the place. When you are ready to proceed, look for a side room. There, you should be able to see a sink. Next to it is a drawer (pictured below). Take the Truck Key, then open its leather cover to extract the Screwdriver.

Now, head back to the truck and escape the house. Things will get a bit messy, but as promised, no spoilers.
Demon Crest – Key Item
Finally, once you exit Luiza’s House, there is one last key item you need to obtain. It is the Demon Crest on the locked altar outside Luiza’s House. This altar can now be opened using the Screwdriver.

When you obtain this crest, you are ready to open the next area, and your first visit to the Village is about to end. These are all RE8 Village Collectibles you can get during your first visit.
How To Use The Demon & Maiden Crests
The Resident Evil 8 Village Demon & Maiden Crests are used on the large stone gate in the Graveyard (pictured).

From Luiza’s House, head back to the church, open the iron gate, and then you’ll see a very unusual stone gate. Place the Demon Crest in the right slot and the Maiden Crest in the left slot, then rotate them to re-create an impressive carving.
This action opens the way towards Castle Dimitrescu with a lot of collectibles, but first, you’ll have to escape the Underground 1F Mines and avoid a Spike Trap. Do so, then grab the Vineyard collectibles.
Second Visit Collectibles
Good, so now that you have dealt with Lady Dimitrescu, it’s time to continue your search for Collectibles. At this point, a lot of them will be unlocked in the Village. But first, let’s get there.
Dirty Flask – Key Item
The first collectible is a Key Item you can’t miss because it is part of the story. It is the Dirty Flask located on the coffin pictured below, in the room where you defeat her. You’ll also get Crystal Dimitrescu, which is a treasure you can sell.

Craftsman’s Note
Now, head outside the tower, and on the right side, you’ll see a cabin. Explore it a bit because there are two collectibles here and some loot. The first one is the Craftman’s Note (pictured) by the typewriter saving point.

Outhouse #3
After the previous File, jump through the cabin’s window, and you’ll see the third Outhouse. It’s on the left side as you get out.
Good, now retrace your steps back to the front of the house and head south. Shoot the locker on the iron gate, and you’ll enter a tunnel.
Here, you’ll want to advance through the tunnel and get the Fish swimming in the first pond. It is mandatory if you want to get all the Cooking Recipes. You can shoot the fish, but it’s better to use your knife.
Winged Key – Key Item
Next, continue down the tunnel, and you’ll trigger a cutscene I am not going to spoil. After the cutscene, get the Winged Key from the box on the Altar (pictured). You’ll use this on the southern door in the cave where you are standing.

Great! Now, you’ll want to exit the caves using the lever on the door nearby. Follow the tunnel, and it will get you to the Ceremony Site. Feel free to explore the area if you want additional Crafting Materials, then head east on your map.
Goat of Warding #7
The next important item is an RE8 Village Goat of Warding. If you followed my guides as you progress through the game, this is the seventh. You can find it as you move towards Lone Road. When you do that, you’ll reach a bridge where you are ambushed by Lycans.
Deal with them, then cross the bridge, then turn left and follow the stairs down. Turn left again, then you’ll see a small room. Inside, look around to spot it in the left corner as you enter.
After you shoot this goat, go east down the path. Don’t waste your time on the Lone Road chest nearby because you’ll need Luiza’s Key to open it; however, there are other items worth getting here, as explained. Now open the next gate, and you’ll reach the Altar. Nearby, you can see Duke.
Pipe Bombs Recipe
During the second visit, Duke sells only one recipe you need. It’s the one for the Pipe Bombs. You can see it below, and this is one of the Village Collectibles you can buy later if you don’t have enough cash.

If you do, get it now; then, place the Head Flask (former Dirty Flask) in the Incomplete Chalice or altar in front of the Duke.
Now, your goal changes, and you’ll need to find The House With The Red Chimney, but before going there, you’ll want to get some extra collectibles. From your current location, head to the Maiden of War area and check the southeastern house with a well in front of it.
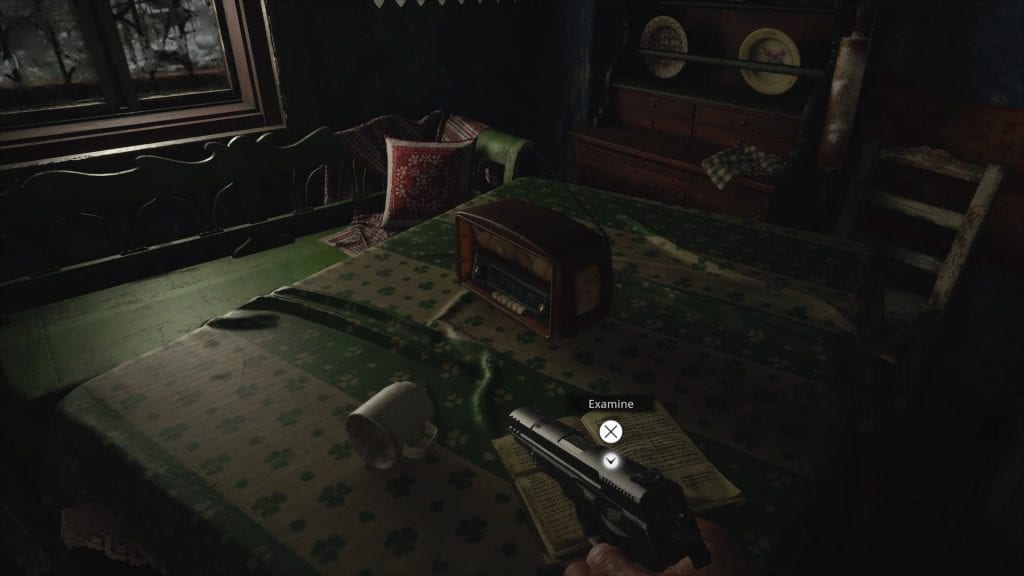
Leonardo’s Message
On the table in the kitchen (in front of the radio) you’ll find a note. Read it as it counts as a collectible and provides a tip on what you have to do next.
Now feel free to explore because his specific house features 11 hidden items you have to get.
Outhouse #4
After you get the Wooden Animal, you can craft the Wooden Goat Toy treasure. Now, unlock the door nearby and exit the house to the backyard. Turn left as you exit to find another Resident Evil Village Outhouse. Open it.

Now, you will want to return to the Maiden of War Statue because it’s time to find The Red Chimney House. Once near the statue, look south to notice the said chimney; however, getting inside is a bit problematic.
You’ll need to go back to the courtyard of the house above and check the stable (tip provided by the note you found in the house). Push the shelf there, and you’ll find a secret entrance.
Outhouse #5
The moment you deal with the Lycan that spawn nearby, you’ll be able to see a tractor when you exit the barn. Turn right to spot the next Outhouse.
Good, so now you’ll want to examine the tractor and then head left towards the large gate with the Do Not Enter sign. Shoot the padlock to get inside.
Jack Handle – Key Item & M1911 Handgun
Next, examine the picture on the workbench. Turn it around to spot a small message which reads: Look out the window. If you do that, you’ll see some numbers outside, as follows:
- 07 – Written in white on the red house
- 04 – Written in yellow on the window’s frame
- YM08 – Written in blue on the covers outside. The YM, however, is not important.
So, the code for the Workshop Locker is 070408. Use it to open the cabinet behind you and get the Jack Handle (below) and the M1911 Handgun. You can see a full walkthrough for the Workshop here.

Good job! So now you have a new gun and a Key Item you’ll need to use on the tractor. Head back to the vehicle and use the handle to raise it, then crawl to the other side.
For the next Resident Evil Village Collectibles and to get to The House With The Red Chimney, you’ll want to move north, then take a sharp left turn to get to the small gate with the Red Insignia Key. Here, you’ll fight a different kind of Lycan with a helmet and some claws. Defeat him, but don’t open the gate yet.
Outhouse #6
Instead, while facing the gate, look to the right to spot one of the RE8 Village Outhouses. It’s impossible to miss, and it’s the sixth you’ll have to find in the video game. There is also a cooking pan next to it. In Romania, this is called “oala”.

Awesome job. Now, cross the dirt road in front of you towards the gate with a note on it. Read the note (Locked due to missing owner), then shoot the padlock. Just so you know, this is the Luthier’s House, and from here, you can get Maestro’s Collection Treasure later in the game.
Outhouse #7
For now, though, let’s stick to the Resident Evil Village Collectibles in the Luthier’s House, and the first one is the Outhouse. You can spot this one when you enter the gate on your right side.
Goat of Warding #8
While remaining in the same courtyard, look at the roof of the small shed between the house and the barn. You can spot the RE8 Goat of Warding below.

In the barn, you can also find Madalina’s Head, which can bring you 20.000 Lei once combined with her body.
Note on the Luthier’s House
Finally, head to the front porch of the house, and you’ll find the note below. Again, pay close attention to the text.
Ok, so now you have all collectibles in this area, which means that it’s time to open the Iron Insignia gate.
Well Wheel – Key Item
Cross the dirt road in front of the Luthier’s House and use the said key. The moment you enter the small yard to the right, you’ll see a building. Check the backroom, and on the barrels, you’ll find the Well Wheel. This item is used on the wells in the Village. When you do that, you’ll get various items and treasures.

Now, retrace your steps outside for more RE Village Collectibles.
Outhouse #8
From the building where you found the Well Wheel, climb the yellow ladder. While on the rooftop, to the left, you’ll see a small courtyard and another Outhouse. Make sure you open it.

Eugen’s Diary & Four – Winged Key
Close to the Outhouse above is another ladder. Use it, and from the roof, drop into The House With The Red Chimney. On the table in the house, there are two items you can get: Eugen’s Diary and the Four-Winged Key found in the small box. You’ll need to examine it.

After you get the Four-Winged Key, your next visit should be to the Church but don’t leave this house without finding all nine hidden items outlined here.
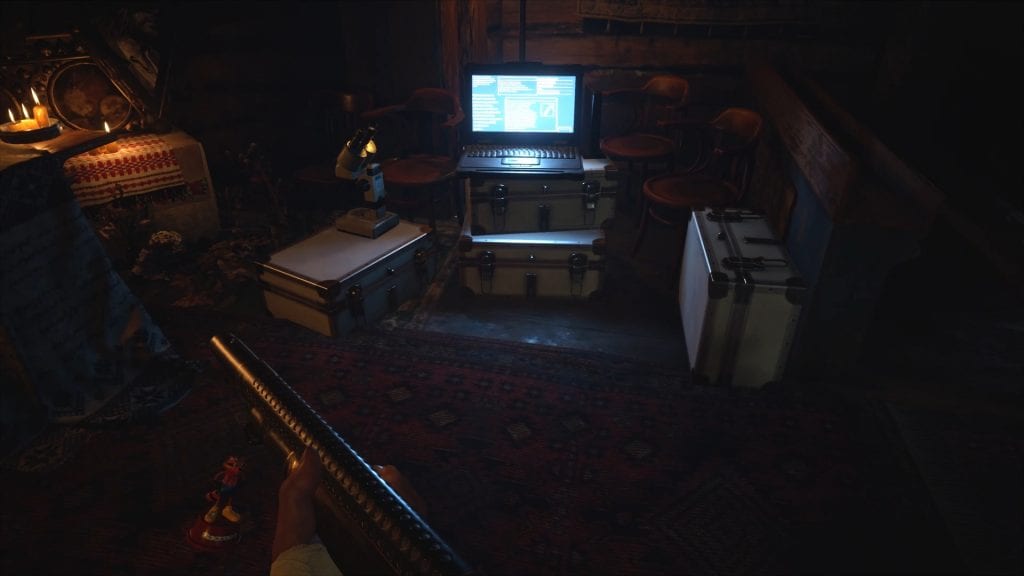
Church Computer
Since the path is clear, it’s quite hard to get lost. So get back to the Village’s Church and examine the computer in front of the Altar.
Good job, so now it’s time to get the last two Village Collectibles, then you can continue the story. The first one is behind the Church you just visited.
Goat of Warding #9
Exit the Church, then open your map, and northeast, you’ll see a gate that requires the Iron Insignia you already have. Open the said gate to reach a graveyard, then when you enter, look behind the crypt on the right to find another Goat of Warding.

Luiza’s Necklace – Treasure
The last collectible you can get during the second visit is Luiza’s Necklace. This is one of the treasures featuring a small puzzle, and you can find it on the front stairs of Luiza’s House.

After you solve Luiza’s Heirloom Treasure Puzzle, you can go back to Duke. At this point, he’ll share the story of the Village with you, and you’ll also be able to unlock cooking. When you are ready to proceed, open the gate north of Duke’s location using the key you found in the house with the red chimney.
The next area where you can find a collectible is the Suspension Bridge, then the next one is in the House Beneviento area, followed by those in the Garden (on your way back to the Village).
Third Visit Collectibles
The third visit to the Village is quite poor when it comes to collectibles, meaning there are only 4, and out of 4, two of them come from Duke.
Explosive Rounds & Flashbangs Recipes
The said Resident Evil 8 Village Recipes are for the Explosive Rounds and for the Flashbangs. You can see them below, and Duke will make them available once you return from House Beneviento. Get both of them for 6000 Lei.

Broken Slab – Key Item
After you buy these two recipes, place the second flask you got from Beneviento’s House in the Incomplete Chalice in front of the Duke. Now, what you should do is go straight to the Graveyard because there is a Broken Slab you’ll need to get right away.
Delay this visit, and you’ll miss a treasure. The Resident Evil 8 Village Broken Slab is in the crypt pictured below. The gates are now open, but they will soon close.

Get this slab and backtrack to Beneviento’s Treasure on your map to claim the treasure.
F2 Rifle High Capacity Mag – Weapon Part #2
Finally, head back to the Luthier’s House and use Luthier’s Key obtained from the Garden to get inside. Solve the Maestro Collection Puzzle (or use code 27-09-17), and in the wardrobe (below), you will find a Steel Hraesvelgr you can sell and a steel case with the F2 Rifle High Capacity Mag.

After you get these two items, your third visit to the Village ends, and now you’ll have to pay a visit to Moreau. When this happens, you may want to follow the Resident Evil 8 Village Guides listed here, as they cover all sections independently, and they also explain how to get all hidden items.
