Drowned Houses is the trickiest Resident Evil 8 Village area in Moreau’s Reservoir and the fifth section you get to explore on your way to the third boss in the video game developed by Capcom. Furthermore, the Resident Evil Village Drowned Houses includes a collectible that is extremely hard to spot and a puzzle that can be quite annoying.
Other than that, the Reservoir Drowned Houses are relatively poor in loot and hidden items; however, here you will also find the Crank, which is a Key Item that allows you to progress through the story and open new areas. So, below, I’ll guide you through the Reservoir Drowned Houses section of RE8 and also help you collect all hidden items in the process.
You can get to the Drowned Houses in the Reservoir via a ladder that is found inside a mill north of the Gatehouse. Make sure you collect all Gatehouse Items outlined here, then enter the mill and use the ladder to get to the ground floor. Exit the mill, and you’ll find yourself on a roof. From this point onward, you’ll be in the Drowned Houses section.
Since this area is a bit complicated to navigate, make sure you follow every step below. It is imperative to get the items listed in this guide because you won’t be able to return here later after you drain the Reservoir. So, to keep things easy to follow, I will guide you through this section from start to finish.
Breakable Barrel #1
The moment you exit the mill, head forward and turn left to reach the next roof. Notice that it has some dead fish on the left side. You may want to inspect that. Now, on the other side, shoot the wooden pole (with the yellow duct tape) to create a bridge. Walk on it and wait for Moreau to pass, then keep pushing to the other roof.
Next, move towards the roof with a large structure on it (it should be on the left side), then shoot the wooden post with yellow duct tape. Go around the said structure and look for the second post (also on the left side). Shoot it down, and the structure falls into the water, creating a new path.
Now, you should see a house with a tractor on its porch. Head inside, turn left, and you’ll see the first Breakable Barrel outside. Get this one first.

Breakable Box
From the previous barrel, turn around and follow the stairs into the house, then push the crate on the right side. Jump down on the roof to your left, then activate the switch nearby. It has some maggots inside. Next, cross the bridge and activate the switch with the blue duct tape.
Now, head right and quickly activate the switch with the red duct tape on the left side. Keep moving fast, and you’ll reach a house with three switches. Before moving forward, get the Ammo in the breakable box near the yellow switch.

Good job! Now, you’ll need to pay close attention.
Goat Of Warding
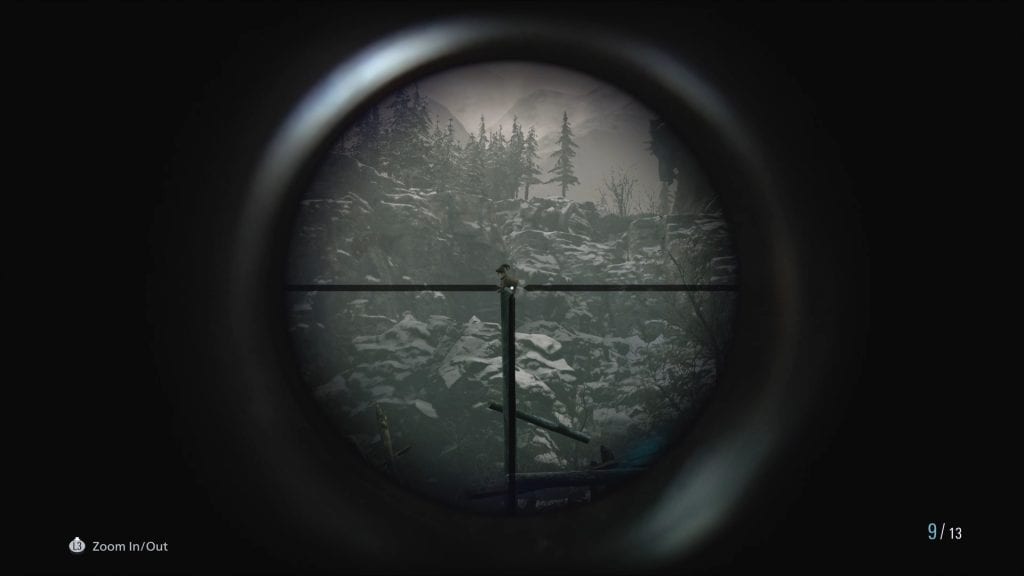
From the previous item, look around and spot the switch with the red duct tape. While facing it, pull out your Sniper Rifle and look through the scope. On top of a pole on the right side of the mill that seems to fall into the water, you can see a Goat of Warding. This is probably the trickiest collectible in the video game, so don’t miss it and shoot it down.
Awesome! Now, you’ll want to be really fast because there are three colored switches in this section, and you’ll want to activate them in a specific succession. Start with the yellow one by the crate above, then the blue one, then the red one. At this point, you’ll want to start running, crossing the bridges in front of you, then turning right, then left again.
Breakable Barrel #2
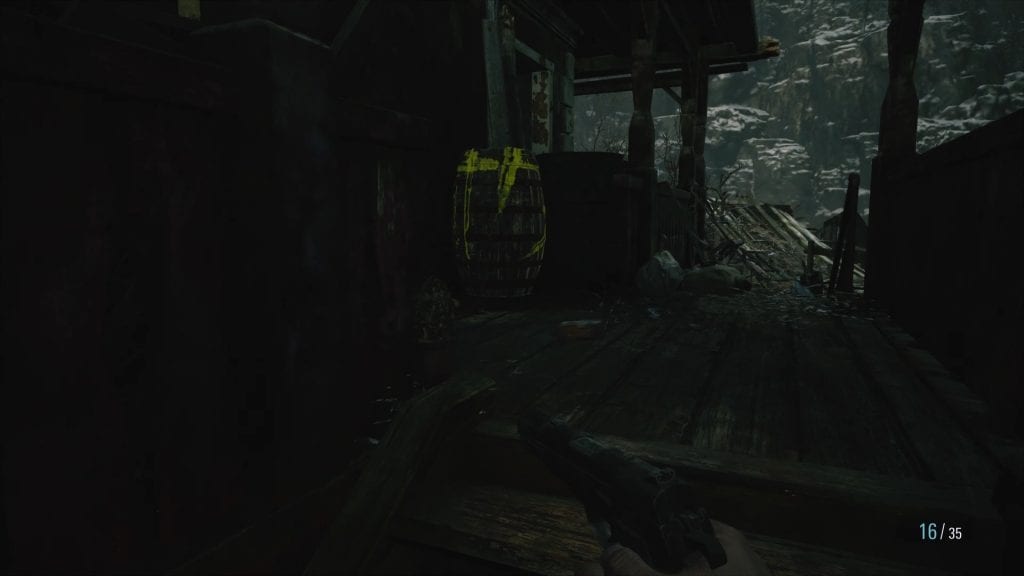
As you progress through the next section, on the left side, you’ll see another Breakable Barrel (pictured).

Rush to the platform with the barrel and when you hear Moreau yelling “I am the best”, wait for him to pass. Break the barrel, then head left, and you’ll reach the roof of another house with some snow on it.
Cross the bridge in front of you, then push the crate on the other side and walk on it. Now you should be back in the middle of the Reservoir.
Breakable Barrel #3
Head upstairs and push the second crate, then drop on the bridge made of crates. Cross it, turn right, and on the porch of the next house, you’ll see another Breakable Barrel.
Awesome! From the previous location, enter the house and shoot the green slime or goo. Several times. Once you clear the path, climb the ladder on the left side, then pull the lever nearby. When you do that, you’ll pull the wreck of a boat.
Next, forget about items and focus on surviving because you’ll have to cross the next area before Moreau pulls you into the water. Jump down on the boat, head left around the room, then take a sharp right turn and keep moving forward.
Quickly shoot the green slime, then cross the last bridge, which will take you to a large mill. Inside the mill, head right and look to the ceiling. You’ll see a padlock you can shoot to pull down a ladder.
Breakable Barrel #4
Do this, then follow the ladder up, and you’ll reach the mill’s second floor. Exit outside, and in front of you is the fourth barrel.

Crank Key Item
Finally, after the previous barrel, turn around to spot a large cog. Remove the Crank from it. This is a very important item you’ll need to explore new areas.

Awesome! Now it’s time to leave the Drowned Houses area, and you can do this by using the Crank on the large cog where you found it. Interact with it, then after a short cutscene, head to the other side of the balcony to find a ladder. Climb it, then grab on the zipline and slide to the mill in the distance.
This will bring you to the Gatehouse, but now you’ll be able to use the Sluice Gate Controls and drain the Reservoir. If you need help with the items in the Gatehouse section or with the small puzzle, simply follow this guide. After you drain the water, you’ll open a new area where Moreau is waiting for you. It is named Moreau’s Clinic, and it is quite rich in hidden items.
