Sainted Hero’s Grave is an Elden Ring side dungeon found in the central section of the Altus Plateau region, west of Rampartside Path Site of Grace, and home of the Ancient Hero of Zamor boss. Sainted Hero’s Grave has a clever mechanic and some special rewards that you don’t want to miss in the video game developed by FromSoftware for PC, Xbox, and PlayStation.
It is required that you bring two Stonesword Keys to this location to get all the available loot. Here’s our guide for the Elden Ring Sainted Hero’s Grave dungeon that contains information on the location, how to navigate this dungeon, find all of its treasures, and defeat the enemies inside.
Where To Find Sainted Hero’s Grave
The Sainted Hero’s Grave dungeon is located west of the Rampartside Path Site of Grace in the central section of the Altus Plateau region.

When you reach the Sainted Hero’s Grave dungeon entrance, you will be “greeted” by a Black Knife Assassin.
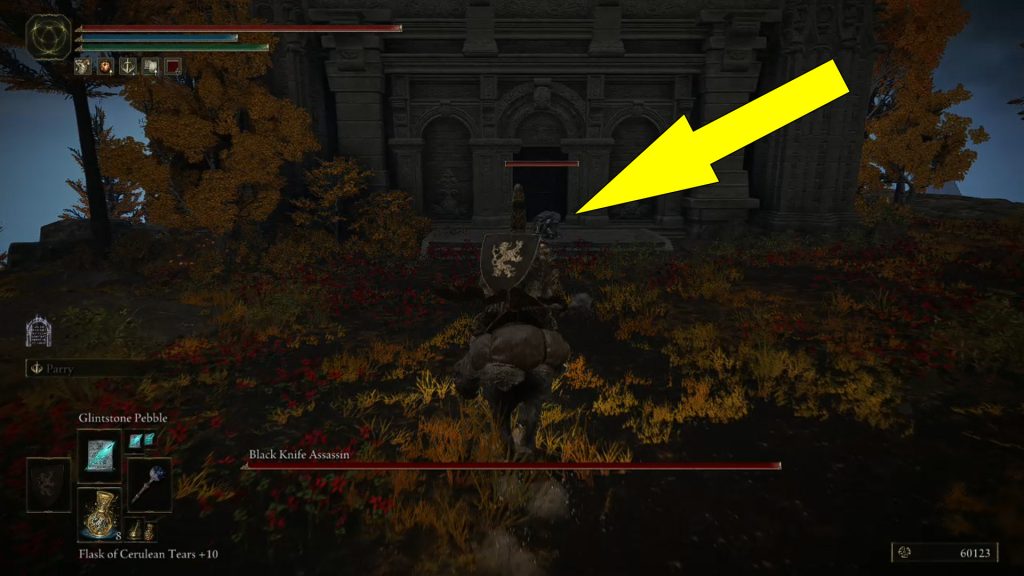
Keep an eye out for its leaping attacks, bleeding projectile, and spin followed by a grab-and-stab. After defeating him, you will receive 10.800 Runes and the legendary Black Knife dagger.
Once you’re inside the Sainted Hero’s Grave dungeon, down the lift is a Site of Grace and an Imp Statue near a wall of fog. Use a Stonesword Key to unlock the entrance, and you will find an enemy inside, along with a Crimson Seed Talisman. Head back and go through the tunnel until you reach a room with a staircase in the middle.

Inside, there are two Wraith Callers at the top of the stairs, and under them is a Ghost Glovewort [5] guarded by a Revenant. Head back, turn left down the stairs, and you should see an Imp standing in a light circle. Get close and kill it. To the east, there will be another Imp covered in shadow.

To damage the Imp covered in shadow, you must lead him to the light. The way light weakens shadows is the main mechanic in Sainted Hero’s Grave dungeon. You’ll notice light streaming from statues and other sources as you explore.
Similarly, several Imp mobs are covered in shadow. You won’t be able to damage them unless you draw them into the light. The next room contains two more imps cloaked in shadow and a Wraith Caller beneath the stairs.

The light circle is behind the Imps to the right, down the stairs. Down the stairs to the next chamber, you’ll observe that the floor appears to have a dip in the middle. As soon as you step a foot on the floor, it will collapse, and that’s the point in order to advance through the Sainted Hero’s Grave dungeon.
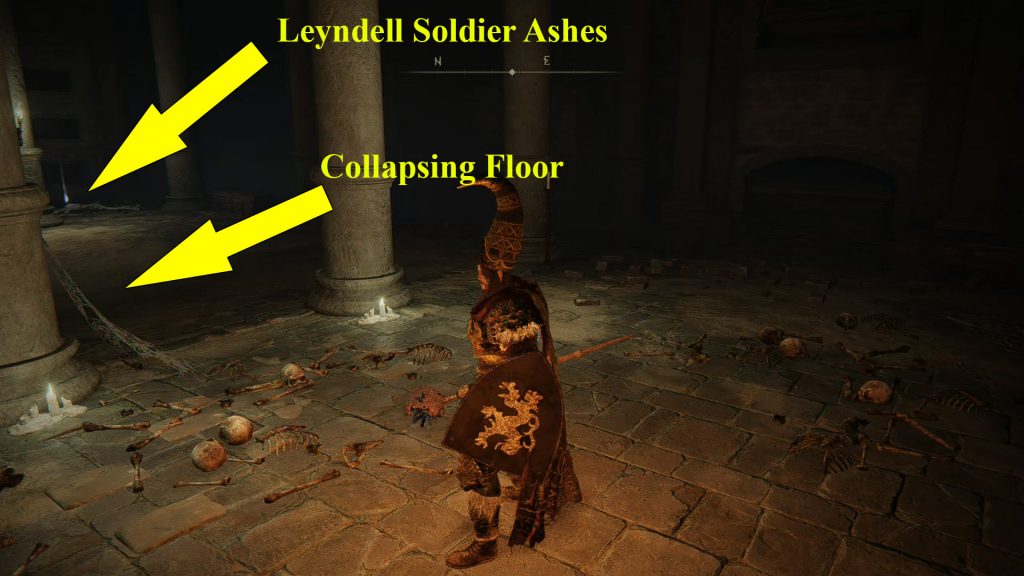
Before triggering the trap, turn to the right wall and follow it to reach the corpse on the other side to obtain the Leyndell Soldier Ashes.
NOTE: If you triggered the trap by accident before getting the ashes, don’t worry. You can still grab it through this run.
Once you grab the Leyndell Soldier Ashes, step on the trap floor, and it will collapse. You will fall into a light circle surrounded by four dark imps. Down the stairs, you will encounter a couple of Zombies and Guillotine traps dropping down. If you hop on the first or second blade and ride up, you may jump to a path that leads up a staircase case with three Zombies.
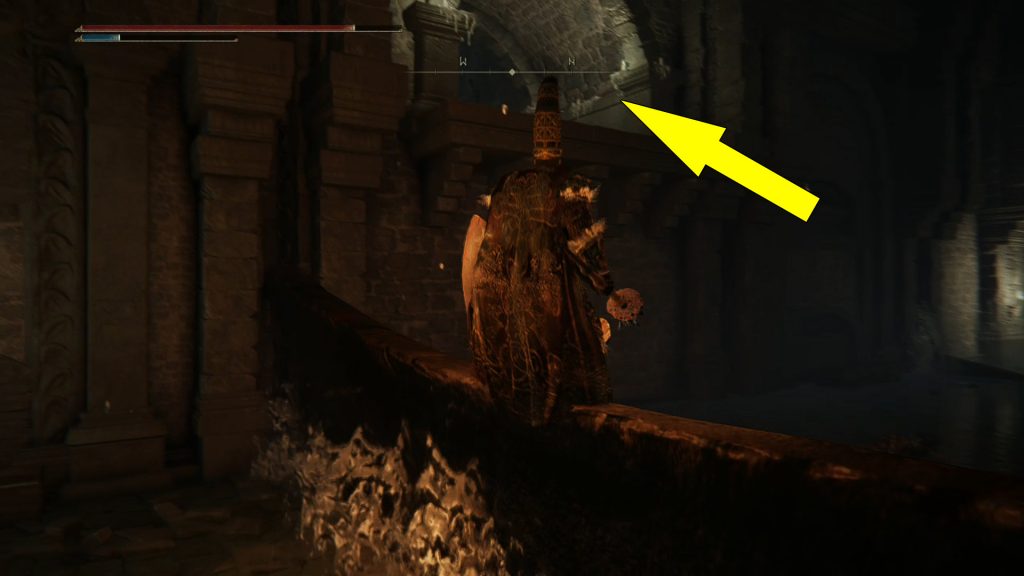
The stairs lead to a chamber with two Wraith Callers at the top and four Zombies below. Under the stairs is another entrance sealed with Imp Statue. Use a Stonesword Key to unlock it and collect the Ghost Glovewort [5] and the Dragoncrest Shield Talisman +1 after defeating the two zombies inside.
The path up the stairs returns you to the chamber where the floor collapsed (pick up Leyndell Soldier Ashes if you haven’t). Back in the guillotine chamber, pick up the Ghost Glovewort [4] after the second guillotine.
Near the corner, you will encounter four Zombies, and two more will drop from an overhead bridge. Around the corner, there are a mounted enemy and three zombies.
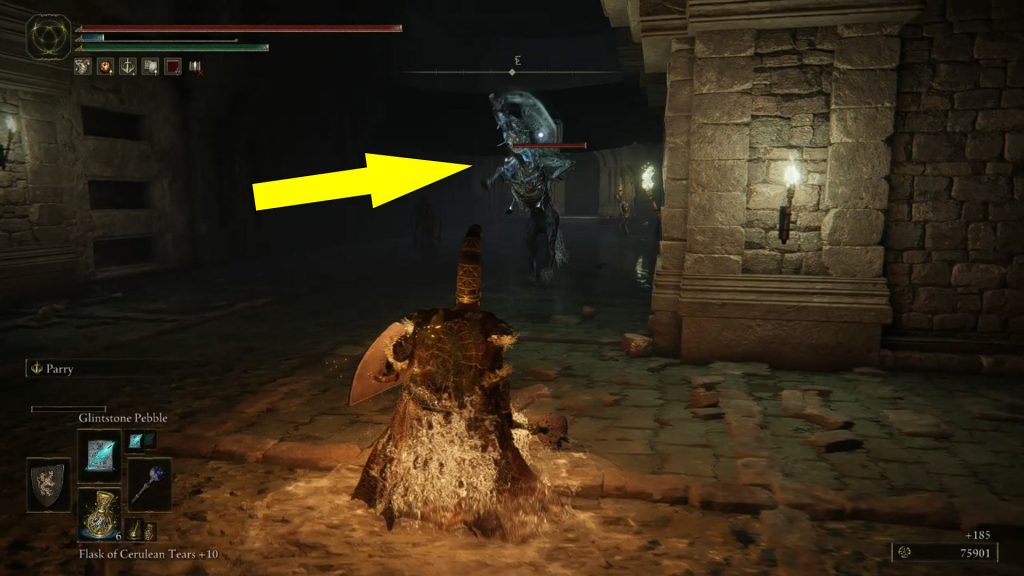
After another two guillotines, you will find the locked doors leading to the boss chamber and a ladder on the right, behind a Ghost Glovewort [3]. Climb the ladder, drop down into the room, and as soon as you loot the corpse, a Revenant will spawn.
Kill the Revenant, loot the corpse to receive 5 x Human Bone Shard, and collect the Ghost Glovewort [5] near the corpse. The path leads to the bridge we passed under before, with a corpse holding 3 x Root Resin. Up the stairs, you will find yourself in a room with an axe-wielding enemy covered in darkness.
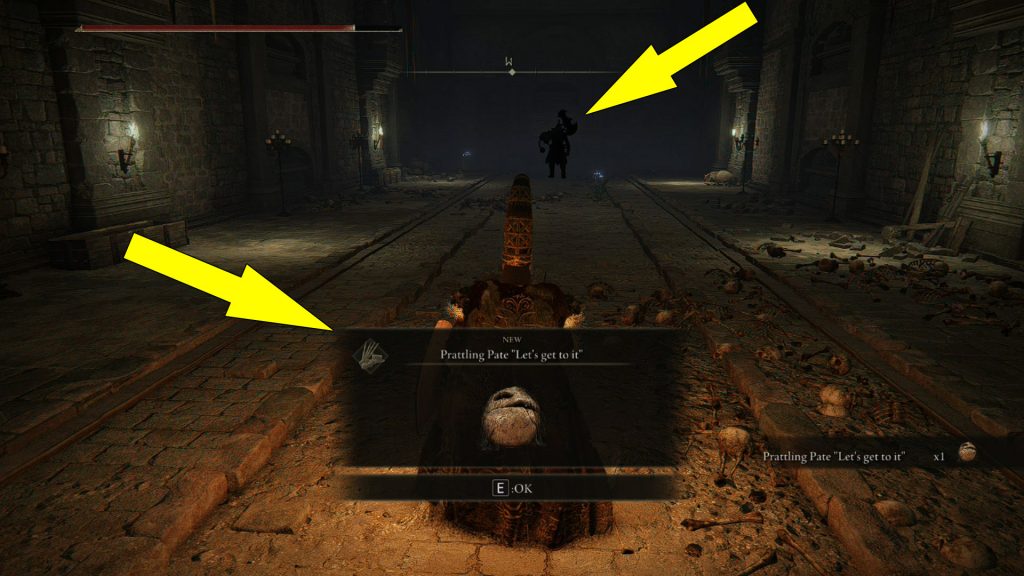
You must bring him out of the room, jump down the bridge, and lure him to the light circle room beneath the collapsed floor to defeat him.
Before doing this, make sure to loot the corpse to receive Prattling Pate “Let’s get to it” and gather the Ghost Glovewort [4] and Ghost Glovewort [5]. Once you kill him, you will unlock the heavy doors to the boss’s chamber.

Head through the guillotine chamber to reach the heavy doors. Down the stairs, there’s a final zombie to kill and a Ghost Glovewort [3] to collect. Once you traverse the mist, you will start the fight against the Ancient Hero of Zamor boss.
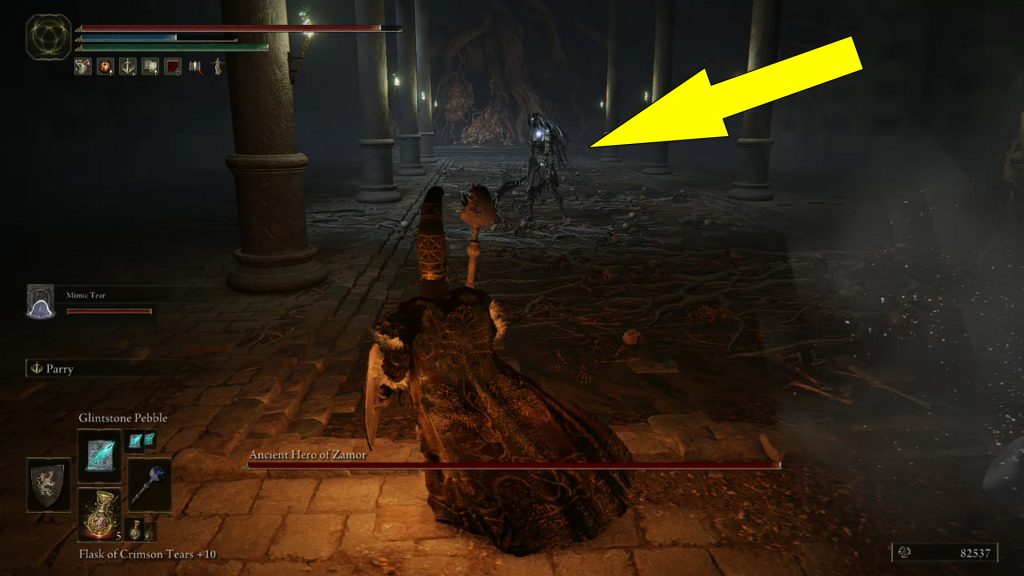
After defeating the boss, you will receive 20.000 Runes and Ancient Dragon Knight Kristoff Ashes.
