Hogwarts Legacy Depulso Puzzle Room 1 is one of the secret rooms in Hogwarts Castle, which features a series of puzzles you need to solve to collect a hidden Collection Chest. Depulso Puzzle Room 1 becomes available only after you advance the story and complete The Hall Of Herodiana Side Quest from Sophronia Franklin, where you must complete similar puzzles using Accio and Depulso.
Also, the puzzles in the Depulso Puzzle Room 1 are more complex and require you to think a few steps ahead to complete them.
Where To Find the Depulso Puzzle Room 1 in Hogwarts Legacy
The first Depulso Puzzle Room is close to the Potions Classroom Floo Flame in The Library Annex of Hogwarts Castle. Fast-travel to Potions Classroom Floo Flame, head through the door ahead and go down the spiral staircase on the left.
At the end of the hallway, you’ll find a Level 1 locked door near one of the cabinets containing a House Token as part of The Daedalian Keys Side Quest. Use the spell Alohomora to unlock the door. Once you open it, go through the door to find a switch on the right-hand wall that can be activated by casting the spell Depulso.

After activating the switch, it will reveal the door to the Depulso Puzzle Room 1.
Depulso Puzzle Room 1 Tips & Tricks
First, you will notice that Depulso Puzzle Room 1 is far more challenging than the Hall of Herodiana. To solve all the puzzles in this room and collect all the chests, you will only need Accio and Depulso.
When you want to pull or push a block with the spells mentioned above, make sure to enter aim mode by holding (R2)/(RT) for better accuracy. Furthermore, you should be aware of where you’re standing because being hit by moving blocks will knock you out. Also, keep in mind that hitting the switch on the wall (rotating cube) with Basic Cast will reset the entire room.
It’s a nice trick that you can use to make the puzzle rooms easier to solve or to restart if things don’t go as planned. Now, if you want to grab everything in this puzzle room, follow all the steps below.
How To Get the First Chest in Depulso Puzzle Room 1
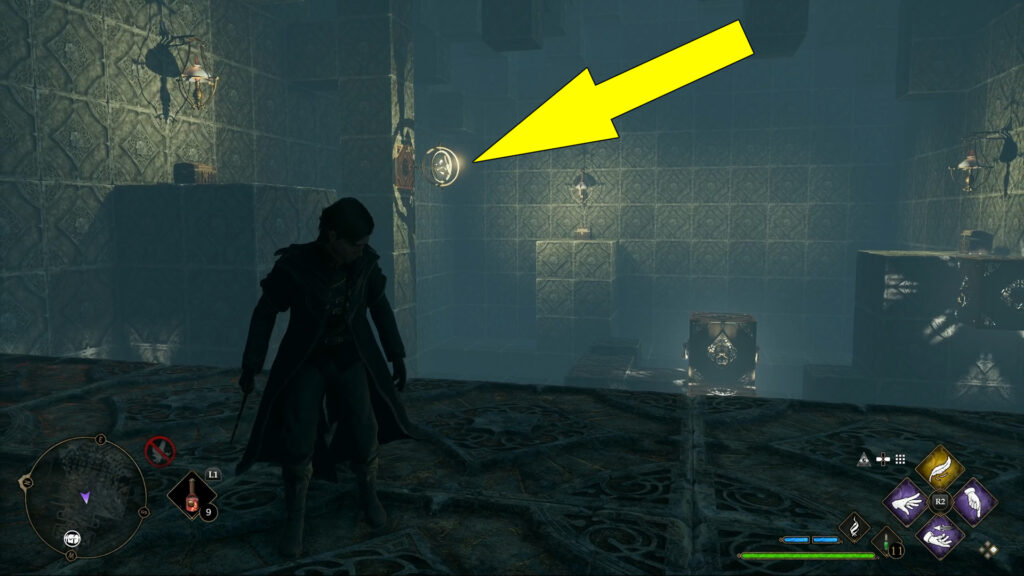
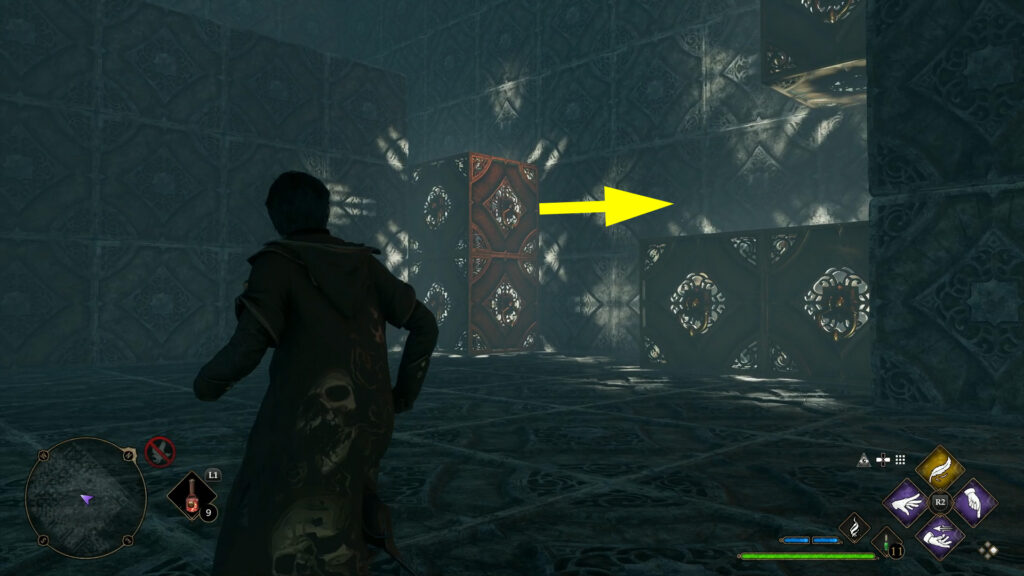
Let’s start with the first chest on the right (south) side of the room. Pull the floating block on the right-hand wall towards you by casting Accio.
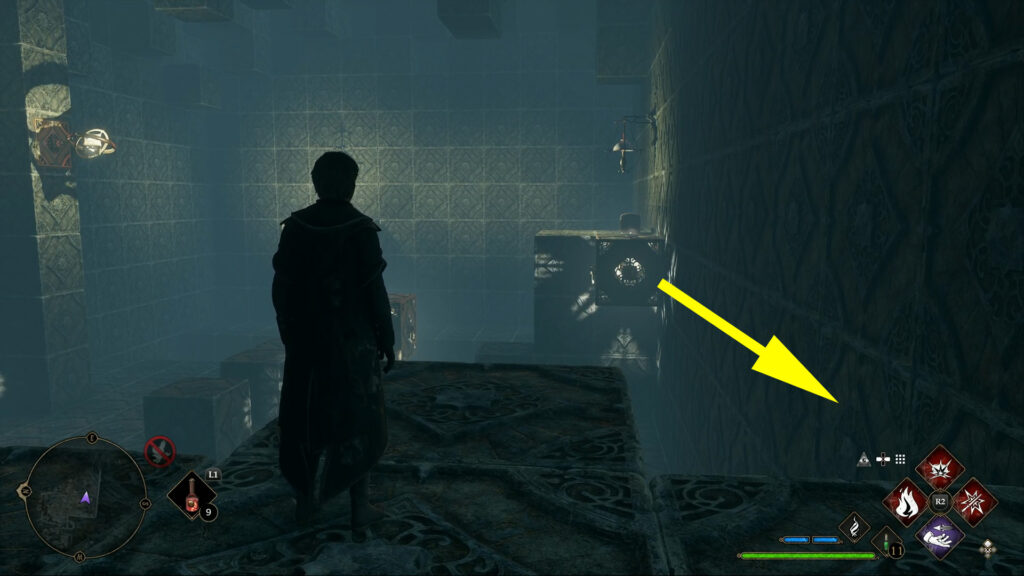
Go to the ground floor of the room. Cast Depulso on two middle blocks to push them towards the right wall.

After you push the two blocks, you will have a climbing path to the first chest.

Once you open the chest, hit the switch with a basic cast to reset the room and return to the entrance. Jump into the ravine to quickly teleport back to the entrance.
How To Get the Second Chest in Depulso Puzzle Room 1
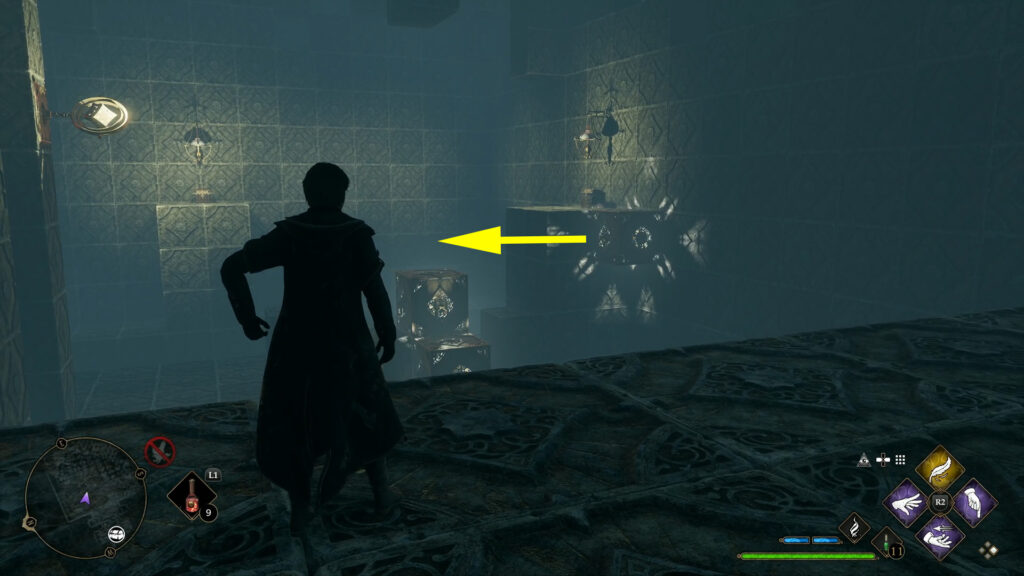
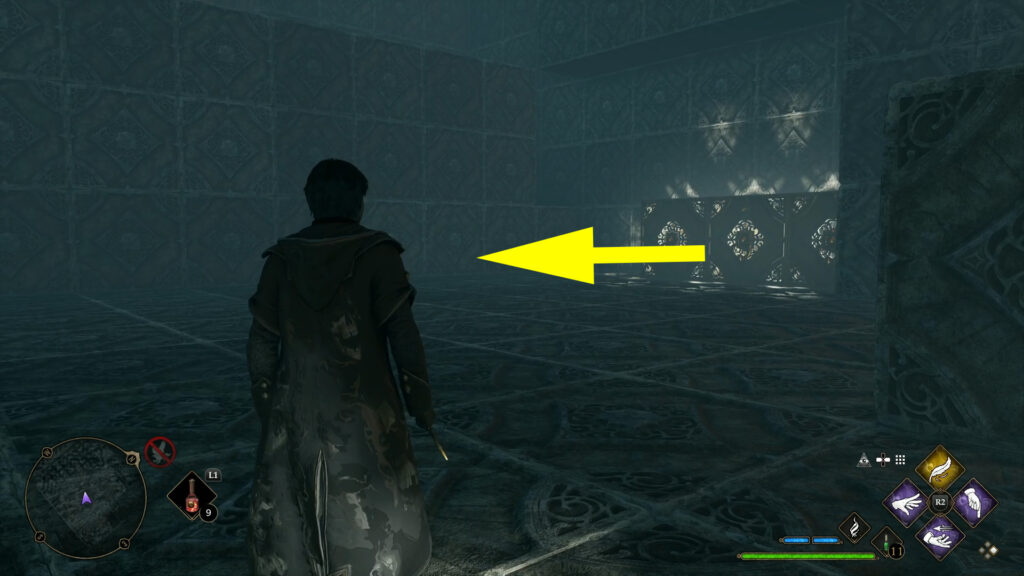
Now, we will proceed to the second chest on the left (north) side of the room. Cast Accio on the floating block on the right-hand wall near the first chest and pull it to the left wall.
Pull the same block towards you by casting Accio.

Push the same block against the left wall using Depulso.

Jump down below and pull the block towards the ledge with the second chest with Accio.

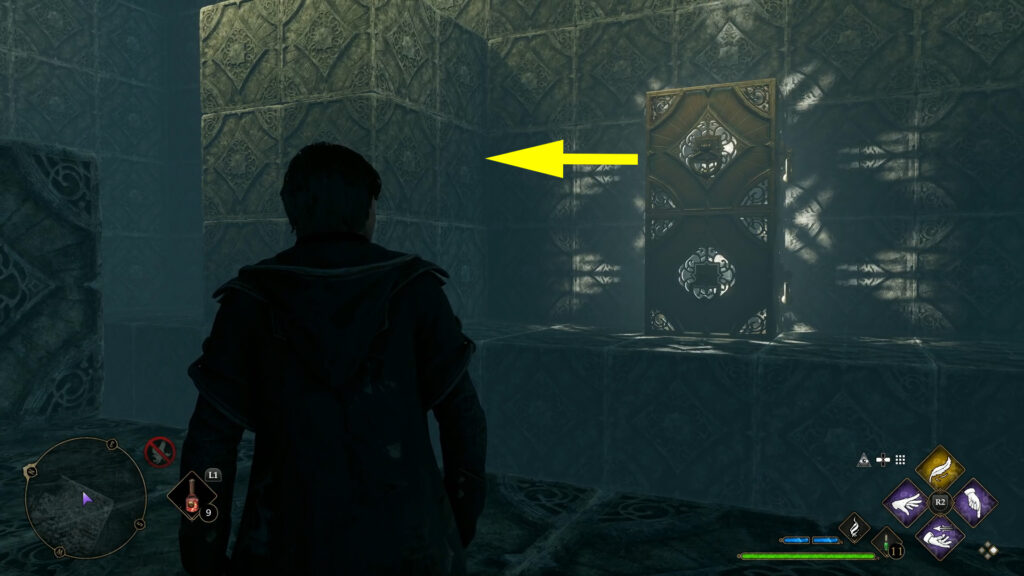
Pull the top block in the middle of the room towards the entrance (west) with Accio. It will result in a two-block stack.
Push the two-block stack towards the left wall with Depulso.

Pull the two-block stack in the direction of the ledge containing the chest with Accio.
Climb the two-block stack, turn around, and jump onto the floating block to reach the second chest. Don’t forget to hit the switch to reset the room after climbing up and opening the second chest.
How To Get the Third Chest in Depulso Puzzle Room 1
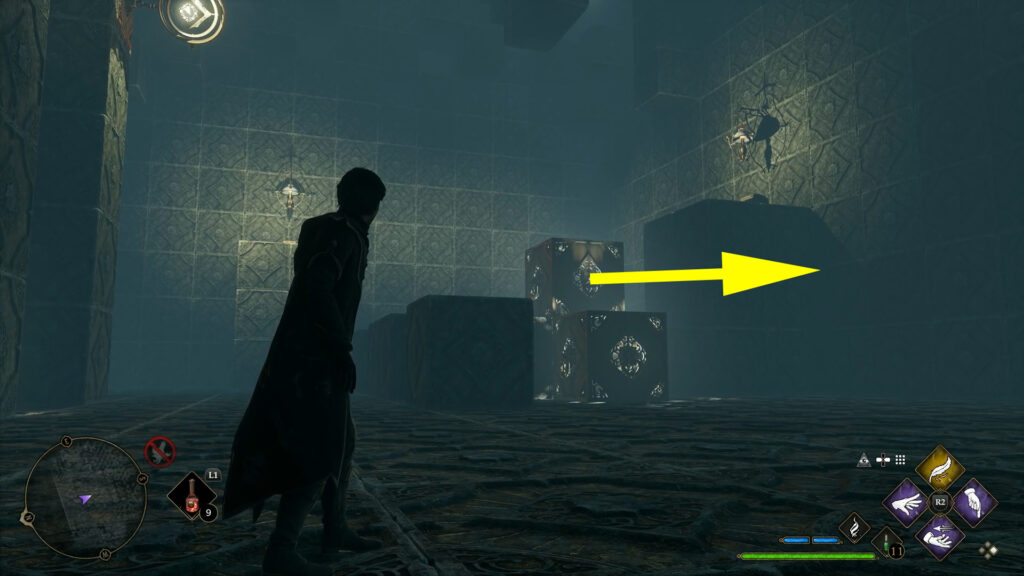
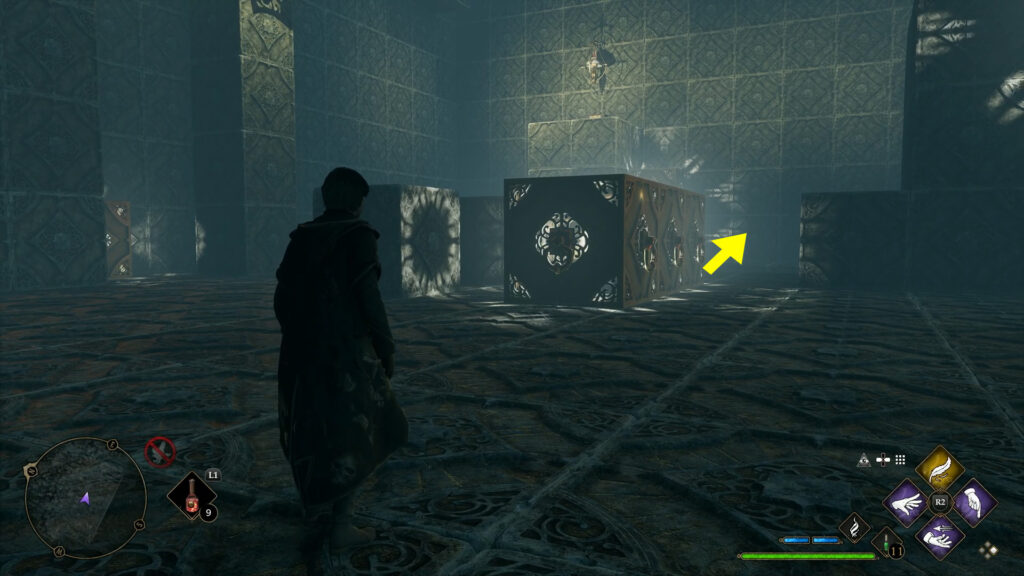
Finally, we will explain how to get to the third chest in the back (eastern) side of the room. Push the block closest to the entrance in the direction of the left wall with Depulso.

Pull the same block in the direction of the two blocks on the left wall using Accio. It will result in three blocks stacked in a line.

Pull the three blocks against the room’s right-hand (south) wall with Accio. Don’t stand in the way of the blocks when you cast Accio.
Push the three blocks in the direction of the floating block on the right wall with Depulso.

Cast Depulso to push the two blocks in the center of the room towards the back wall. It will result in a two-block stack over the ravine.

Now, push the two-block stack on the back wall to the left (north).
Return to the three blocks in a line and pull them into the center of the room using Accio.

Push the three blocks in the direction of the back (east) wall with Depulso.
Use Depulso to push the three blocks into the two-block stack.

Climb the stone block near the ravine, jump over the ravine on the three blocks in a line, and climb up to reach the third chest.

How To Get the Collection Chest in Depulso Puzzle Room 1
After opening the third chest, return to the entrance of the puzzle room, where the Collection Chest will appear. The Collection Chest contains a random Conjuration for the Room of Requirement.

