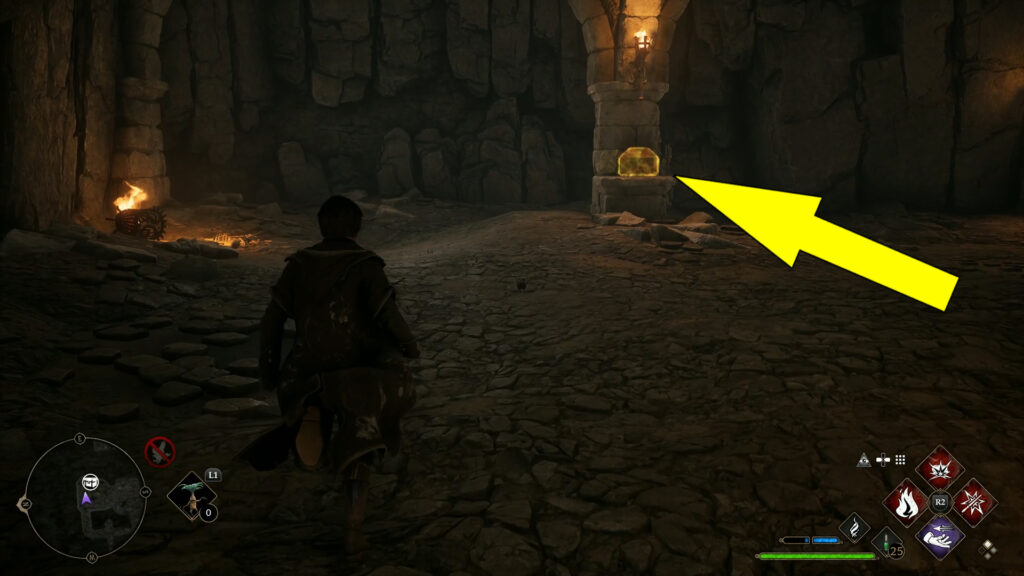
Henrietta’s Hideaway is an abandoned Hogwarts Legacy dungeon under some castle ruins on a peninsula filled with intricate puzzles, traps, and treasure chests. Henrietta’s Hideaway Collection Chest is one of the seven Collection Chests as part of the Manor Cape Region.
But to reach and open Henrietta’s Hideaway Collection Chest, you’ll have to meet the following requirements:
- Incendio Spell – learned during Professor Hecat’s Assignment 1
- Glacius Spell – learned during Madam Kogawa’s Assignment 1
- Wingardium Leviosa Spell – learned during Professor Garlick’s Assignment 1
- At least Level 20 on Story Difficulty or Level 30 on Normal Difficulty to survive
If you meet the requirements mentioned above, follow this guide to learn where to find Henrietta’s Hideaway Collection Chest in the immersive, open-world action RPG developed by Avalanche Software.
Where To Find Henrietta’s Hideaway
Henrietta’s Hideaway can be found in the southern part of the World Map, in the Manor Cape Region. We’ve also marked the exact location in the image below. In Henrietta’s Hideaway, you can find the Treasure Chest mentioned in Henrietta’s Map during The Hippogriff Marks The Spot Side Quest.
Also, here, you can start the Solved By The Bell Side Quest by picking up the Musical Map located in one of the secret rooms. Furthermore, you can find Agnes Coffey’s Niffler pet, who ran away in Henrietta’s Hideaway during Rescuing Rococo Side Quest.
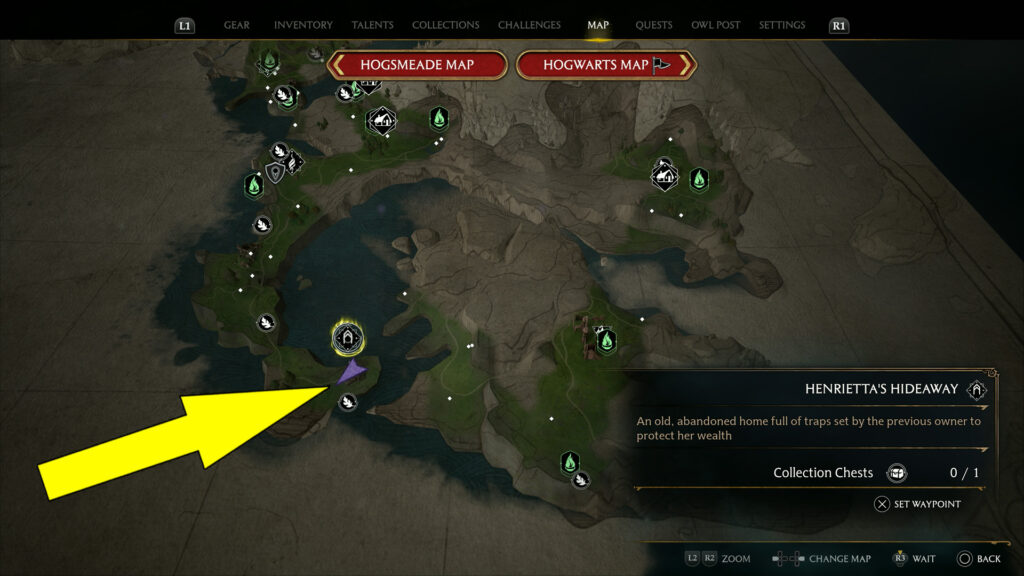
So, it is worth checking the guides mentioned above to hit more birds with one stone while you visit Henrietta’s Hideaway for the Collection Chest. Now, use your flying broom to quickly get there and deal with the Ashwinders around the area.
One of the Ashwinders is an infamous foe named Dunstan Trinity, so be careful of his powerful attacks. After you defeat them, take the stairs leading under Merlin’s Trial to enter Henrietta’s Hideaway.
How To Get Henrietta’s Hideaway Chest
To find and open Henrietta’s Hideaway Collection Chest, you must solve a few puzzles with cubes. On the left side of the room, there is a statue with a brazier in the front. Cast the spell Incendio on the brazier to light it up, making the statue rotate and reveal a second cube.
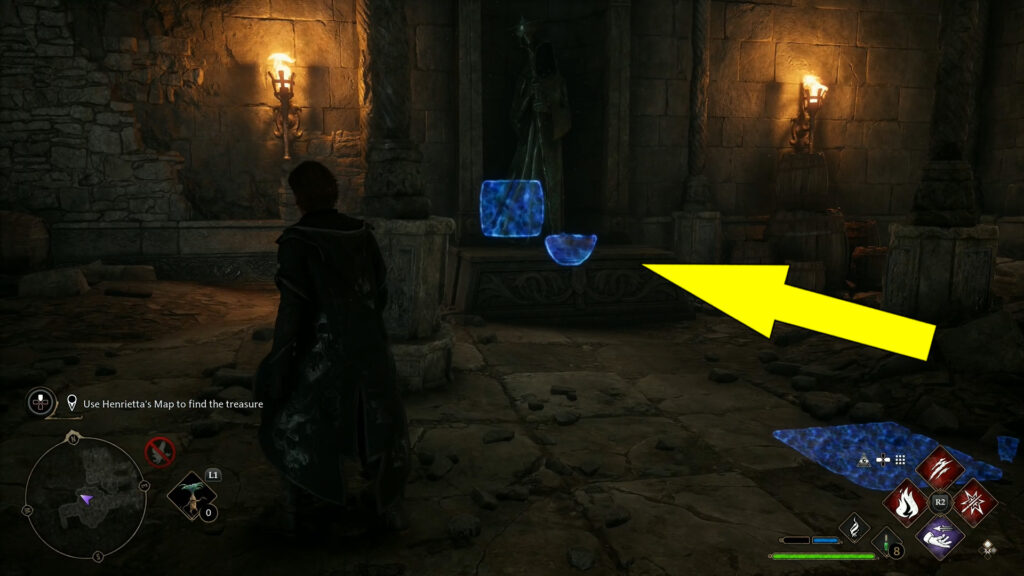
Cast the spell Accio on the cube and pull it onto the pedestal next to the other cube. To complete the puzzle, cast the spell Incendio on the cube with the same symbol (on the left) and the spell Glacius on the right. Doing so will reveal a hidden door in the wall behind the two cubes.
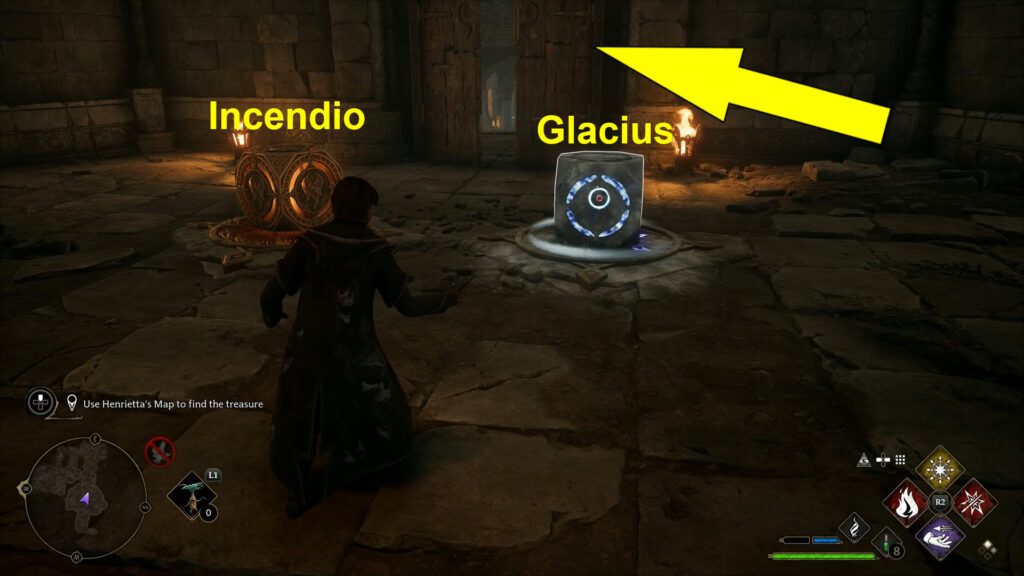
Go through the door into the next room and defeat the Ashwinders around the Hippogriff Statue. The Hippogriff Statue is part of The Hippogriff Marks The Spot Side Quest mentioned above. On the right side of the Hippogriff Statue, there is another statue with a brazier in the front.
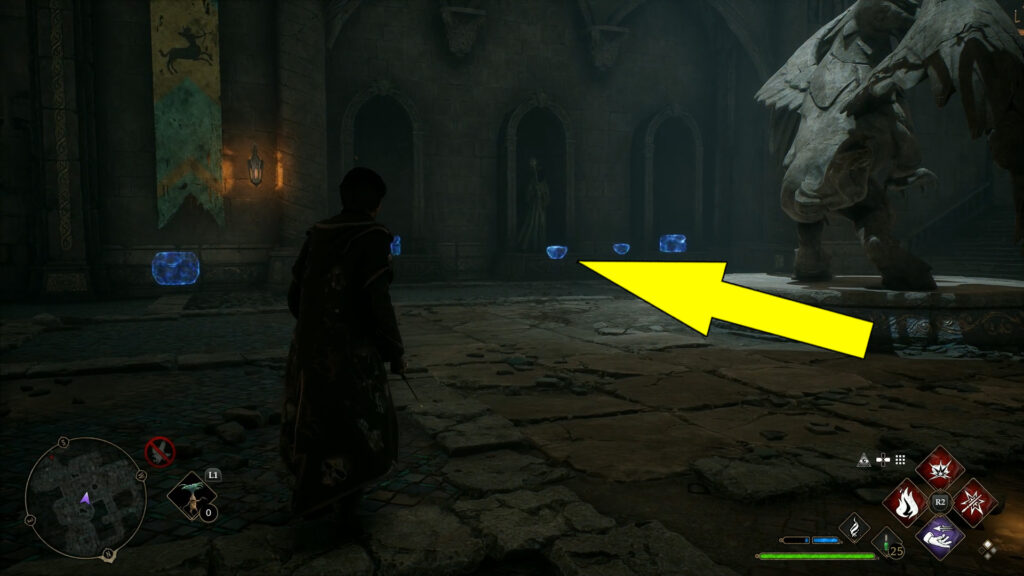
Cast the spell Incendio to rotate the statue and step on the round pressure plate to enter a secret room. Destroy the wooden crates and barrels to reveal the pedestal and the cube with the Incendio symbol on them.
Grab the cube with Accio and pull it onto the pedestal, then cast the spell Incendio to activate it. Doing so will reveal a new path into the room with the Hippogriff Statue.

Step on the pressure plate to return to the Hippogriff Statue room, then follow the path to the left (north) and straight ahead of the statue.
You’ll reach another pedestal with the Incendio symbol in front of a locked cell gate. Behind the gate, there is another cube with the same symbol as marked in the image below.
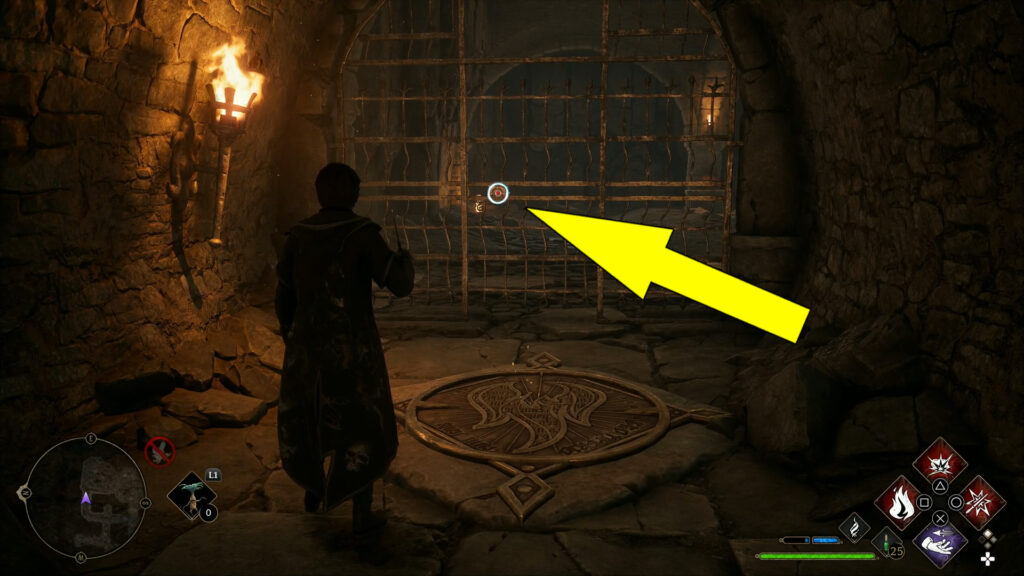
Position yourself in front of the gate, cast Accio on the cube to pull next to you, and use Wingardium Leviosa to get it through the gap above the gate and place it onto the pedestal. The final step is to cast the spell Incendio on the cube to unlock the gate and open Henrietta’s Hideaway Collection Chest on the other side.
