In The Shadow Of The Mountain quest, continues your Hogwarts Legacy search for the third triptych segment that will eventually solve the mystery behind Isadora Morganach while also helping Sebastian’s sister Anne to be cured after she was cursed.
In The Shadow Of The Mountain is part of your story as a fifth-year student at Hogwarts School of Witchcraft and Wizardry, and completing it is a mandatory step for unlocking the fourth and final Keeper Trial. While playing the Hogwarts Legacy In The Shadow Of The Mountain main quest, you’ll get to explore another dungeon alongside Sebastian.
Where To Meet Sebastian Along the Coast in Hogwarts Legacy
To be able to play Hogwarts Legacy In The Shadow Of The Mountain, your character must reach Level 24, and you’ll also have to unlock Bombarda (one of the 34 Spells in Hogwarts Legacy) by completing Professor Howin’s Assignment.
Although not a requirement, this quest is best approached after finishing Niamh Fitzgerald’s Trial because inside the dungeon you’ll explore, you’ll find some of Isidora’s Journal Pages that will help you understand the memories in Niamh’s Pensieve.
After reaching Level 24 and unlocking Bombarda, you’ll receive a letter from Sebastian asking you to meet him along the coast. Specifically, you’ll need to get to the Marunweem Lake region, southeast of Poidsear Coast. If you don’t know how to enter the southern area on your map, you should know that you can’t use your broom, so you’ll have to go through the tunnel in Coastal Cavern, southeast of South Sea Bog.
Once you get to the other side of the tunnel, use your broom to fly toward the meeting spot marked below.
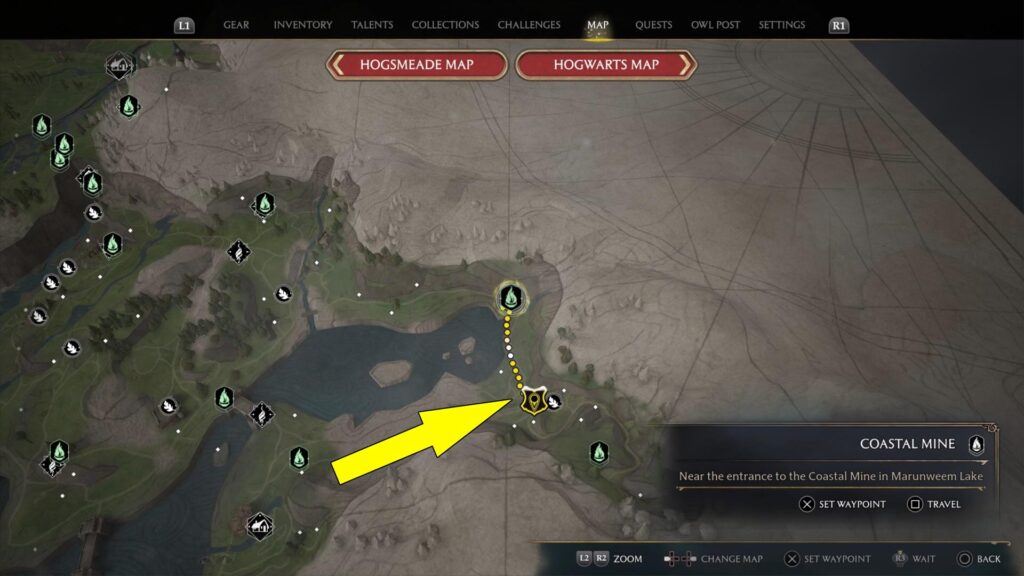
Alternatively, if you have unlocked all Floo Flames, you can reach the meeting spot by fast-traveling to the Coastal Mine Floo Flame and then flying southeast. After reaching the meeting spot, you’ll find Sebastian under a tree if it’s night. During the day, you’ll see a glowing circle on the ground. Interact with it to fast-forward the time, and Sebastian will spawn.
Talk to him, and he’ll tell you that he overheard Ranrok’s Loyalists saying they are going to another cavern, like those you have explored earlier.
After you share with Sebastian your latest findings, Sebastian gets nervous because you don’t press the Keepers to tell you everything they know. When he blames you for not caring enough for Anne, answer however you want because Sebastian will join you either way. And in the end, he’ll forgive everything you say against him.
The next objective in Hogwarts Legacy In The Shadow Of The Mountain quest requires you to travel up the switchbacks. The path you need to follow is clearly marked on your map, and the dungeon you’ll need to explore is on top of the mountain; however, you’ll have to get through a series of Goblin Camps.
Your goal is to clear all camps along the path up the mountain where the Tower Tunnel entrance awaits.
Since the path is clear, you can’t get lost, so fight your way to get to the top of the mountain. Upon reaching the stairs leading to the Tower Tunnel, you’ll trigger another cutscene where you’ll notice that Sebastian is already losing his temper. After calming him, follow the stairs to enter the caverns.

In the Shadow of the Mountain Runes Locations
To find the Runes required for In The Shadow Of The Mountain quest, you’ll have to explore the Tower Tunnel, which can become tedious, especially if you wish to find all Treasure and Collection Chests. The Tower Tunnel Collection Chests are pretty well hidden, and there are multiple Treasure Chests you don’t want to miss.
So, to find all of them, from the entrance, follow the tunnel ahead, and you’ll get to a cave where you’ll need to defeat several spiders. Clear the cave first, then destroy the western wall made of rocks.
Follow the path behind it and turn left to find a large bag you can loot after you burn the spider web with Confringo. Now turn right (west), and you’ll find the first Collection Chest behind another spider web you can burn.

Next, retrace your steps to the first cave and follow the path northwest, descending deeper into the cave. After you deal with more spiders, keep pushing northwest, and you’ll reach some stairs. Get the Treasure Chest near the pillar at the bottom of the stairs, then head up.
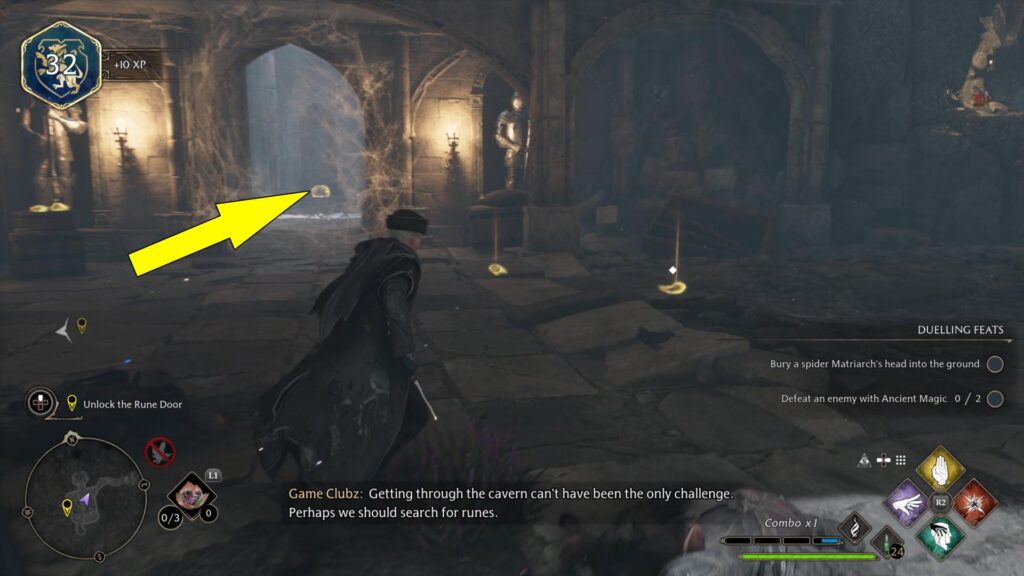
First, burn the spider web, then destroy the wall made of rocks with Depulso or Bombarda. Now, you’ll enter a larger hall where more spiders spawn. Deal with them first, then check the northern side of the hall to find the second Collection Chest in a side room. Burn the spider web to get to it.
How To Unlock the Rune Door in the Tower Runnel
After you find the Collection Treasure Chest, scan the large hall and get the remaining loot, then make sure you loot the Treasure Chest inside the southern cave. Once you clear the area, let’s see how to open the Rune Door.
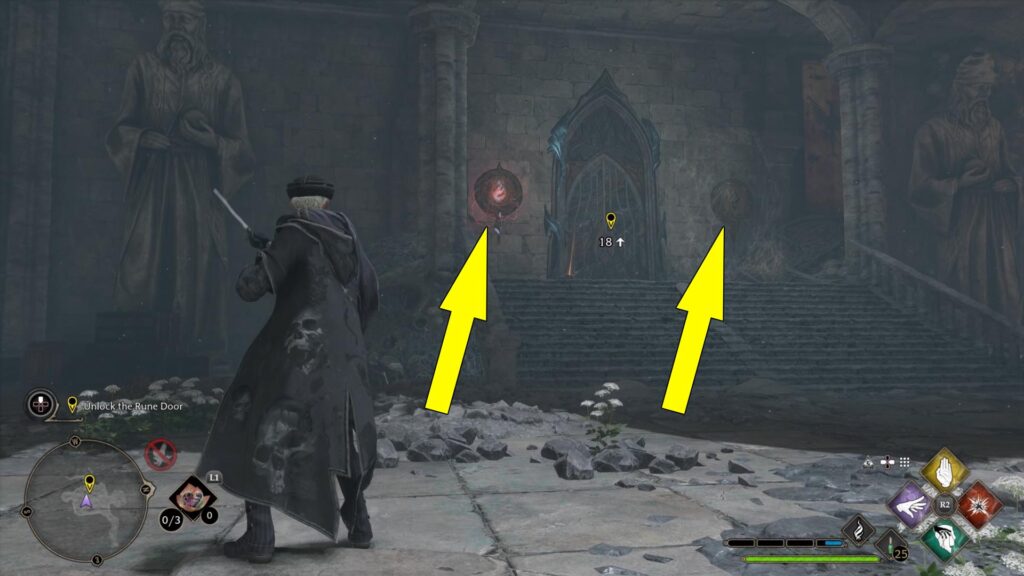
To open the Rune Door, cast Revelio and look around to spot three seals. Two are near the door, while the third is on the opposite wall. First, approach those near the door and burn the spider web covering the Seal on the right side. Now, position yourself in the middle of the room and hit all three seals with Basic Cast quickly.
Where To Find the Triptych Segment
After you open the Rune Door, head inside the corridor and loot Isidora’s Journal Entry 4 inside a crate on the right side. Read it carefully because it reveals the effects of the magic Isidora inhales after extracting the pain from other people.
Now follow the path ahead, which leads to a larger room where you’ll be ambushed by a Troll. With the Troll defeated, check the southern side of the hall and destroy the wooden planks to get to a side room. Here, you’ll want to light the brazier near the central statue to reveal a Treasure Chest. Back into the room where you defeated the Troll, cast Reparo on the stairs he destroyed.
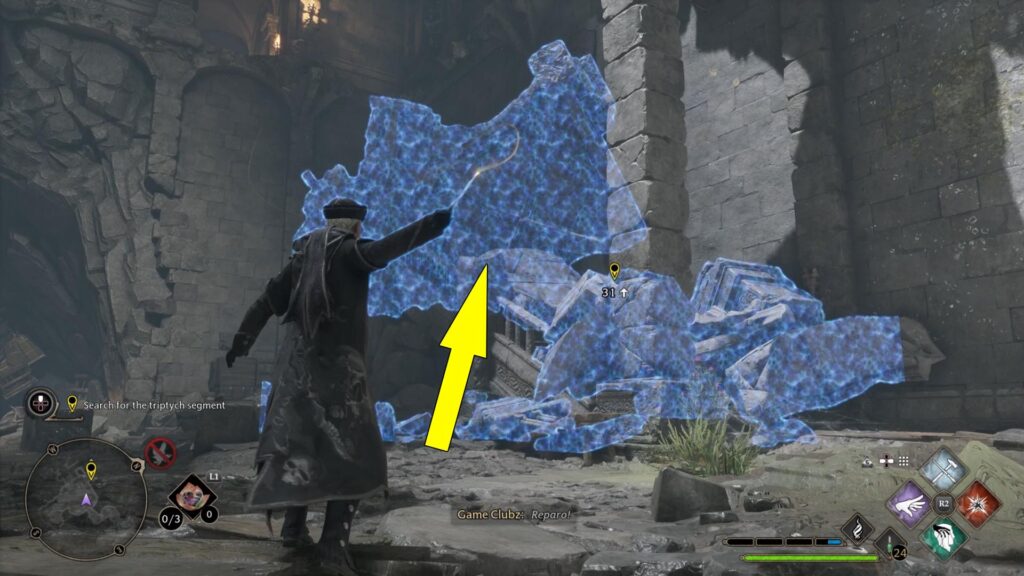
Follow the stairs up, head right, and when you get to the next room, first loot the Treasure Chest near the stairs on the left side as you enter.
Now, pick Isidora’s Journal Entry 5 in front of the crate, and you’ll learn how Isidora tried to convince the Keepers that removing pain from others is not a bad thing. From this page, you can understand that she decided to turn against them after they refused to help her.
Once you read the page, pull the crate on the ground with Accio and place it near the broken stairs.

While following the stairs up, head left first if you want to get some Galleons, then follow the southern stairs to reach the upper floor. Move right along the balcony next and go through the southern hallway to reach another room.
When you enter, first check the western side and light the brazier on the statue to find a hidden Treasure Chest. Now look around, and in the room, you’ll find a large Treasure Chest (marked below) and Isidora’s Journal Entry 6 on the table (also pictured).

The journal page reveals that Isidora grows stronger every time she inhales the pain removed from others, and she’s looking for a way to store it. After clearing the room, cast Depulso on the planks in the southwestern corner of the room and follow the next hallway, jumping over the gap and looting the Treasure Chest on the right side.
How To Unlock the Second Rune Door
Upon reaching the next floor, you’ll want to head right first to loot a large bag, then head left and cross the planks on the ground. Cast Revelio now, and you’ll see two seals on the walls on the right side.
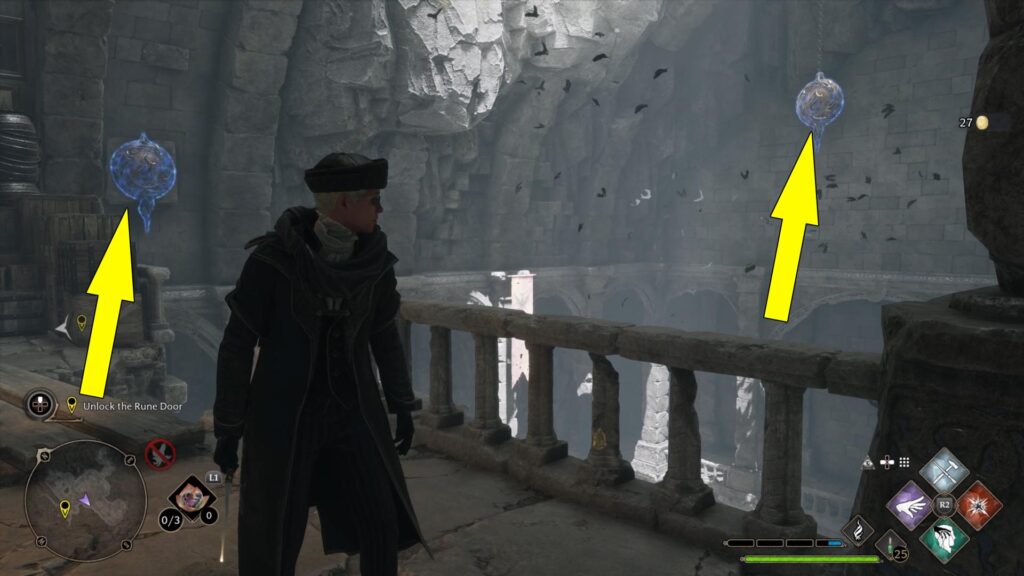
A third Seal is found on the left side of the door you’ll need to open, but it’s behind a wall you can destroy with Depulso. So, first, you’ll want to destroy the wall, then return to the two seals marked above and hit them with Basic Cast.
Now, hit the third Seal on the left side of the door, and the Rune Door opens. Next, you’ll enter Isidora’s Chamber, and the first thing you’ll want to get is her final Journal Page on the table on the left side.

The last page of the journal reveals that Isidora made up her mind and continued to work alone since nobody wanted to help her. After collecting the last page, head up the stairs, turn left, and climb onto the balcony. On the other side of the balcony, you’ll find the last Treasure Chest. Pick it up, then pick up the Final Triptych Canvas Piece from the table nearby.

After a short chat with Sebastian, return to the Map Chamber via the northern glass wall and place the canvas into the Triptych. When you finally place the last Canvas, a new Pensieve appears, but this one contains the memories of Isidora Morganach.
Interact with it, and you’ll learn how the witch met Bragbor or Ranrok’s ancestor and how she ordered him to build the repositories. After watching the memory, Sebastian loses his temper because the magic Isidora has used is exactly what he needs to cure Anne. And you, just like Isidora, can use this type of magic.
Sebastian now insists that you talk to the Keepers to teach you how to remove Anne’s pain without knowing what is at stake. Now, Hogwarts Legacy In The Shadow Of The Mountain ends, and Lodgok will contact you once you leave Undercroft. Make sure you meet him to start Lodgok’s Loyalty main quest.
